Pololu Blog » User Profile: David » Posts by David »
Posts by David (Page 3)
You are currently viewing a selection of posts from the Pololu Blog. You can also view all the posts.
Popular tags: community projects new products raspberry pi arduino more…
Version 2.0.0 of minimu9-ahrs released
This week I released version 2.0.0 of minimu9-ahrs, an open-source demo program that runs on the Raspberry Pi, reads data from a MinIMU-9 via I²C, and uses the readings to calculate the orientation of the IMU. The new version adds support for the MinIMU-9 v3. The program now supports all past and present versions of the MinIMU-9.
The original version of minimu9-ahrs was released back in 2012, along with ahrs-visualizer, a program for displaying the orientation in 3D. For more background, you can see my blog post about minimu9-ahrs from 2012 or read the Raspberry Pi blog post about it from June 2014. The video below shows minimu9-ahrs and ahrs-visualizer working together:
Version 2.0.0 of minimu9-ahrs also includes some other changes:
In this new version, the raw accelerometer readings that you can get using the --mode raw option have basically been multiplied by 16 from what they were before. We made this same change to our LSM303 Arduino library when we added support for the LSM303D. The reason for this change is that before the MinIMU-9 v3, all the MinIMU-9 accelerometers were 12-bit, with the lower 4 bits of the output registers being unused, so we always shifted the readings to the right by 4 bits to get rid of the unused bits. The LSM303D in the MinIMU-9 v3 has a 16-bit output, so shifting its readings to the right by 4 bits would be inappropriate. However, it is nice for the raw accelerometer readings to have the same scale regardless of which accelerometer you happen to be using, so we chose to stop shifting the output of any of the accelerometers. All the accelerometers are configured to have a full-scale range of ±8 g by minimu9-ahrs, so a reading of 4096 will always correspond to about 1 g. This change should not affect most users, but it is not backwards-compatible, so, following semantic versioning, I incremented the major version number from 1 to 2.
The Debian package that I made for minimu9-ahrs version 2.0.0 uses the armhf architecture instead of armel (which was used for previous versions), so you can easily install it on a Raspberry Pi running Raspbian. I also made a new version of ahrs-visualizer that has an armhf package. If you are not using a Debian-based distribution like Raspbian or you are not using the armhf architecture, you can still compile the programs from source.
With this new version of minimu9-ahrs and our recent big price reduction of Pololu IMUs (which made the MinIMU-9 less expensive than a Raspberry Pi), now is a great time to start experimenting with these state-of-the-art MEMS sensors.
Related past posts
- Big price reduction of Pololu MEMS sensor carriers and IMUs
- New product: AltIMU-10 v4 gyro, accelerometer, compass, and altimeter
Related products


New products: Discrete addressable through-hole RGB LEDs
 |
A chain of addressable RGB LEDs (#2535 and #2536) on a breadboard, controlled by an A-Star 32U4 Micro. |
|---|
At first glance, these new LEDs look like everyday through-hole RGB LEDs, but they are hiding something very special inside: a built-in WS2811 LED driver that lets you chain them together and individually control them all with a single digital output from a microcontroller. The communication protocol of these LEDs is very similar to that of our WS2812B-based LED strips and Adafruit’s NeoPixels (such as those on the Adafruit NeoPixel Shield, which we just started carrying last week), so there is a variety of sample code available for the Arduino, AVR, and mbed microcontroller platforms to help you make your project start blinking quickly.
We offer these LEDs in two different sizes: 5 mm and 8 mm.
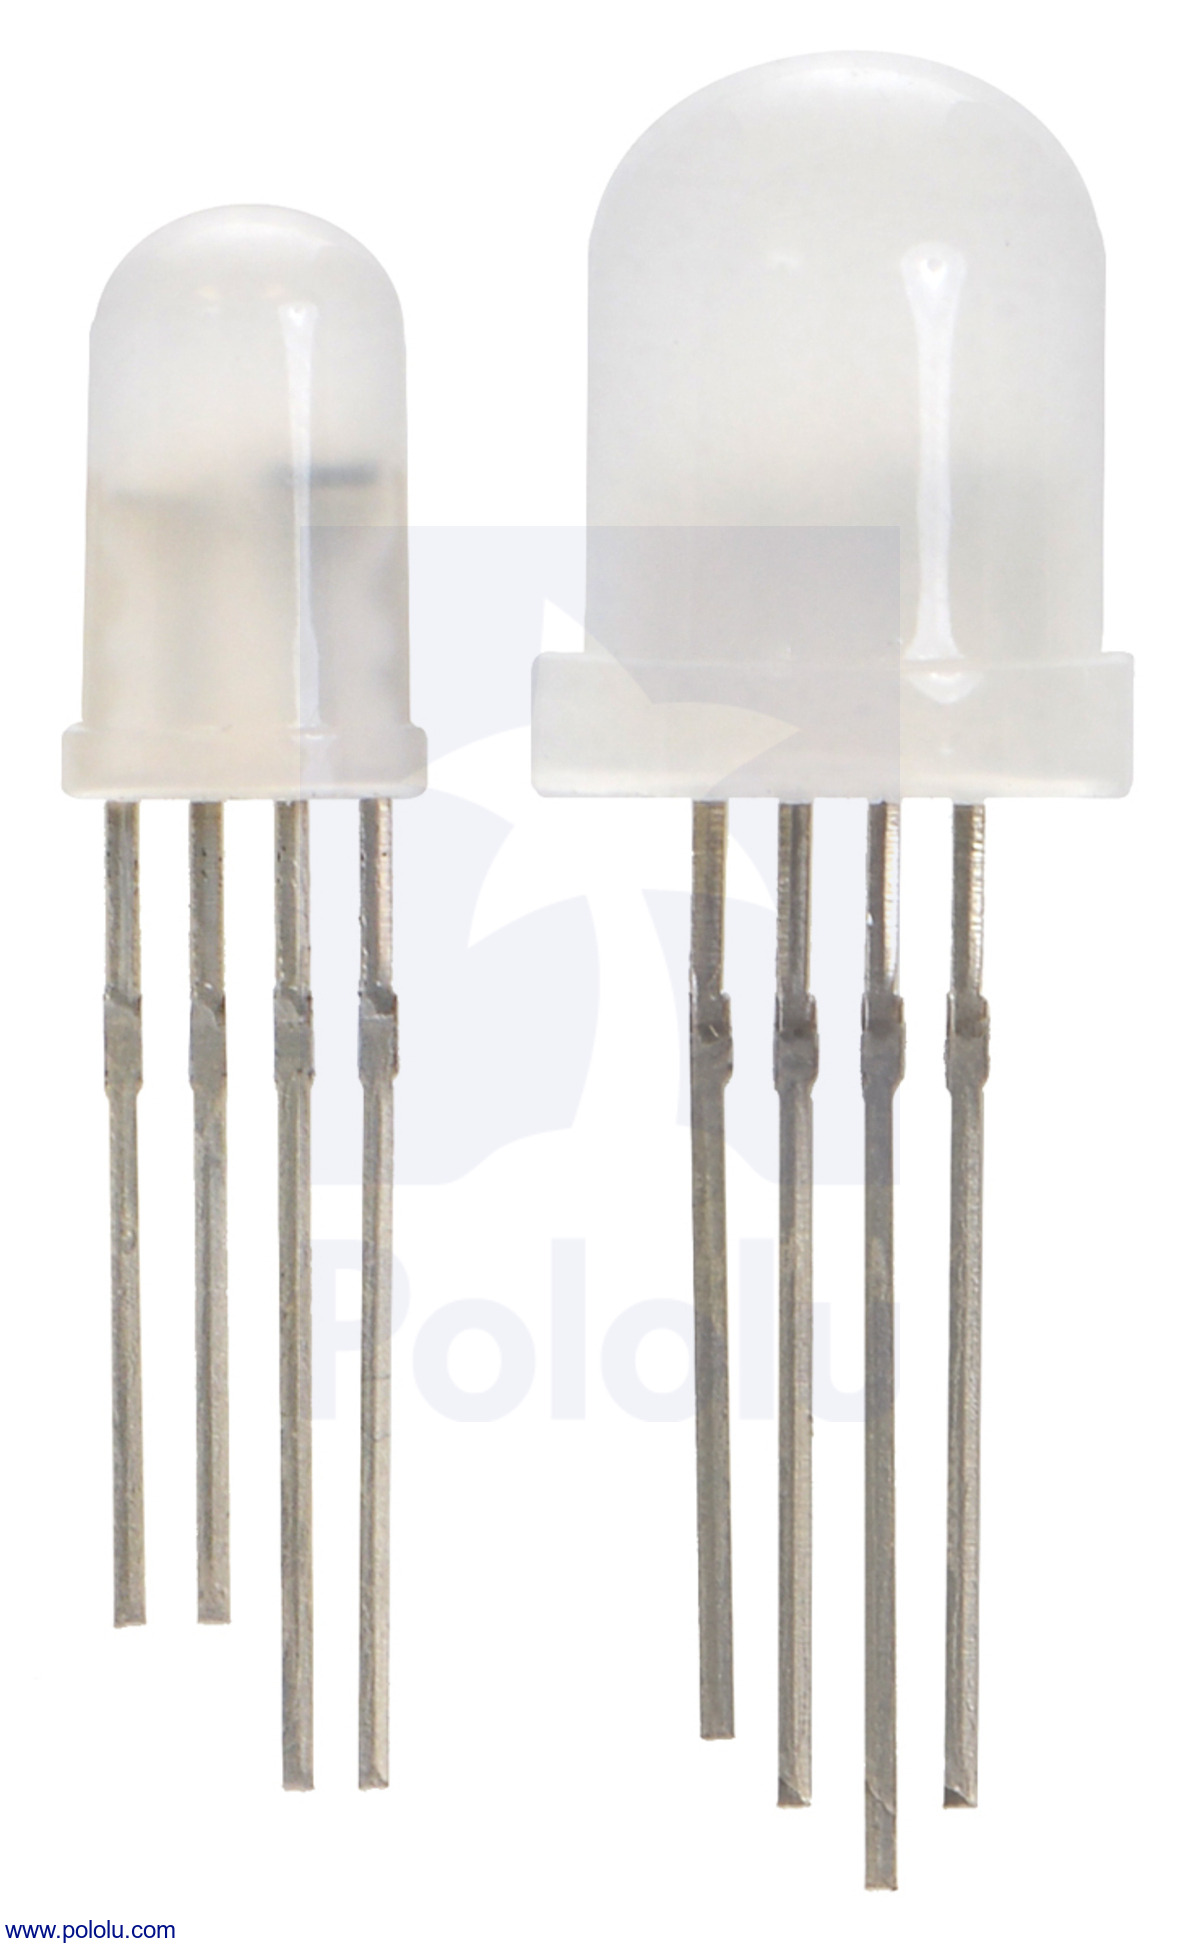 |
Two different sizes of addressable RGB LED. From left to right, their diameters are: 5 mm (#2535) and 8 mm (#2536). |
|---|
Related products


David and Fang's dead reckoning robot based on the mbed LPC1768
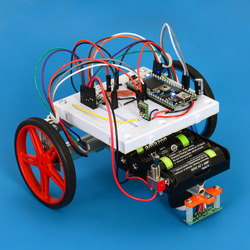
Several people here at Pololu made robots to compete in the LVBots dead reckoning competition last week. This post is about the robot I made along with another engineer here.
Dead reckoning is the process of continuously calculating your position using internal sensors that tell you something about what speed and direction you are going. In our dead reckoning competitions, robots demonstrate that they are capable of dead reckoning by following a long, twisting line drawn on the floor and then driving back to their starting point. The line functions as a user interface that directs the robots through a sequence of moves for which it was not preprogrammed. The robots are scored based on the time they took and how close they were to the starting point at the end. Continued…
Raspberry Zumo Robot
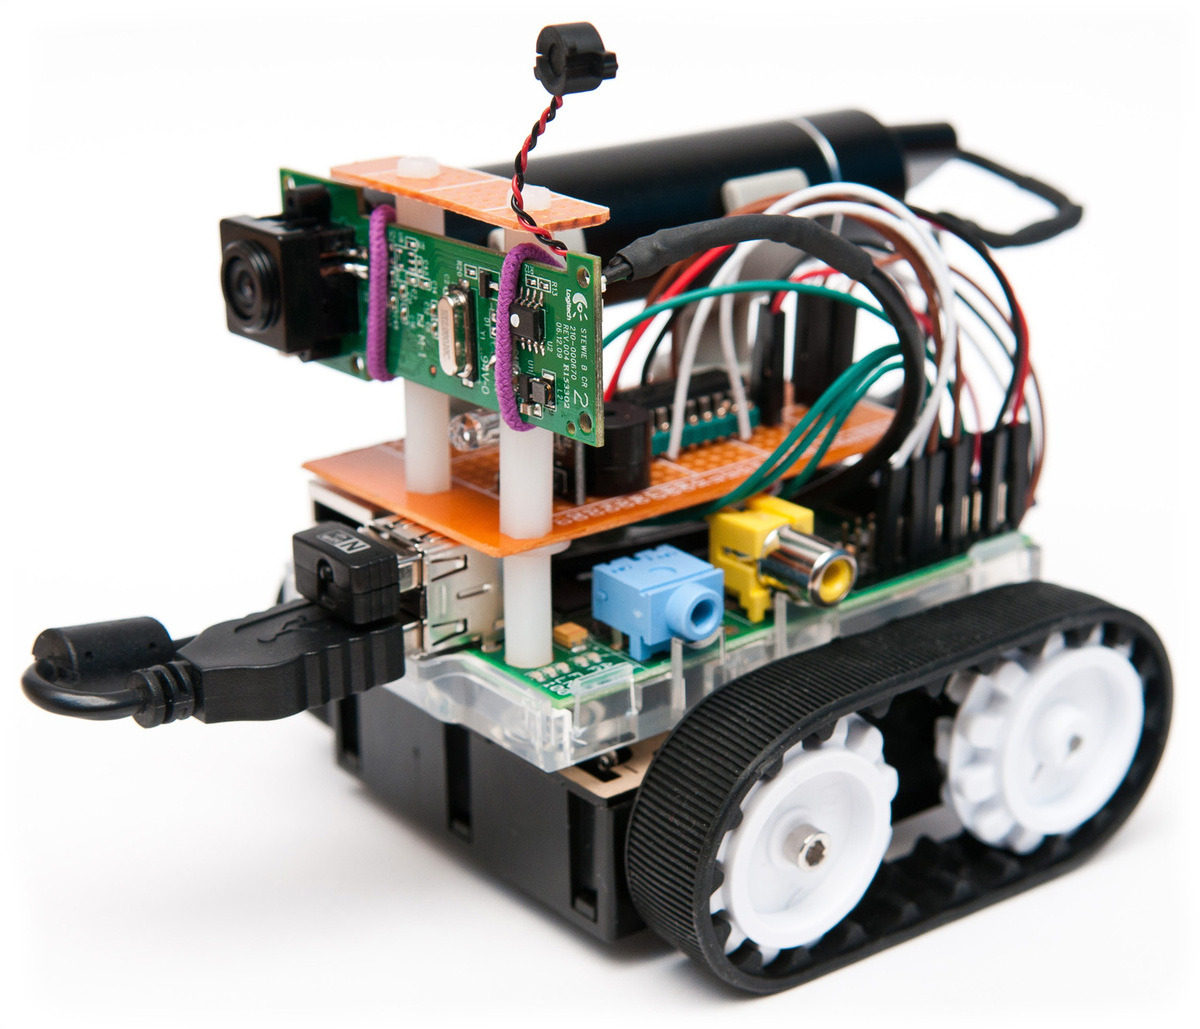 |
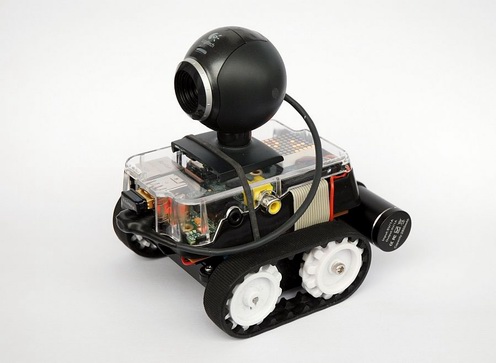
Frédéric Jelmoni built a neat robot with a Raspberry Pi and a Zumo Chassis Kit. The Raspberry Zumo robot can be controlled over WiFi using telnet. The server on the Raspberry Pi is written in Python and uses the RPIO library to send signals to an SN754410 motor driver that drives the two 100:1 Micro Metal Gearmotors HP in the Zumo chassis. The server also controls an RGB LED and a buzzer. A stripped-down Logitech webcam attached to the front of the robot provides video that is streamed over the web using mjpg-streamer.
For more details, see the Raspberry Zumo page, which is written in French. Also, see our post from last October about a similar robot, the Pibot-B.
Related products


New products: Addressable RGB LED strips based on the WS2812B
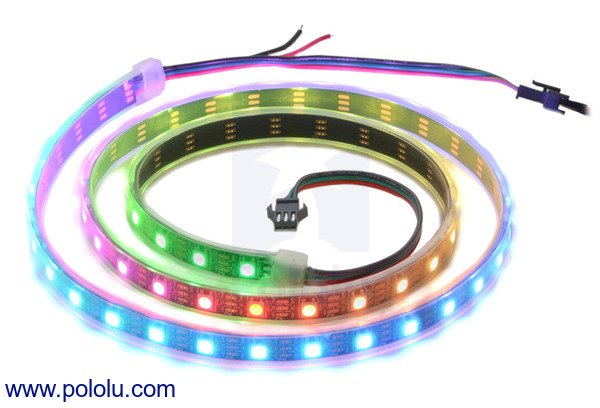 |
This week we started selling new addressable RGB LED strips. These LED strips are a great way to add some color to a project, and I would like to show a little bit about how they work. Here is a close up showing one segment of a new LED strip:
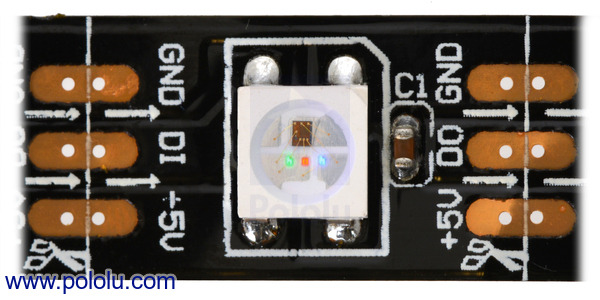 |
Close up of one segment of a WS2812B-based LED strip, with the red, green, and blue LEDs on at their dimmest setting. |
|---|
At first glance, it is easy to see the RGB LED and a capacitor, but where are all the other components, such as the LED driver? Well, let’s look more closely at the LED:
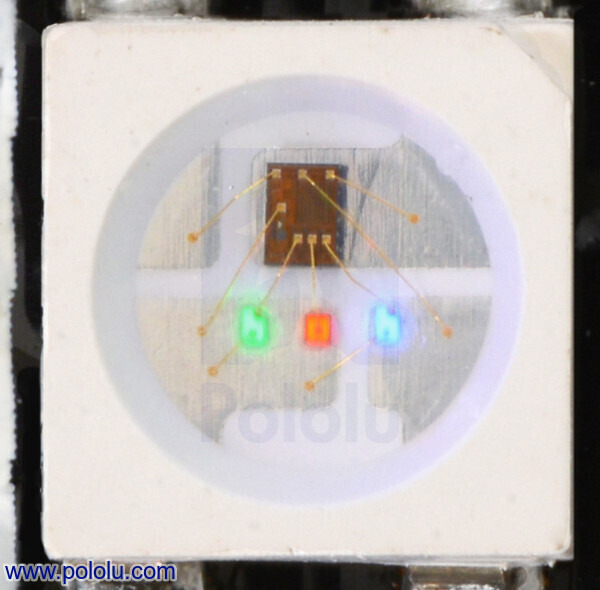 |
Close up of a WS2812B, with the red, green, and blue LEDs on at their dimmest setting. |
|---|
The LED actually has a driver built into it, which is the large brown rectangle in the picture. This driver receives high-speed color data, storing the first 24 bits it sees and passing the rest of the bits down the strip to the next LED. The driver is connected with tiny wires to the red, green, and blue LEDs. For the photos above, we turned each of the LEDs on at its dimmest setting so you can see their colors. This integrated circuit (IC) consisting of an RGB LED and a driver is called the WS2812B.
Since the WS2812B integrates an LED and a driver into the same package, we are able to offer higher density strips than before. We offer these WS2812B LED strips that have 60 LEDs per meter:
We also offer these WS2812B LED strips that have 30 LEDs per meter:
These LED strips are meant to replace the older LED strips we have that are based on the TM1804 driver (items #2543, #2544, and #2545). The older LED strips are now on clearance.
All of our example code has been updated to fully support the new strips. We provide example code for the Arduino, AVR, and mbed microcontroller platforms. More information about the LED strips and how to use them can be found on the LED strip product page.
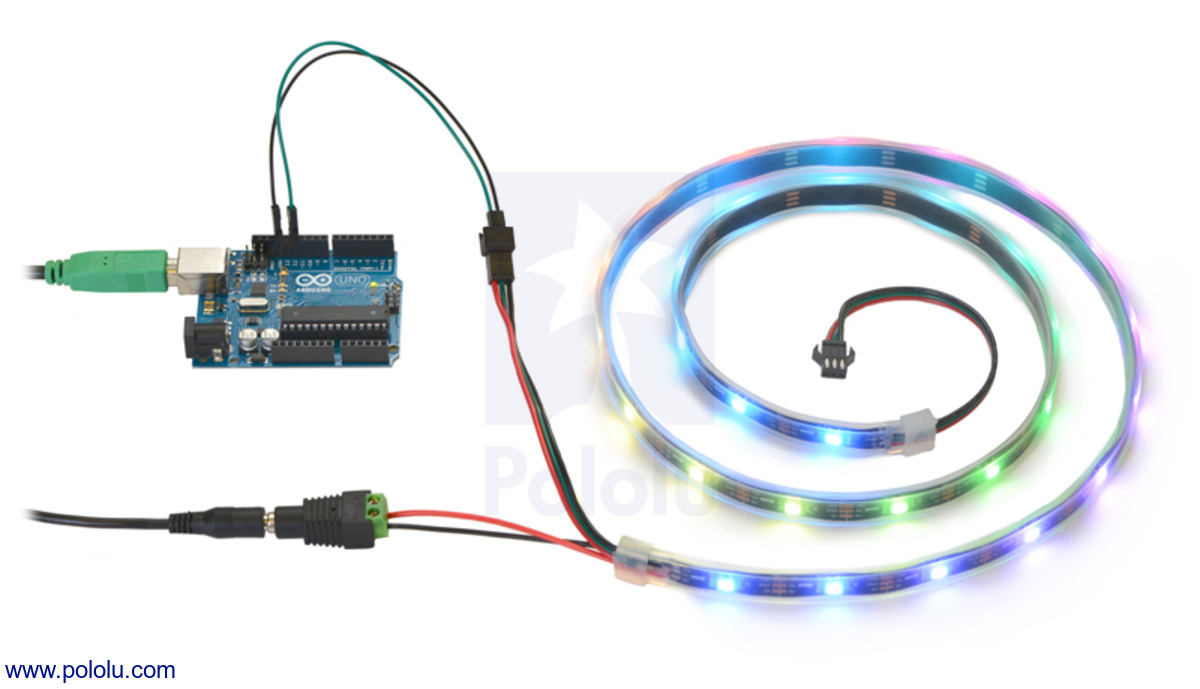 |
Controlling an addressable RGB LED strip with an Arduino and powering it from a 5V wall power adapter. |
|---|
Related products


Quaternion-based AHRS using AltIMU-10 & Arduino
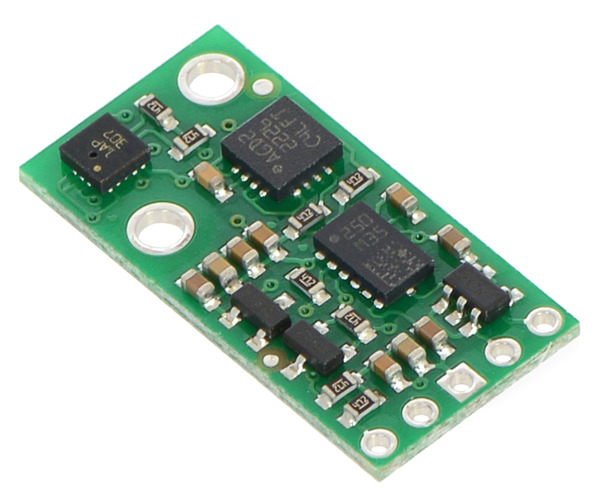 |
Pololu forum user Camel recently posted the Quaternion-based AHRS using AltIMU-10 & Arduino. This is an Arduino program that can read data from our AltIMU-10 sensor board, compute the orientation of the board, and output it over serial. It uses quaternions internally to represent the rotation, but can output Euler anglers, a rotation matrix, or a quaternion. The MinIMU-9 v2 is just an AltIMU-10 without a pressure sensor, so the code can be made to work with a MinIMU-9 v2 by commenting out a few lines.
The AHRS program is part of the Firetail UAV System, an open source UAV autopilot system that is currently under development. You can follow the the project’s progress on its blog.
New product: Raspberry Pi
 |
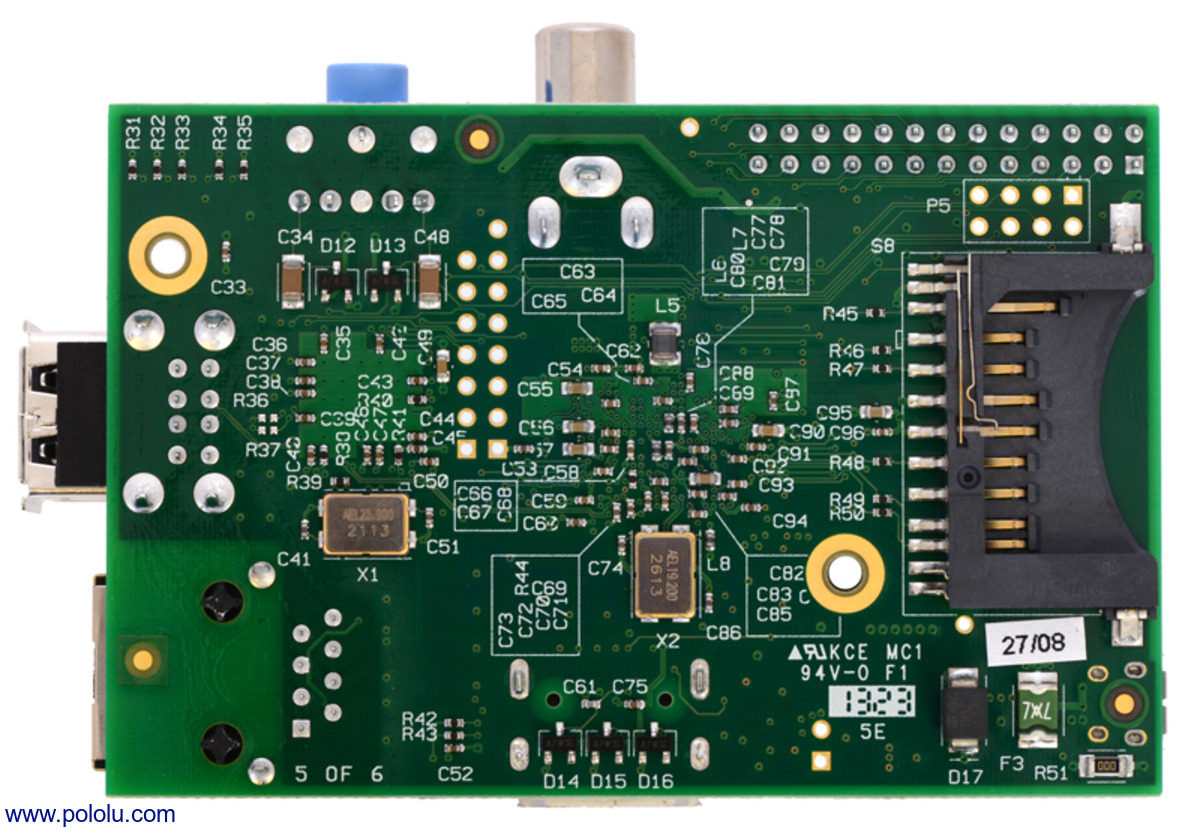
We are now carrying the Raspberry Pi Model B, Revision 2.0!
In case you haven’t heard of the Raspberry Pi, it is a popular credit card-sized computer that can run Linux. It was designed by the Raspberry Pi Foundation in order to provide an affordable platform for experimentation and education in computer programming. The Raspberry Pi can be used for many of the things that a normal desktop PC does, including word-processing, spreadsheets, high-definition video, games, and programming. With its 0.1″-spaced GPIO header and small size, the Raspberry Pi also works as a programmable controller in a wide variety of robotics and electronics applications. We have seen a lot of our customers do neat things with the Raspberry Pi, and we have featured several of those projects on this blog.
Related past posts featuring the Raspberry Pi:
 |
- Digital Capabilities: a digital garden
- Controlling a Maestro in C using a Raspberry Pi
- Dagu Rover 5 controlled by a Raspberry Pi
- PiBBOT
- Raspberry Pi Telepresence Rover
- Raspberry Pi-based State Poster Project
- Raspberry Pi – Real Time Control via Android HTML5
- Pi-Trak
- Using a Maestro to control a quadcopter
- PiBot-B: mobile robot with a Raspberry Pi
- Wireless Servo Widget
For more information on the Raspberry Pi, see the product page.
Wireless Servo Widget
 |
Pololu forum user Martan recently released a project called Wireless Servo Widget. The project website says:
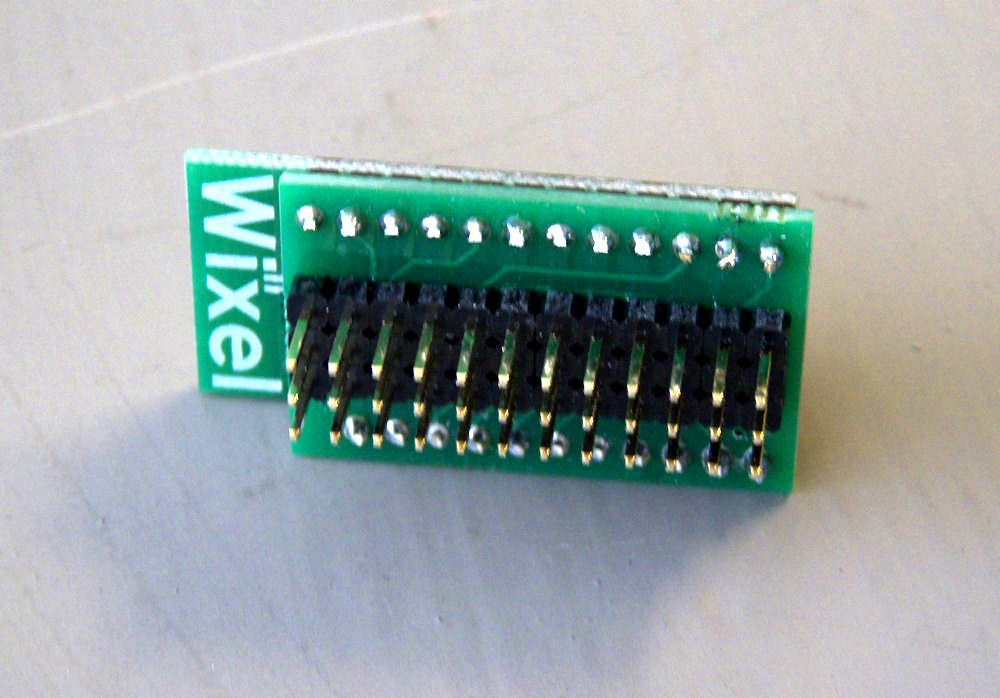
Wireless Servo Widgets allow you to control up to 64 slaves, with each slave controlling up to six R/C type servos. In addition, each slave can return 3 analog input values to your Raspberry Pi. Slaves have a range of about 50 feet from the master. Use them for home automation, robotics, model train controls, or whatever you want!
The Wireless Servo Widget is based on our Wixel Programmable USB Wireless Module. Martan wrote apps for the Wixel that use the packet addressing feature of the CC2511F32 chip to implement a round-robin protocol. He also made a Slave Widget Breakout Board which makes it easy to plug servos into the slave Wixels. All of this and more can be found on the Wireless Servo Widget website.
 |
Related products


PiBot-B: mobile robot with a Raspberry Pi
 |
Thomas Schoch, of Essen, Germany, built a neat robot with a Raspberry Pi and a Zumo Chassis Kit. The PiBot-B is controlled by a custom iPhone app that communicates over WiFi to the Raspberry Pi, which is running lighttpd and PHP. A Python program uses the WiringPi library to send signals to an L293D motor driver that drives the two 100:1 Micro Metal Gearmotors in the Zumo chassis. The iPhone app displays video from the attached Logitech C300 webcam, and the robot has an integrated 8×8 LED matrix from Adafruit that indicates its state. In the future, Thomas plans to add sensors for obstacle detection and make the robot autonomous. We were impressed by several things:
- PiBot-B is very tidy, thanks in part to the USB cables that were shortened and modified using liquid rubber.
- The Raspberry Pi has only one PWM output so Thomas used two OR gates to select whether the left motor, right motor, or both motors receive the PWM signal.
- The write-up has some great photos and informative diagrams.
The PiBot-B page is written in German, but it has a link at the top to translate it into English using Google Translate.
Programming resources for the Maestro servo controllers
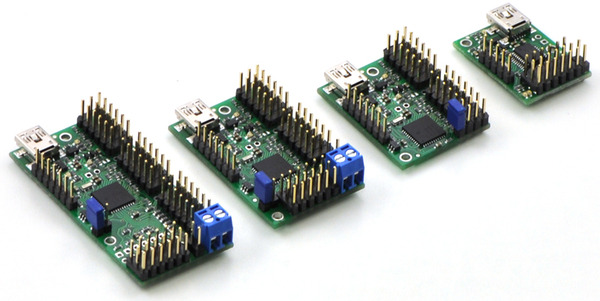 |
Writing a computer program to interface with a USB device from scratch can be tough. Luckily, many users of our Maestro Servo Controller who have tackled this problem have been kind enough to share their results with the community. Example code for interfacing with the Maestro is available for over a dozen platforms: Arduino, C, C++, C#, LabVIEW, MATLAB, Node.js, Perl, PHP, Python, Visual Basic 6, Visual Basic .NET, and Visual C++.
You can now find all of this, and more, in the new Related Resources section of the Maestro User’s Guide, which we added last week. The new section also links to tutorials, example projects, and commercial software that is integrated with the Maestro. We hope this will make your next Maestro project easier!


Home | Forum | Blog | Support | Ordering Information | Lists | Distributors | BIG Order Form | About | Contact
© 2001–2026 Pololu Corporation


