Pololu Blog » Posts tagged “raspberry pi” »
Posts tagged “raspberry pi” (Page 2)
You are currently viewing a selection of posts from the Pololu Blog. You can also view all the posts.
Popular tags: community projects new products raspberry pi arduino more…
Balboa is here!
 |
I am excited to announce the release of the Balboa robot! The Balboa is a two-wheeled balancing robot platform that is small enough to tempt you to run it on a desktop, but it’s quick enough that you should probably stick to bigger, softer surfaces. Or at least put a safety net or foam pit around your desk. Here is a short video showing it kicking up into balancing position and driving around:
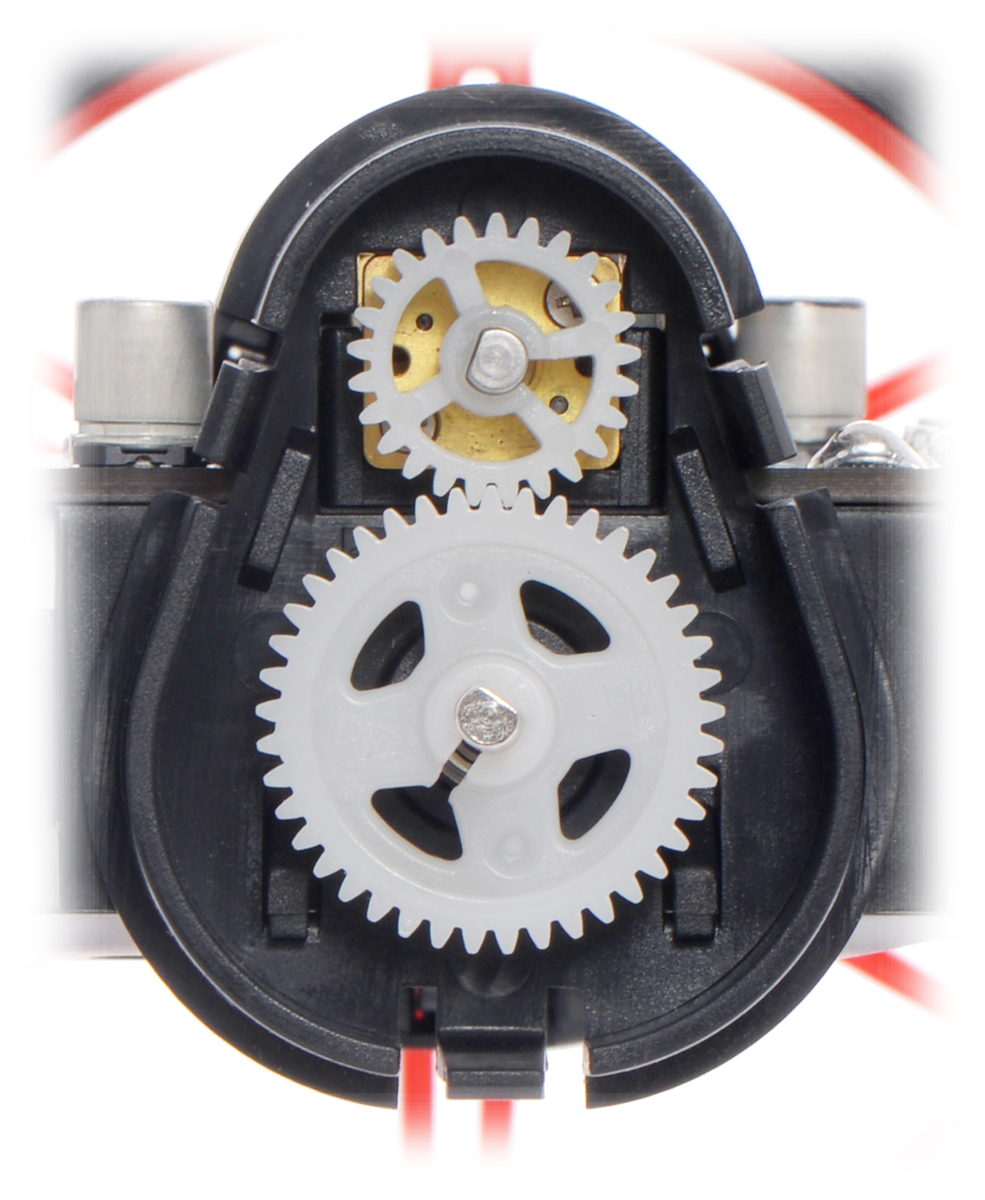 |
A look inside the external gearbox on the Balboa 32U4 Balancing Robot. |
|---|
One of our main goals in designing our robots is to make them complete and engaging on their own while making them open and expandable enough for all kinds of projects. We also don’t want them all to be the same. Most of the Balboa robots in our pictures have 80 mm wheels, but the chassis can also work with our 90 mm wheels (and to a lesser, barely practical extent, our 70 mm wheels). Because the chassis is made for our micro metal gearmotors, you have a few options for gear ratios as with our Zumo sumo robots, but what’s really exciting about the Balboa design is that there is an extra stage of gear reduction for which you get five different options (all included, and you can easily change the gear ratio from whatever you initially choose). The design also allows the drive wheels to be supported on ball bearings, reducing the stress on the micro metal gearmotor output shafts.
The Balboa chassis has a built-in battery holder for six AA cells, which typically give you several hours of run time, even if you add some extra power-hungry electronics like a Raspberry Pi.
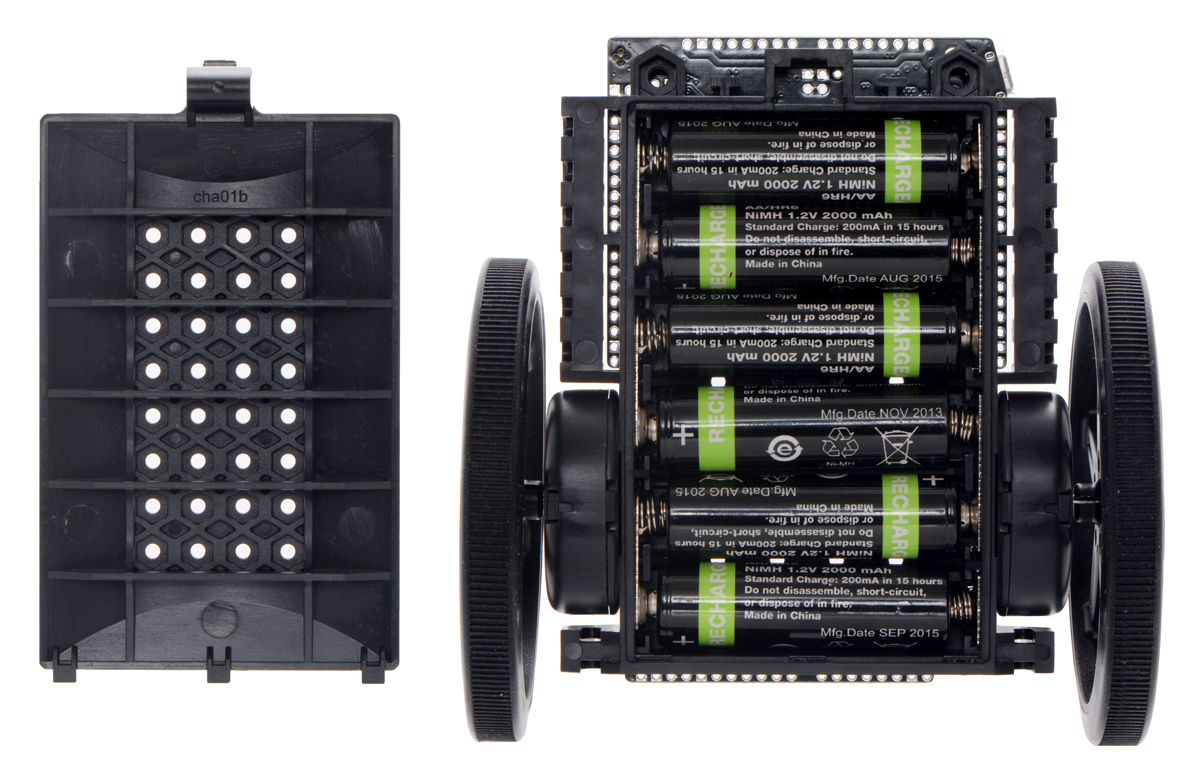 |
Balboa 32U4 Balancing Robot with battery cover removed. |
|---|
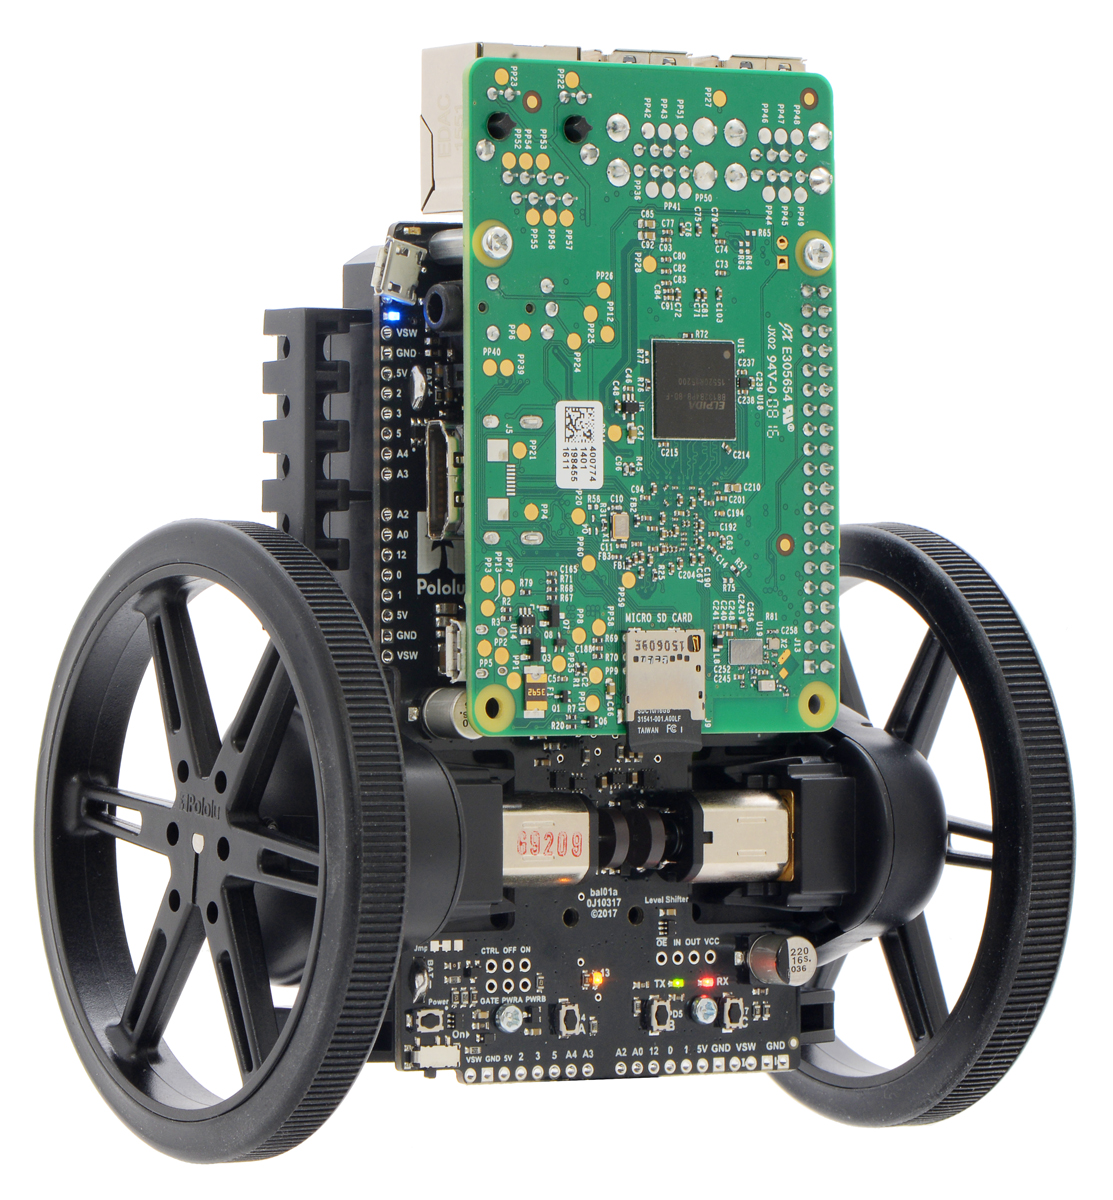
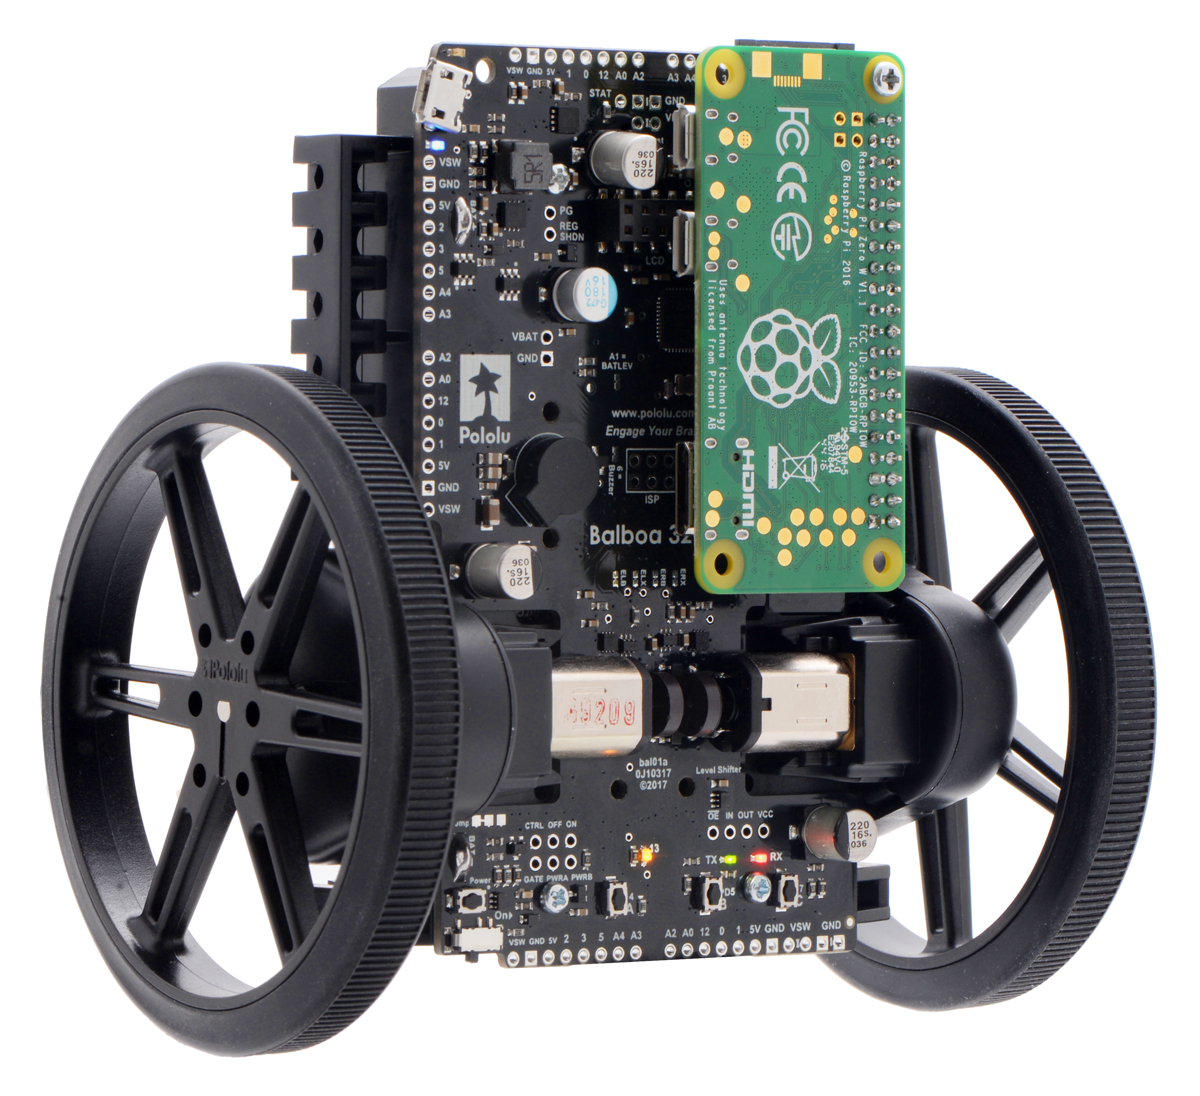
The main microcontroller is an Arduino-compatible ATmega32U4, which is powerful enough to read the on-board IMU sensors and encoders and to control the motors to balance the robot; it’s also great for introductory projects like line following or reading an RC receiver to make a radio-control balancing robot. For advanced projects, the Balboa is ready for you to add a Raspberry Pi computer to perform high-level algorithms while the ATmega32U4 microcontroller takes care of low-level tasks like motor control.
|
|
|

We will be adding more content to the Balboa’s product page and user’s guide, and we will have more blog posts about the Balboa robot. For today, we’ll end with some slow-motion footage of Balboa popping up on its own and then recovering when Paul knocks it around a bit:
Related products

Web-based control of a telescope using Raspberry Pi
 |
@MarcisShadow is working on a project using a Raspberry Pi with a Pololu DRV8835 Dual Motor Driver Kit for Raspberry Pi to control a Celestron NexStar GoTo Mount, allowing web-based control of a telescope. He also uses a Pololu 5V Step-Up/Step-Down Voltage Regulator S7V7F5 connected to the motor driver to power the Raspberry Pi from the motor power supply.
The project is being documented in a multi-part series on DirtyAstro.com. Part 1 covers the electronics that come with the telescope mount, part 2 is about assembling and testing the DRV8835 driver kit and motors, part 3 tackles setting up the Raspberry Pi and using an SSH client (PuTTY) to connect to it remotely via a PC, and part 4 is about getting Node-Red running to program the Raspberry Pi graphically using a web interface from any machine on the network.
He is not finished with the project, but I have a couple of suggestions for him or anyone doing something similar: First, since his 12 V supply exceeds the maximum operating voltage of both the motor driver (11 V) and the regulator (11.8 V), I would recommend using different ones. Keep in mind that “wall-wart” DC power supplies, especially older transformer-based ones, can have a voltage significantly higher than the rated voltage. Second, a board running a full operating system is usually not great for timing-sensitive operations like counting encoder ticks. If it can’t keep up with the pulse rate, I would recommend using a secondary microcontroller for the encoders. One possibility would be to use the A-Star 32U4 Robot Controller SV with Raspberry Pi Bridge, which incorporates a more appropriate 5.5 V – 36 V regulator, an Arduino-compatible microcontroller, and dual motor controllers.
Related products


Just Keep Swimming: a goldfish-steered mobile fish tank
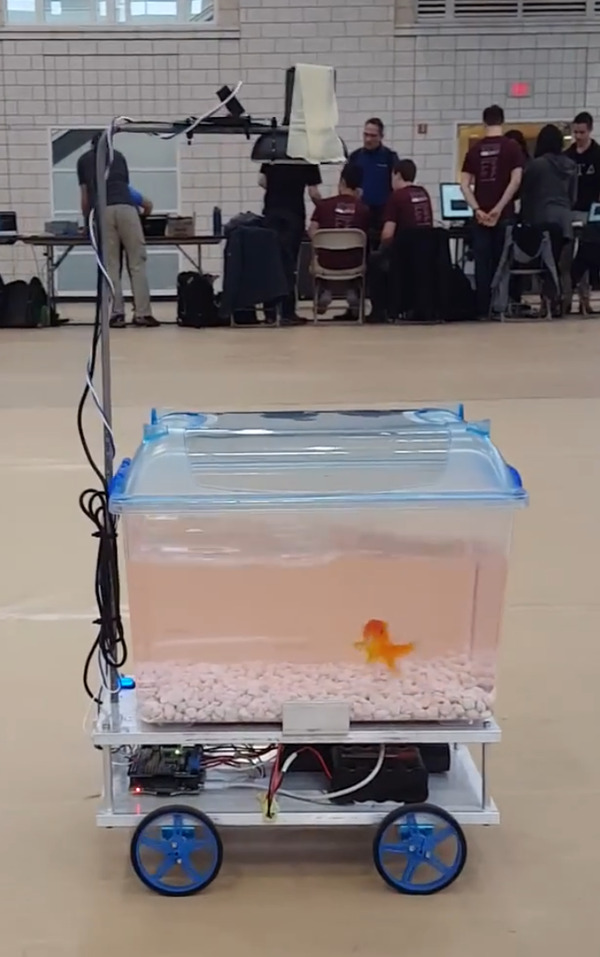 |
During Build18 2017, “an annual engineering festival held by the Electrical and Computer Engineering department at Carnegie Mellon University and run by students”, a team of CMU students presented a goldfish-steered mobile fish tank that allows the goldfish to decide where to drive. The robot is controlled by a Raspberry Pi and uses some Pololu parts listed below. They posted a video of the robot on Facebook, and their project webpage has a description and a parts list.
Related products


A Raspberry Pi robot without a HAT
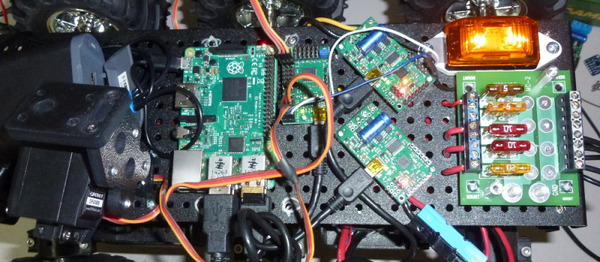 |
Using an Arduino shield or Raspberry Pi add-on board is often a quick and convenient way to get started on a robotics project, but for maximum flexibility, nothing beats building your own system from standalone boards. Rud Merriam’s Hackaday article describes the design of his Raspberry Pi-controlled robot, for which he opted to use separate modules instead of daughterboards on the Pi, and mentions some of the trade-offs involved in making that decision.
The robot is built on a Wild Thumper chassis and uses a Maestro USB servo controller and two Simple Motor Controllers to interface the Raspberry Pi with the robot’s motors and actuators. In Rud’s writeup, he explains how he made use of some of the more advanced features of the Maestro and SMCs, like using servo channels for general-purpose I/O and setting up daisy-chained serial communications. Check out the full article for all of the details.
Related products


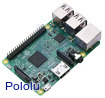
New product: Raspberry Pi 3 Model B
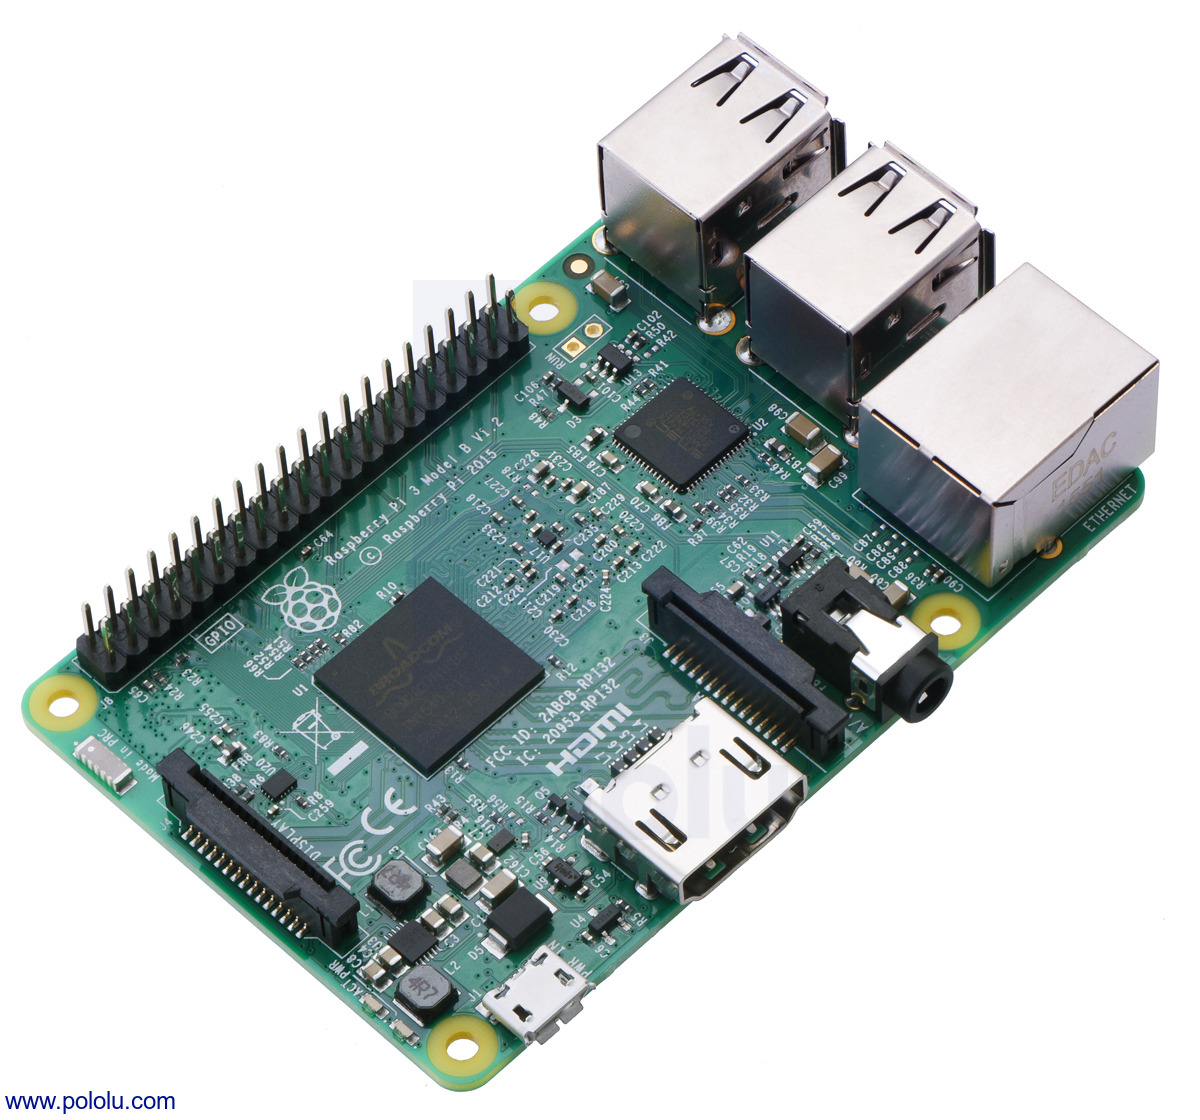 |
We are now offering the Raspberry Pi 3 Model B. The Raspberry Pi is a popular credit card-sized computer that can run ARM Linux distributions. As the successor to the Raspberry Pi 2 Model B, the Pi 3 has a more powerful processor and adds wireless connectivity. Here are the specific improvements:
- 1.2 GHz 64-bit quad-core ARMv8 CPU
- 802.11n Wireless LAN
- Bluetooth 4.1
- Bluetooth Low Energy (BLE)
Along with these improvements, the Raspberry Pi 3 maintains compatibility with and the form factor of the previous Pi 2 (and Pi 1 Model B+). With its 0.1″-spaced GPIO header and small size, the Raspberry Pi also works as a programmable controller in a wide variety of robotics and electronics applications. It can also be combined with our A-Star 32U4 Robot Controller LV with Raspberry Pi Bridge to make a great controller for a small robot. We also carry a selection of Raspberry Pi expansion boards.
|
|
This comparison chart can help in selecting the right Raspberry Pi for your project:
 Raspberry Pi Model A+ 512MB |
 Raspberry Pi Model B+ |
 Raspberry Pi 2 Model B |
 Raspberry Pi 3 Model B |
 Raspberry Pi 3 Model B+ |
|
|---|---|---|---|---|---|
| CPU: | BCM2835 | BCM2836 | BCM2837 | BCM2837B0 | |
| CPU cores: | 1 | 4 | |||
| CPU speed: | 700 MHz | 900 MHz | 1.2 GHz | 1.4 GHz | |
| RAM: | 512 MB | 512 MB | 1 GB | ||
| Ethernet: | No | Yes | |||
| WiFi: | No | 2.4 GHz 802.11n | 2.4 GHz 5 GHz 802.11b/g/n/ac | ||
| Bluetooth: | No | 4.1 | 4.2 | ||
| Bluetooth Low Energy: | No | Yes | |||
| HDMI: | Yes | ||||
| Analog video: | Yes1 | ||||
| SD socket: | microSD | ||||
| Onboard regulators: | switching | ||||
| Expansion header pins: | 40 | ||||
| USB ports: | 1 | 4 | |||
| Mounting holes: | 4 | ||||
| Dimensions2: | 2.5″ × 2.2″ × 0.47″ | 3.35″ × 2.2″ × 0.8″ | |||
| Weight3: | 23 g | 42 g | 50 g | ||
1 Audio and analog video provided by a single four-pole 3.5 mm jack. This 3.5 mm jack also has its own dedicated low-noise power supply for improved audio.
2 Length and width measurements are for the PCB only; several of the connectors extend past the edge of the board.
3 Weight does not include microSD cards.
Related products
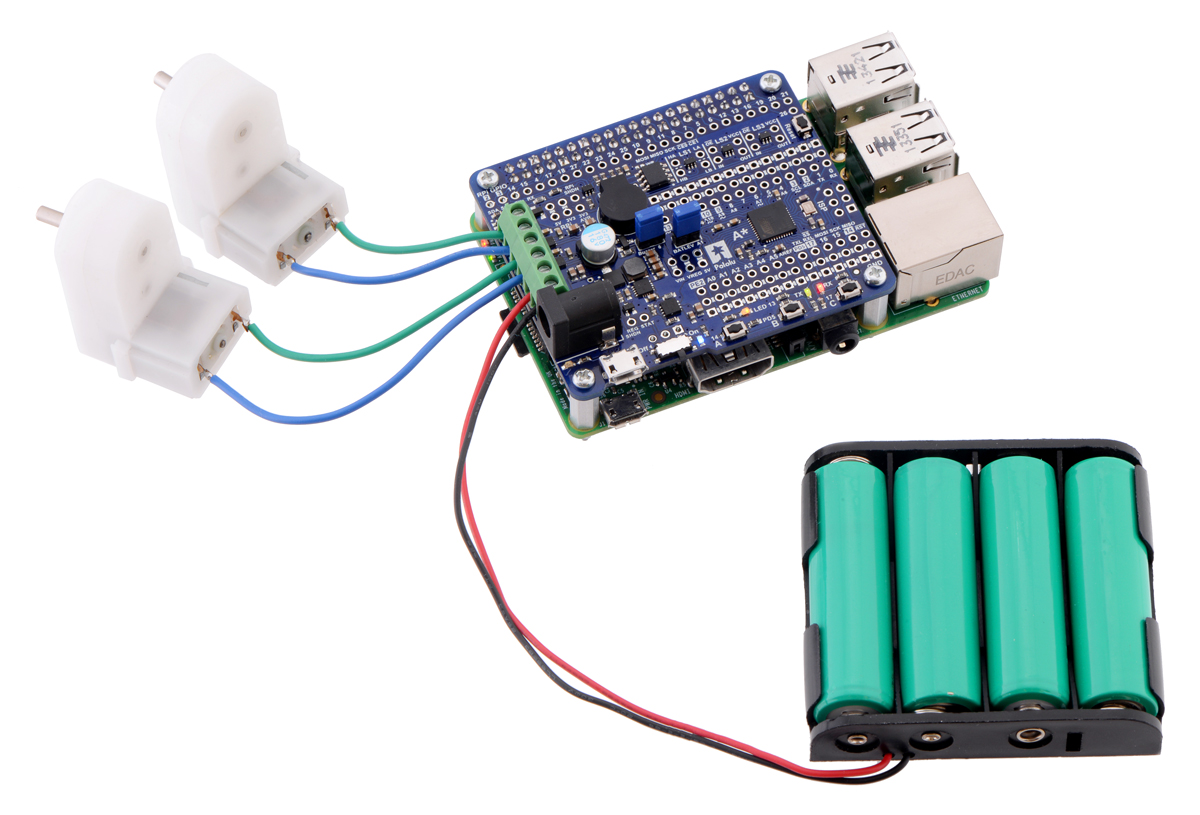
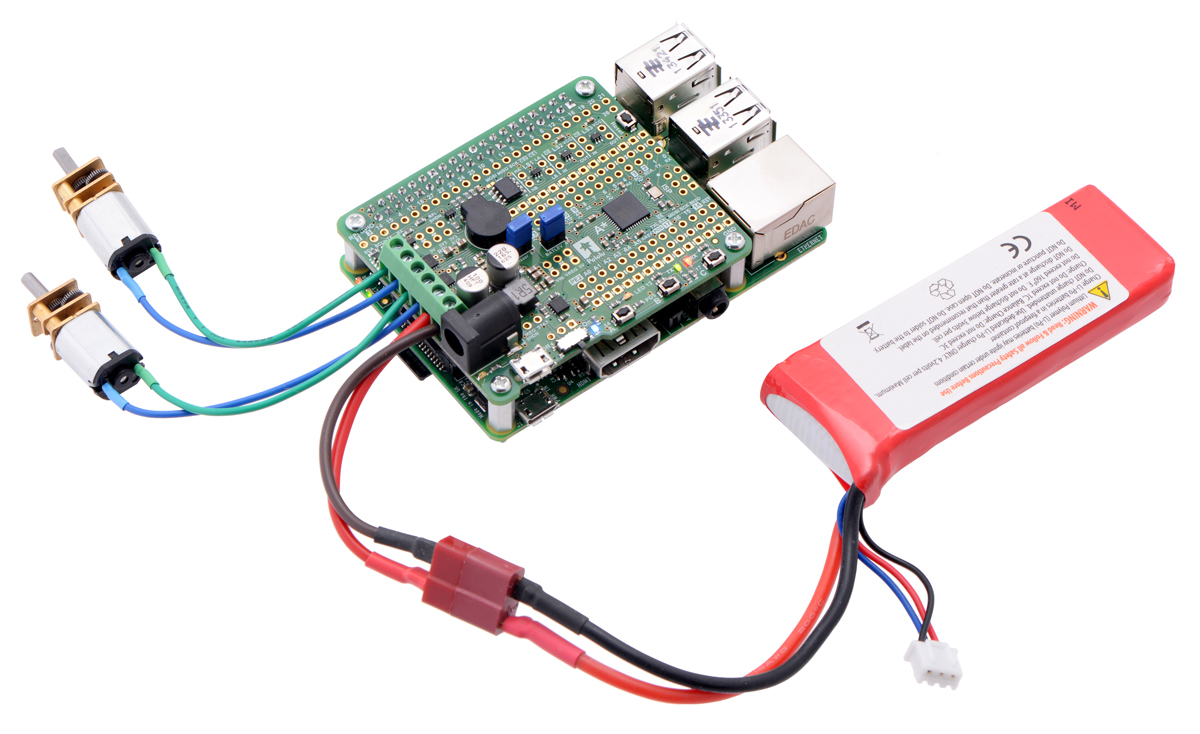
Building a Raspberry Pi robot with the A-Star 32U4 Robot Controller
In this post I will show you how to build an expandable robot platform based on a Raspberry Pi and an A-Star 32U4 Robot Controller. With this platform, the powerful Raspberry Pi can take care of high-level tasks like motion planning, video processing, and network communication, while the A-Star, which mounts to the Pi’s GPIO header, takes care of actuator control, sensor inputs, and other low-level tasks that the Pi is incapable of. The total cost of the parts I used is about $120. Continued…
New product: A-Star 32U4 Robot Controller SV with Raspberry Pi Bridge
 |
Our A-Star 32U4 Robot Controller SV with Raspberry Pi Bridge is now available, joining the LV version we released six months ago.
Similar to its lower-voltage sibling, the Robot Controller SV is a general-purpose robot controller that includes dual motor drivers and other useful peripherals like pushbuttons and a buzzer. It also has the same level shifters and power circuit that allow it to easily power and communicate with a Raspberry Pi when mounted as an auxiliary controller. Like our other A-Star controllers, the A-Star Robot Controller SV built around an ATmega32U4 microcontroller and ships preloaded with an Arduino-compatible USB bootloader.
This SV version of the A-Star Robot Controller uses an efficient step-down switching regulator, enabling it to operate (and optionally supply power to an attached Raspberry Pi) with input voltages from 5.5 V to 36 V. Compared to the LV version, the Robot Controller SV can also supply substantially more current across its wide operating voltage range:
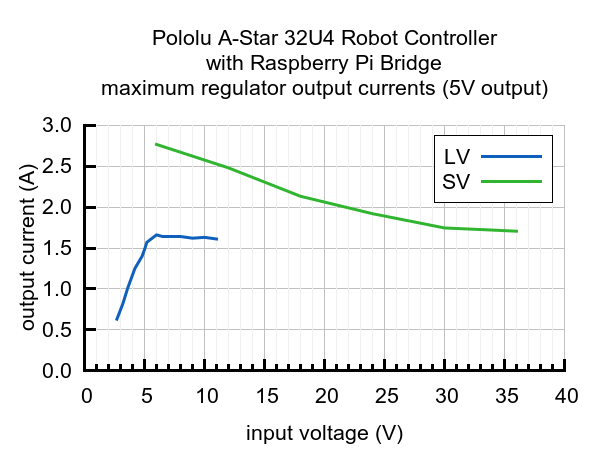 |
We’ve been working on some (long-awaited) I²C software to allow the A-Star to be used as a slave controller with a Raspberry Pi master, as well as an example project that shows how to build a robot with this setup. They’re nearly ready, so watch for them on the blog in the coming weeks. But don’t forget that the A-Star board can also be used by itself as a capable robot controller, as my recent sumo robot demonstrates.
To facilitate both of these uses, the A-Star 32U4 Robot Controller SV is available either assembled for use as a Raspberry Pi add-on or in a more barebones configuration that is suitable for customized assembly or standalone use. See those product pages and the user’s guide for more information about the robot controller.
Related products


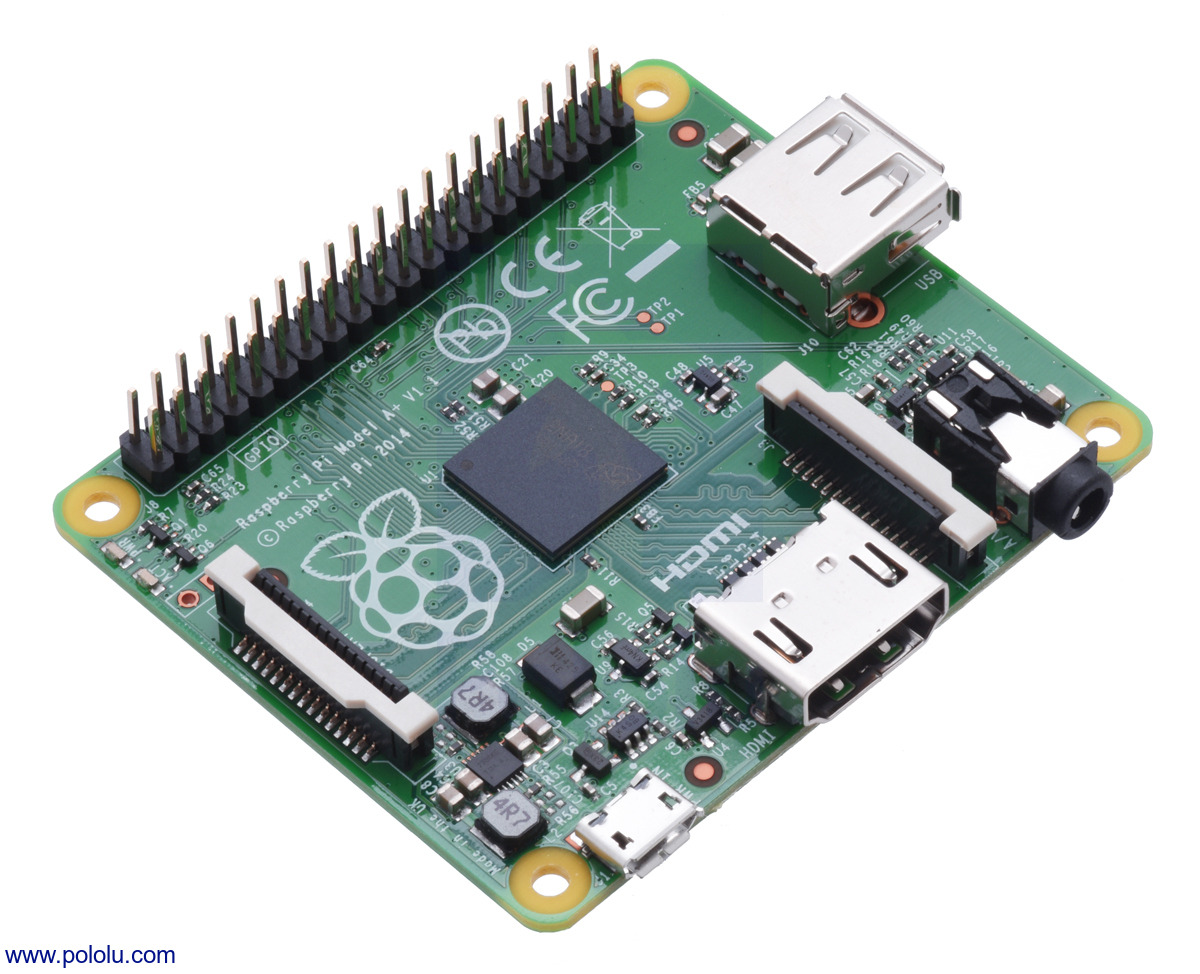
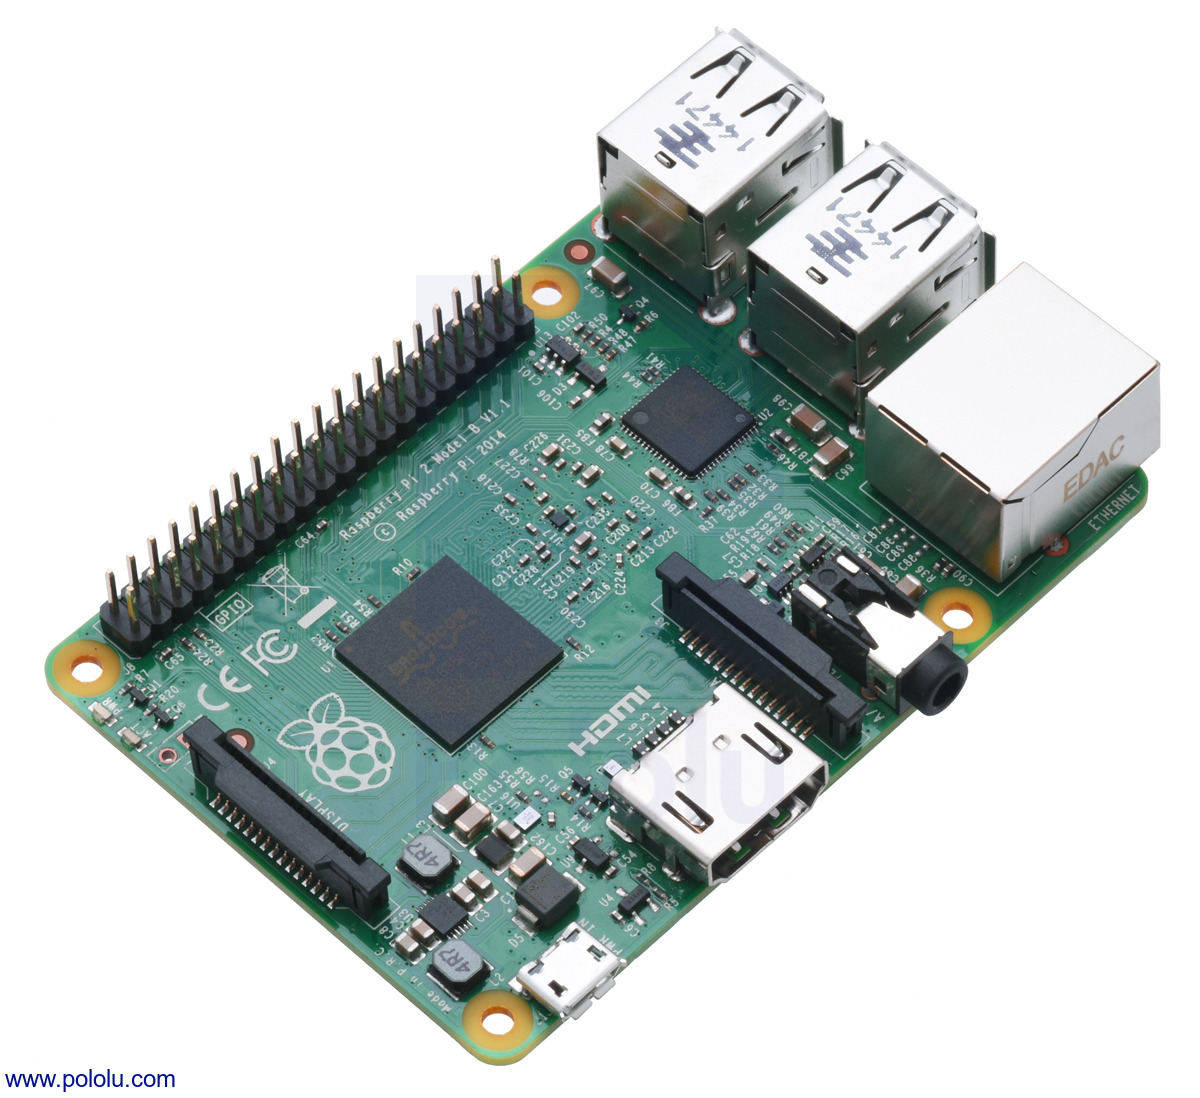
New products: Raspberry Pi Model A+ and Raspberry Pi 2 Model B
We now have three "Pi"s! …No, I’m not talking about our 3pi robot.
 |
In addition to the Raspberry Pi Model B+ we’ve been carrying, we now offer the smaller Raspberry Pi Model A+ and the more powerful Raspberry Pi 2 Model B as well. Check out their product pages for details about each version and how they compare to each other.
|
|
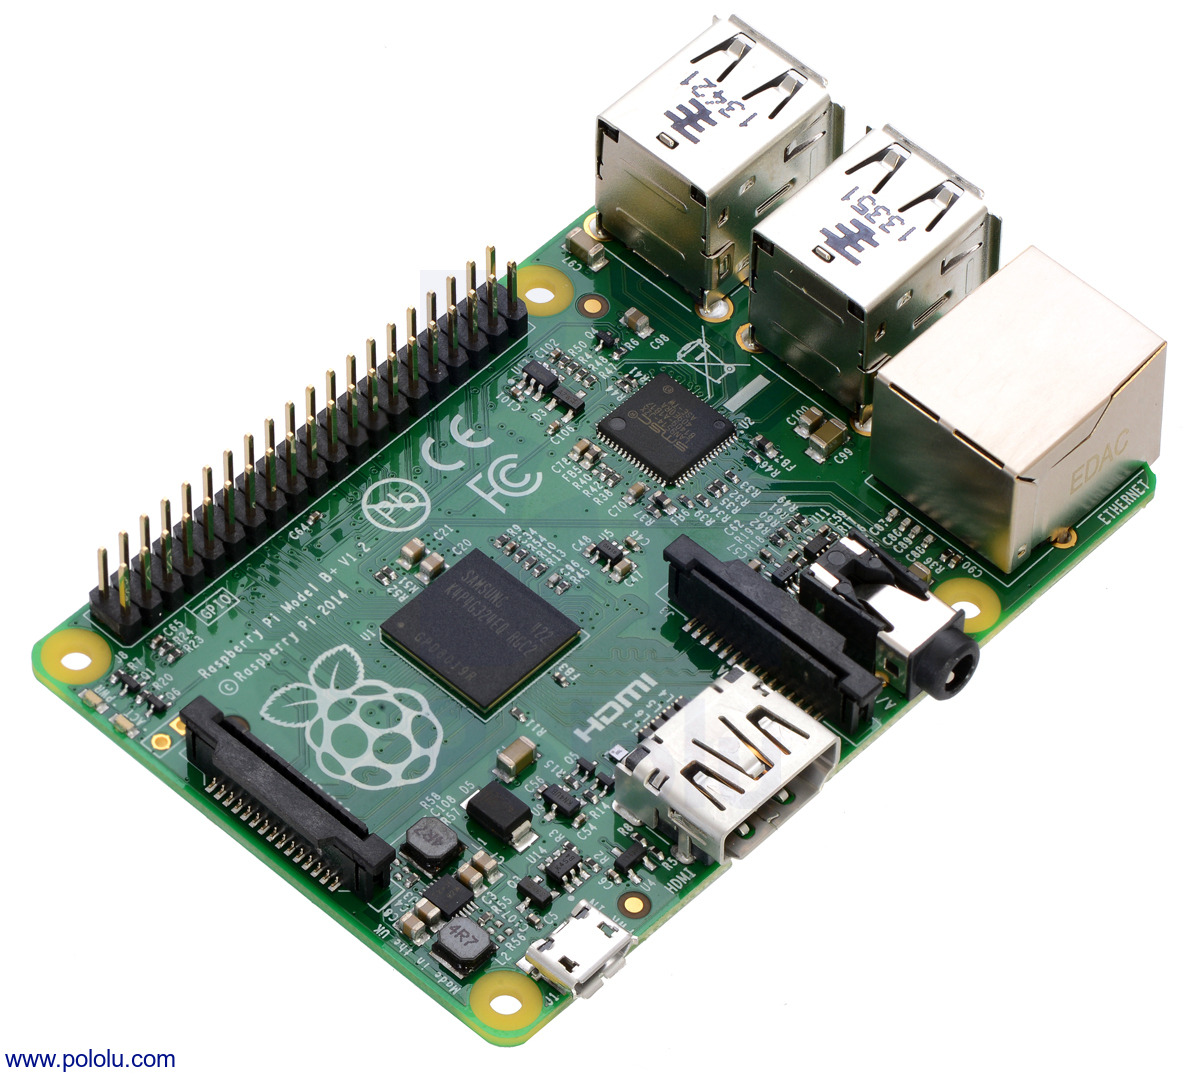 |
Raspberry Pi Model B+. |
|---|
As with the B+, the A+ and 2 B are compatible with our Raspberry Pi expansion boards, including our A-Star 32U4 Robot Controller with Raspberry Pi Bridge and our MC33926 and DRV8835 motor driver add-ons.
 |
Related products

Pi Wars 2015
There is a nice recap on the Raspberry Pi blog of the Pi Wars 2015 competition that was held last weekend on December 5th, 2015. It is a robotics competition held in Cambridge, UK that focuses on robots controlled by a Raspberry Pi. I noticed a lot of Pololu parts on the robots in the videos. Just a few examples are wheels and tracks, motors, and reflectance sensors. I didn’t see any A-Star 32U4 robot controllers in the videos, but I think that would make a great controller for a robot in the next competition because it can be used as a Raspberry Pi expansion board!
You can check out the Pi Wars 2015 post for more details.


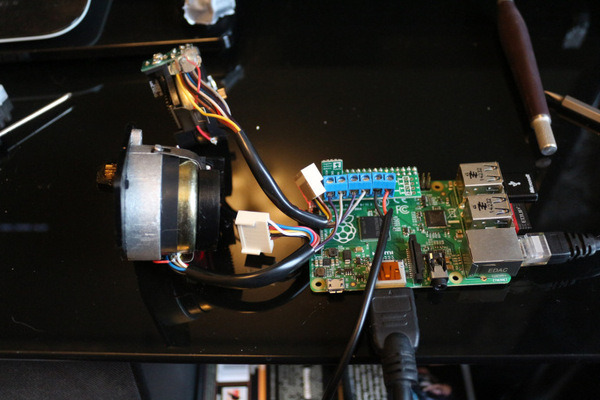
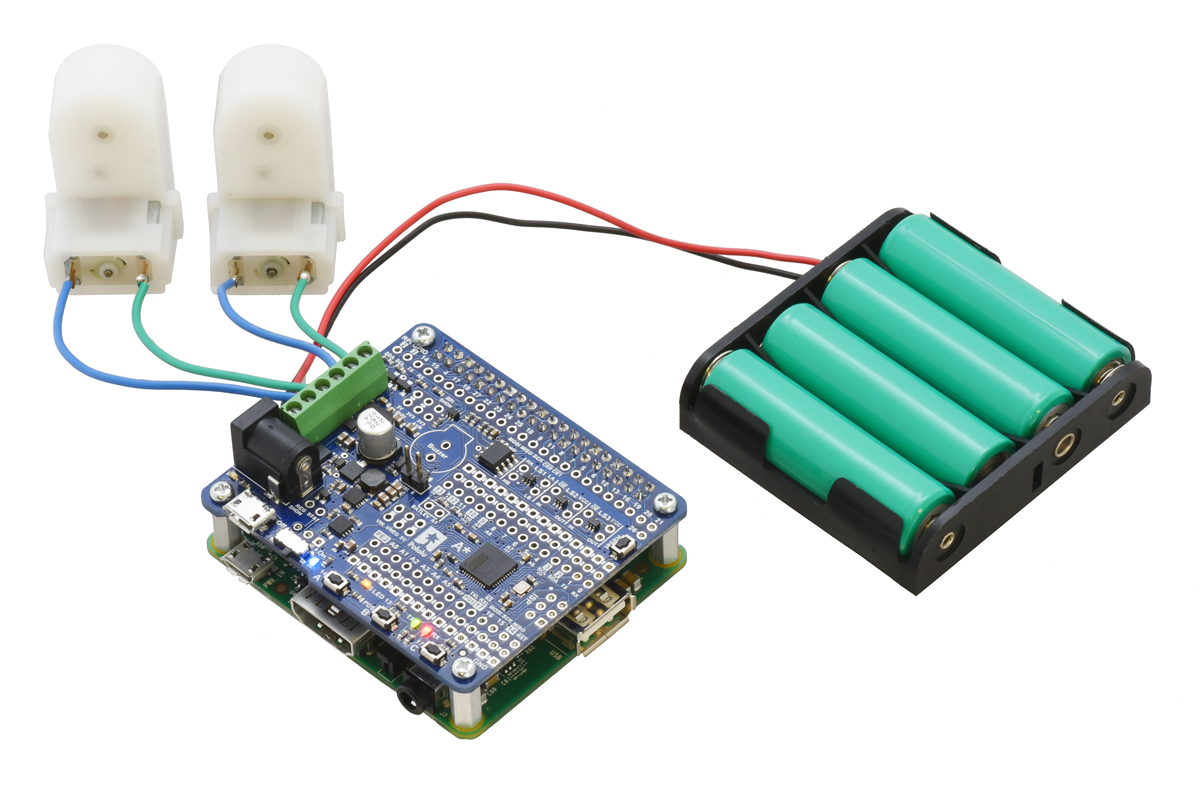
Raspberry Pi Solar Tracker
Jay Doscher posted on his blog at Polyideas.com about his 2-axis solar tracker designed to provide the optimal amount of power output with a portable setup. In the build, Jay uses a Raspberry Pi A+ topped with our Dual MC33926 Motor Driver for Raspberry Pi to control the motion of the system, which is accomplished using a Concentric 4″ linear actuator with feedback. In lieu of a GPS unit, the tracker uses hard-coded longitude and latitude coordinates with Pysolar, an open-source Python library, to calculate the sun’s predicted position. The system keeps the solar panel pointed at the calculated position with the help of a Razor IMU from SparkFun. The video above is time lapse footage of a mechanical test of the system that shows the unit tracking the sun (although it is indoors).
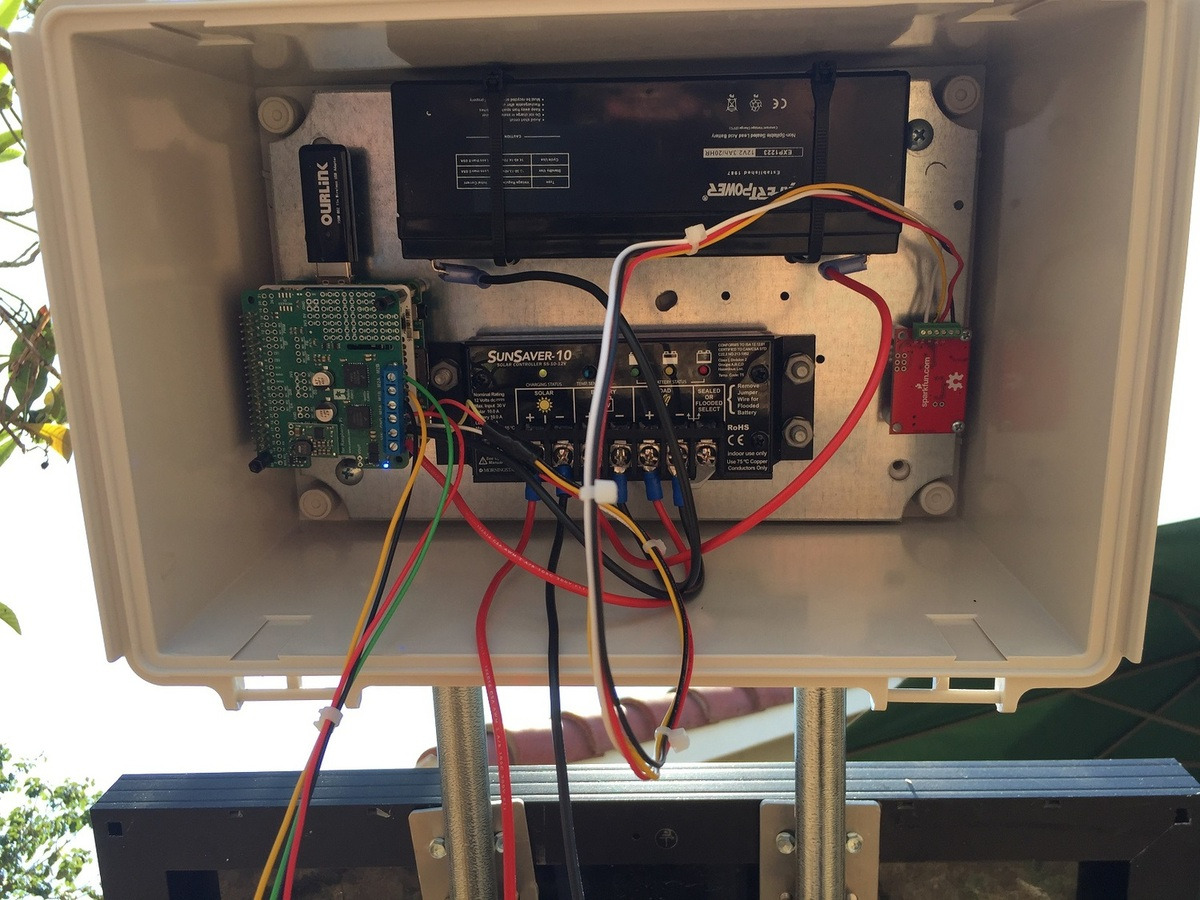 |
In the picture above, you can see the Raspberry Pi and dual MC33926 driver board on the left and the IMU on the right. The Dual MC33926 Driver for Raspberry Pi fits on top of the Raspberry Pi mainboard, eliminating a lot of wiring and making it easy to use while also leaving the setup looking clean and organized. Additionally, the Dual MC33926 Driver for Raspberry Pi provides a set of three through-holes where an appropriate voltage regulator can be conveniently connected, allowing the motor supply to also power the Raspberry Pi. You can see one of our D24V10F5 switching step-down regulators mounted on top of the dual MC33926 driver board to serve this purpose in the picture above as well.
 |
This project was also a 2015 Hackaday Prize entry and made it to the quarterfinals!
For more information about this project, see Jay’s blog post, which has additional photos and details including a parts list and links to his code.
Related products


Home | Forum | Blog | Support | Ordering Information | Lists | Distributors | BIG Order Form | About | Contact
© 2001–2026 Pololu Corporation


