Pololu Blog »
SK9822 LED jack-o-lantern

To kick off our 2018 mini-series of spooky Halloween projects, I’ll go over how I fixed and modified my family’s broken light-up jack-o-lantern, but first I want to remind you that our Halloween sale is still going on. Visit the sale page for more information, and if you are in need of some inspiration, check out our Halloween-tagged blog posts for some sample projects. Now, on to the jack-o-lantern…
 |
The lantern suffered from a couple of burnt out incandescent bulbs and an unreliable power switch. The switch had a poor mechanical connection somewhere, which meant that in addition to sliding it into the “on” position, the case had to be pressed/squeezed in just the right spot to connect power. I absolutely needed to replace the switch, but in addition, this was a good time to upgrade from a bland set of incandescent lights to a more customizable lighting solution by adding some individually addressable RGB LEDs.
I wanted to preserve the battery-powered functionality of the lantern, and since it is powered by 4 C batteries, it has a supply voltage that could be anywhere between about 4V and 6V. The SK9822 LED strips that I wanted to use run on 5V, so I would need some kind of regulator to power them, as well as a microcontroller to send them control signals. Fortunately, our A-Star Mini microcontrollers have onboard regulators that allow them to work with a wide operating range of voltages, and provide ample current that can be used for other devices in the system, like the SK9822. In particular, the A-Star Mini LV was a good fit for a system like this with a voltage that started above 5V and could drop below it as the batteries were drained. (That A-Star’s regulator can also provide about 1A of current!)
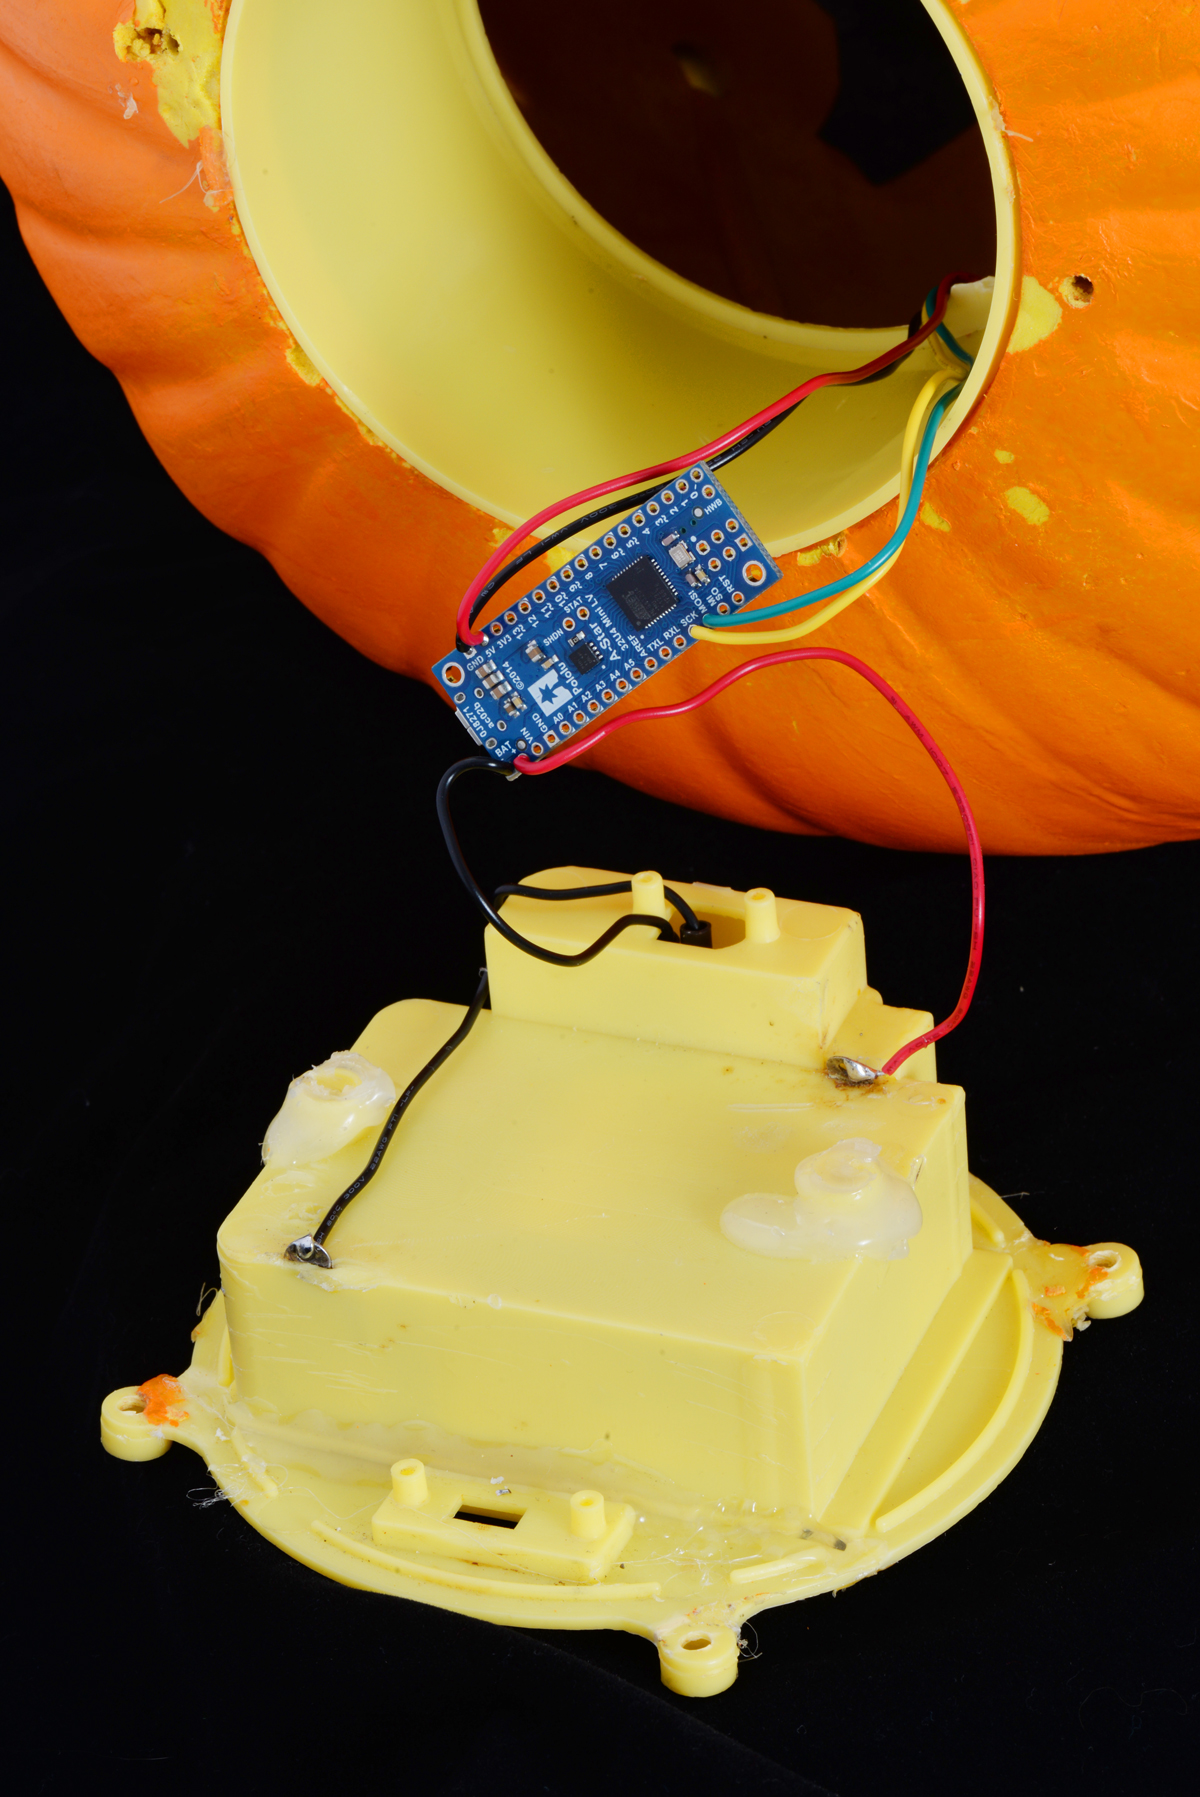 |
The A-Star mini LV and its connections. |
|---|
Starting the upgrade was pretty straightforward: remove all of the old hardware (the mess of old rusty wiring, the incandescent bulbs, and the switch), and solder in the A-Star to the battery holder terminals. From there, I soldered in a rocker switch that was much more satisfying to flip on and off than the older nonworking slide switch. Finally, I soldered up the four connections to the LED strip.
 |
The SK9822 LED strip segment taped to the outside of the plastic holder piece, as seen from the back of the jack-o-lantern. |
|---|
The strip itself only used 4 LEDs, since the lantern illuminates well and I didn’t want to unnecessarily consume lots of power (especially because the lantern was battery powered). The 4 piece segment was cut from one of the low density 30 LEDs per meter strips. The lower density meant that the LEDs were spaced out farther apart, which was useful to spread the LEDs across the plastic tube on the inside of the lantern and more evenly distribute the light. Our LED strip library made it easy to get started programming!
Another benefit of this hardware upgrade is the ability to reprogram the lighting display to whatever I want. Also, since the LED strips use so few IO pins, the decoration is in a good state to add additional electronics (like a proximity sensor or MP3 trigger)!
Related products


-

Polo-BOO! Halloween Sale
- 10 October 2018Looking to make an awesome Halloween costume or impressive yard display? Well, we want to help, so we’re having a sale through Wednesday, October...
-

RC crawling skeleton
- 19 October 2018Our Halloween sale is still going strong! Visit the sale page for more information, and if you are in need of some inspiration, check out our...
0 comments
Post a comment


Home | Forum | Blog | Support | Ordering Information | Lists | Distributors | BIG Order Form | About | Contact
© 2001–2026 Pololu Corporation

