Support » Pololu m3pi User’s Guide » 3. Using the m3pi »
3.a. mbed in Control
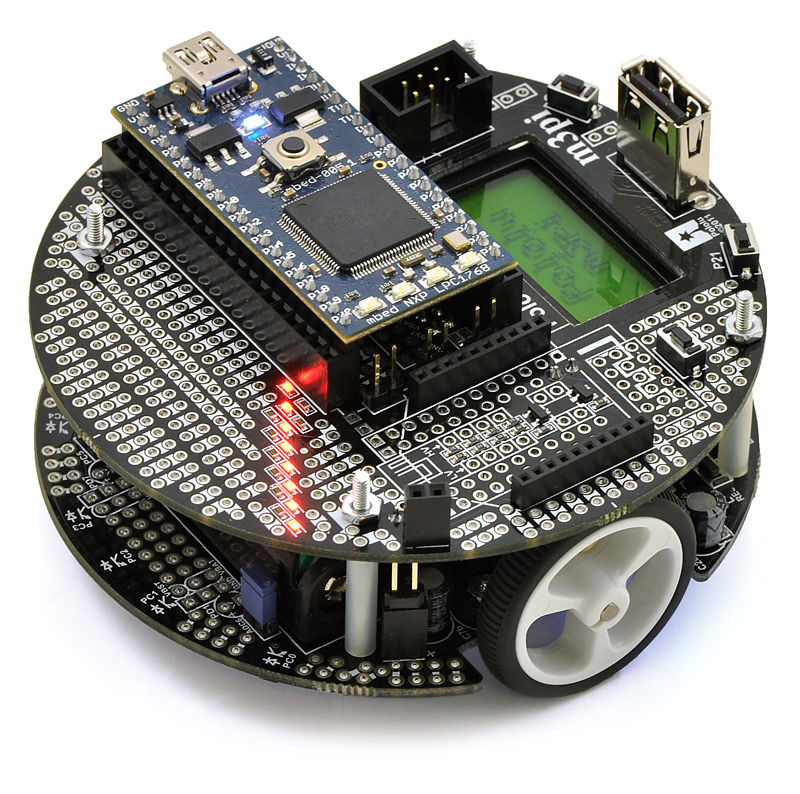 |
The m3pi was designed as a robot platform for an mbed development board, and using an mbed as the main controller of the m3pi robot is the easiest way to take advantage of all the features of the m3pi. The mbed also adds plenty of processing power and free I/O lines to the m3pi robot.
As long as the 3pi robot base is running its stock serial slave program or the most recent version of the 3pi demo program, a socketed mbed can control the 3pi base through a series of serial commands while simultaneously performing high-level tasks like wireless communication (e.g. via a Wixel, XBee, Bluetooth, or Wi-Fi), route planning, sensor processing, and data logging. The m3pi cookbook on mbed.org provides a high-level overview of using the mbed with an m3pi and a sample “hello world” program.
The general procedure for programming an mbed controlling an m3pi is very similar to normal mbed development:
- Turn off the m3pi and connect the mbed via USB to your computer; the mbed does not need to be disconnected from the m3pi.
- Compile your m3pi program in the mbed online compiler.
- Copy the downloaded program file to the mbed’s mass-storage drive.
- Disconnect USB, and turn the m3pi back on.
The 3pi robot included with the fully-assembled m3pi is pre-programed with a serial slave program that works well with the m3pi library; many of the serial-slave commands are supported by the m3pi library. To use the library in your mbed program, either base your program off of an existing m3pi program or click the “import this library into a program” link on the m3pi library webpage.
If you are using the m3pi expansion kit to upgrade your 3pi robot to an mbed-controlled m3pi robot, you should use your AVR programmer to load the serial slave program onto the 3pi. The source code for the serial slave program is included with the Pololu AVR library, as is a precompiled hex file.
Technical Details
To control the base, the mbed communicates serially with the 3pi’s serial slave program at 115,200 bps. If you ordered a fully-assembled m3pi robot, the included 3pi ships with a special demo program that waits for five seconds on startup for a serial command. If the 3pi does not receive a serial command during this initial five seconds, it goes into a demo mode that shows off the various features of the 3pi. To avoid going into demo mode, the mbed should at least send one command within the first 5 seconds of turning on (a good choice would be m3pi.cls(), which clears the LCD).
For more information on how the mbed connects to the 3pi base and other m3pi peripherals, see Section 4. The m3pi mbed library makes it possible to use the m3pi robot without knowing exactly which pins connect to which peripherals, but advanced users might find this information useful if they are modifying the library or writing their own.


Home | Forum | Blog | Support | Ordering Information | Lists | Distributors | BIG Order Form | About | Contact
© 2001–2026 Pololu Corporation
