Pololu Blog »
New product: Romi 32U4 Control Board
 |
What do you need to turn a Romi chassis into a functioning robot? Here are some Romi projects from the community, as well a couple of our example builds:
|
|
|
|
|
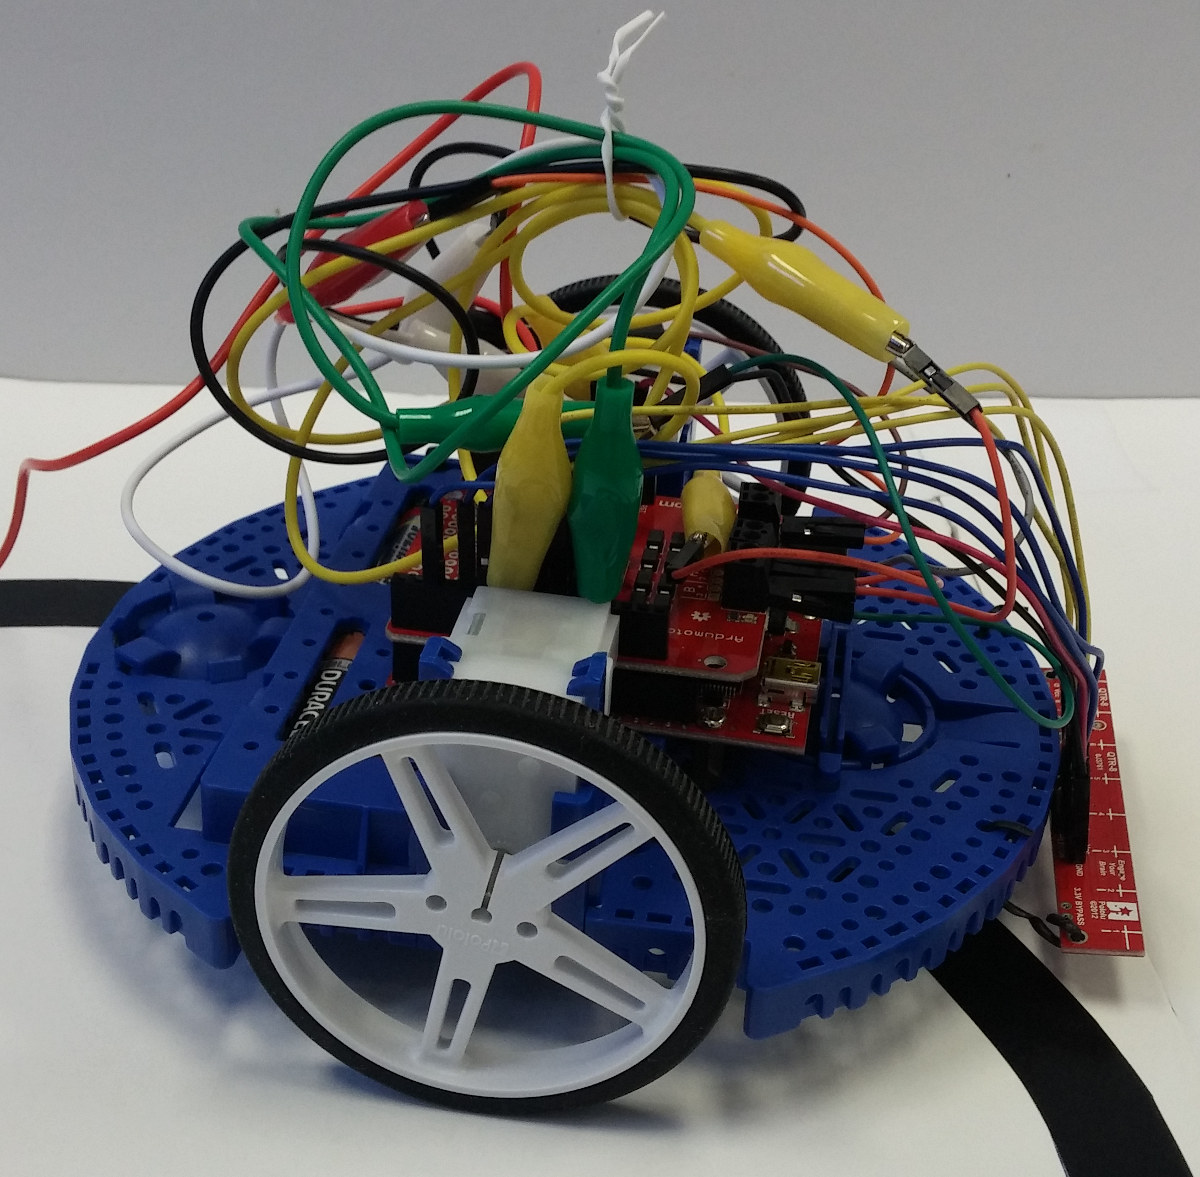

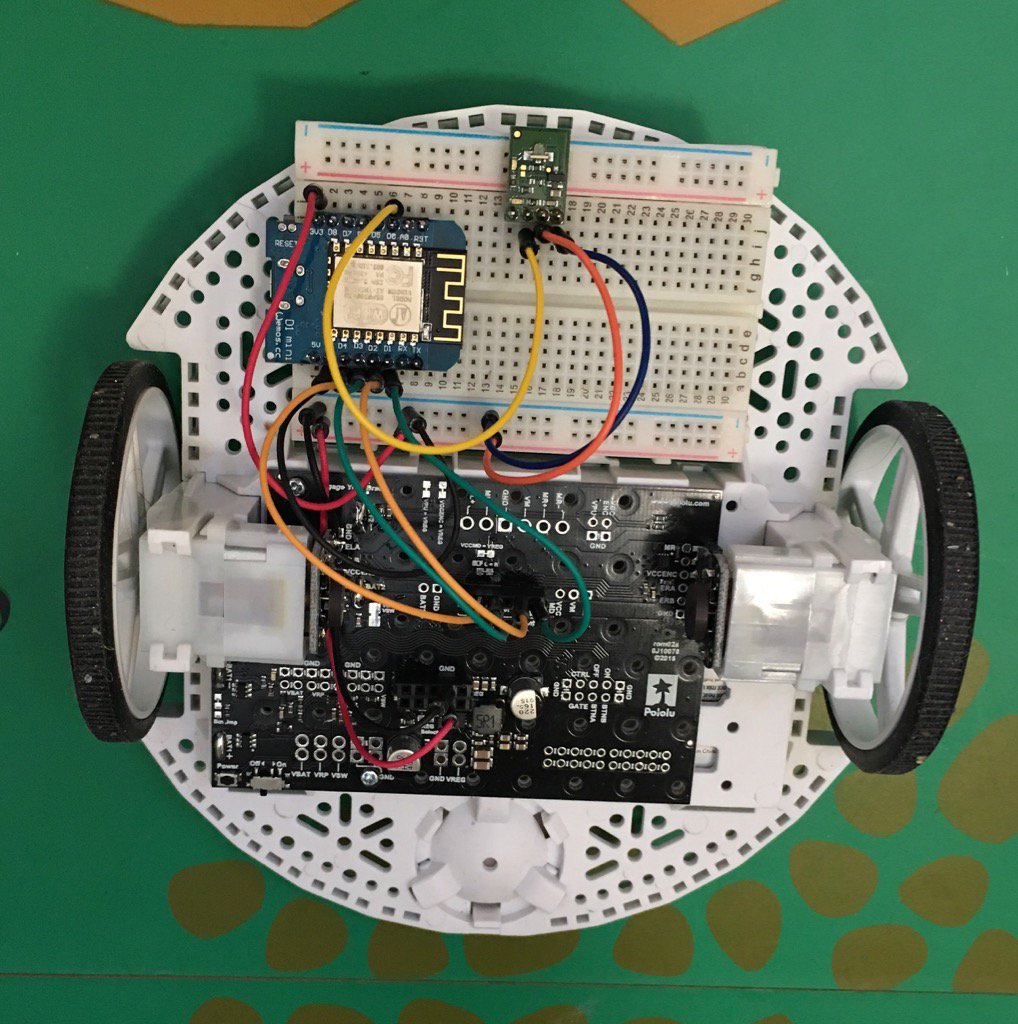

A variety of controllers can be used with the Romi, but until now you have had to figure out lots of wiring to connect everything together. You will always need some wiring to connect your own sensors or other devices, but we have been trying to make it easier to get started, beginning with the Romi power distribution board and motor driver board, which help simplify some of the more difficult parts. Our new Romi 32U4 Control Board is the culmination of this product line: a complete controller solution for the Romi that integrates power, motor control, and an Arduino-compatible microcontroller.
|
|
|
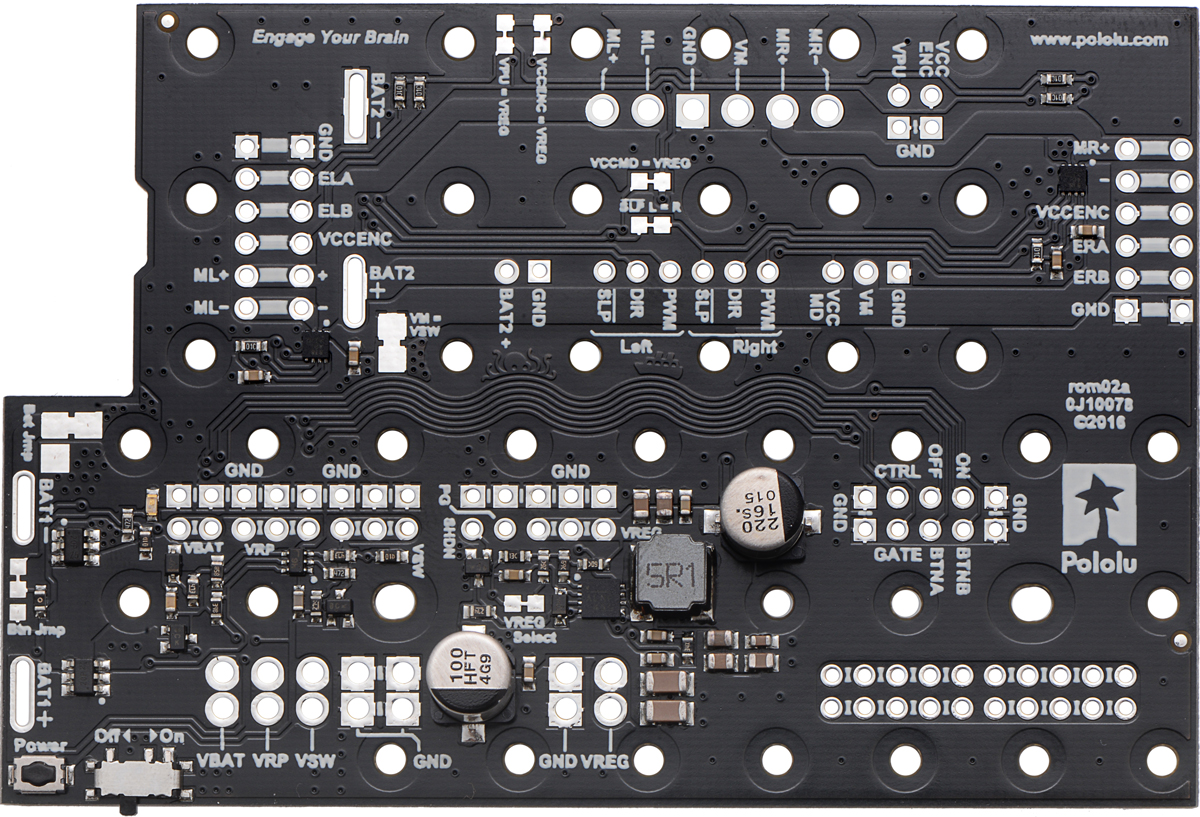
|||
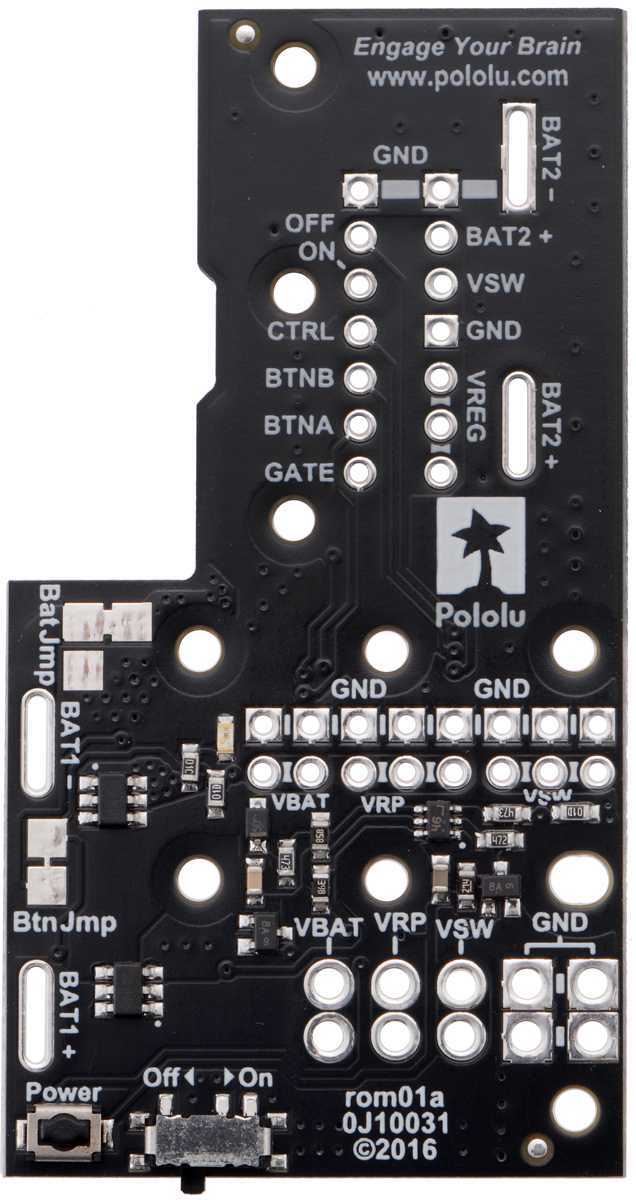
Romi power distribution board, motor driver board, |
|||||
|---|---|---|---|---|---|
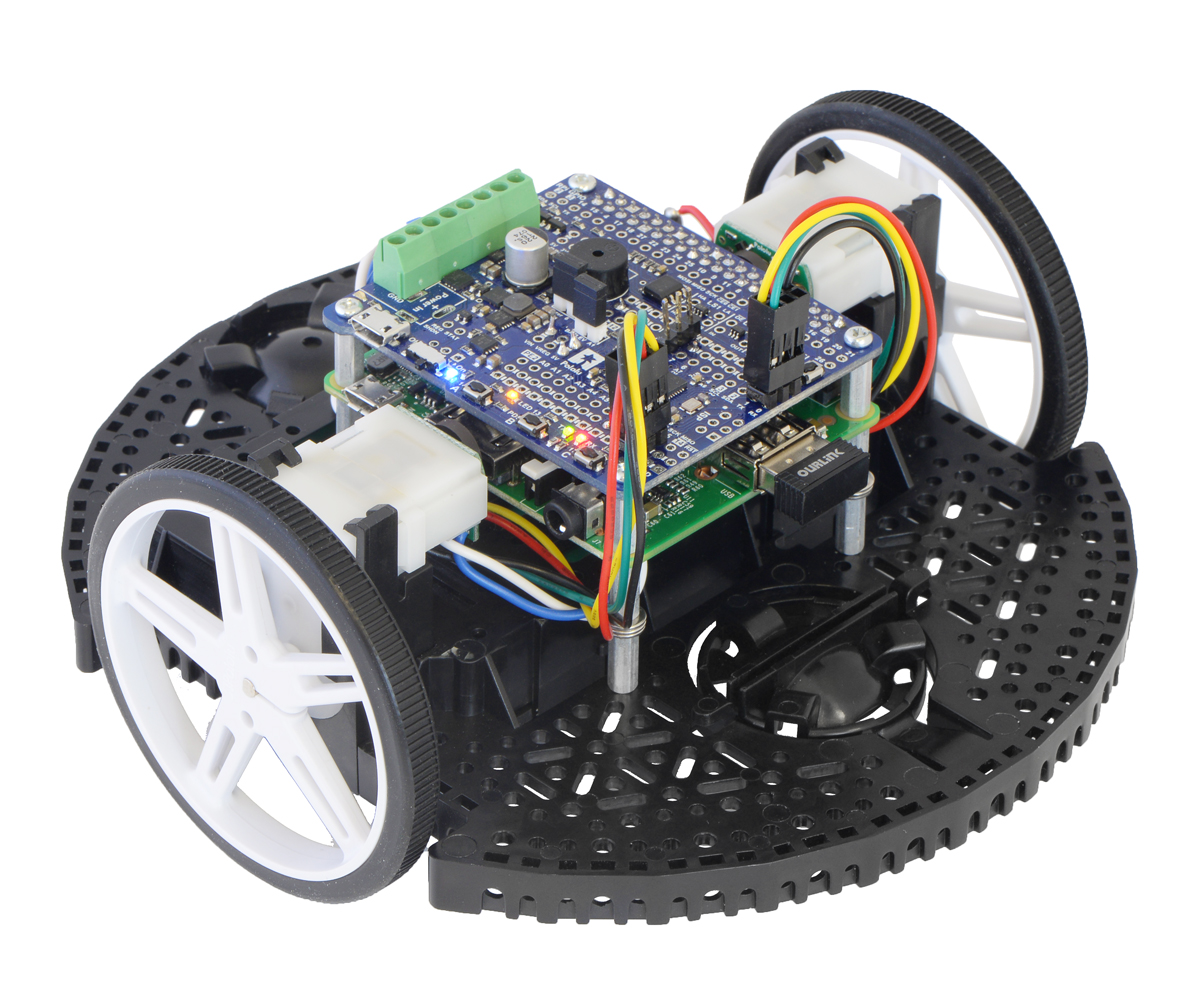
Here is how it looks when connected to a Romi Chassis with motors and encoders plugged in, as well as the optional LCD:
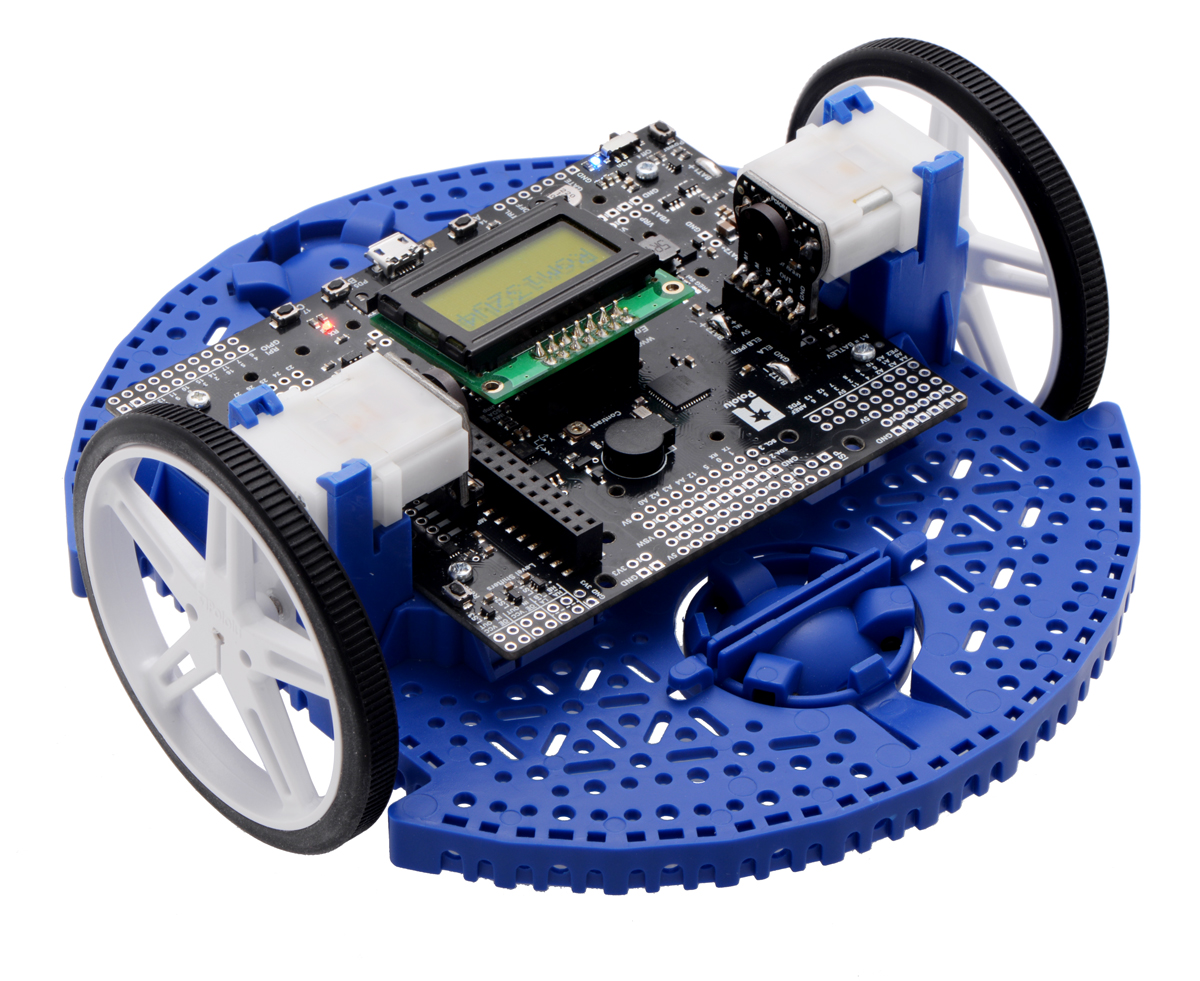 |
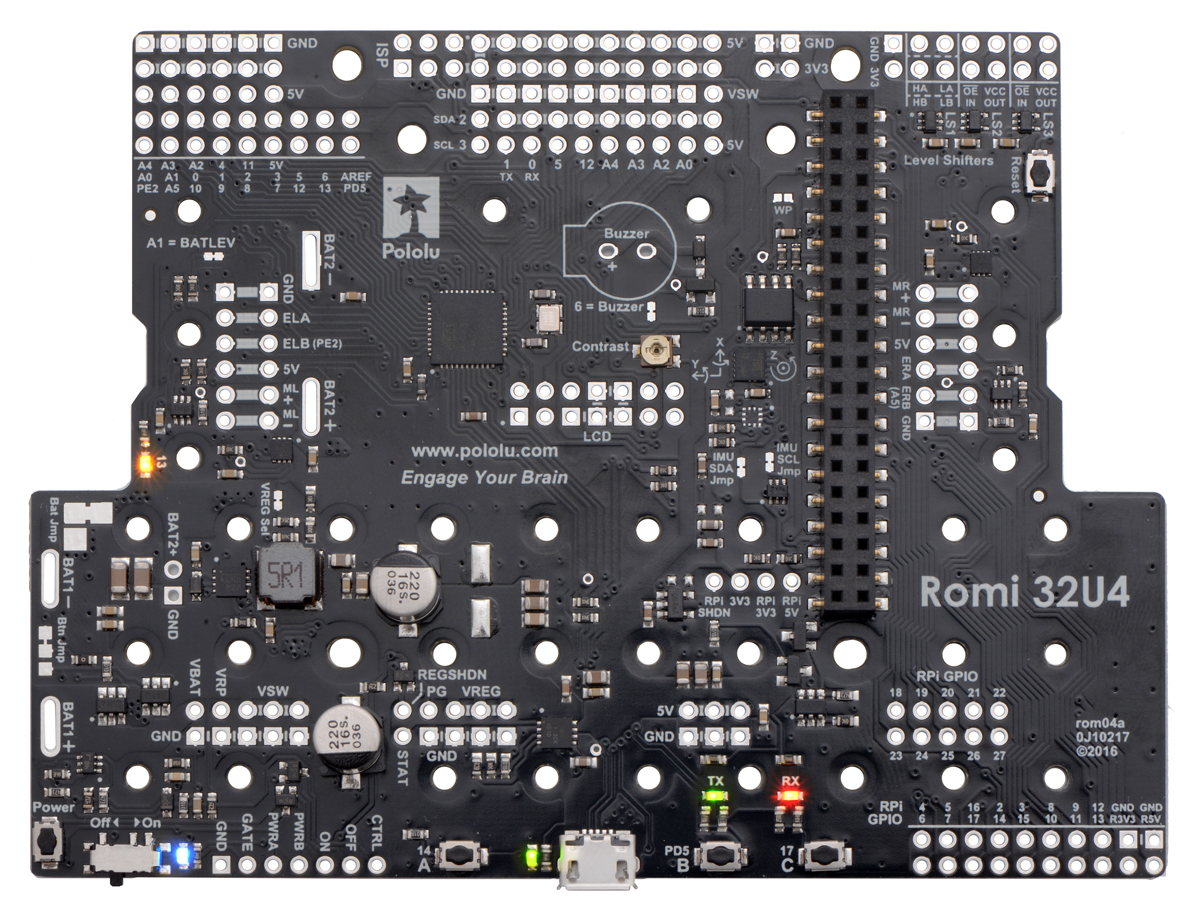
Features of the Romi 32U4 Control Board
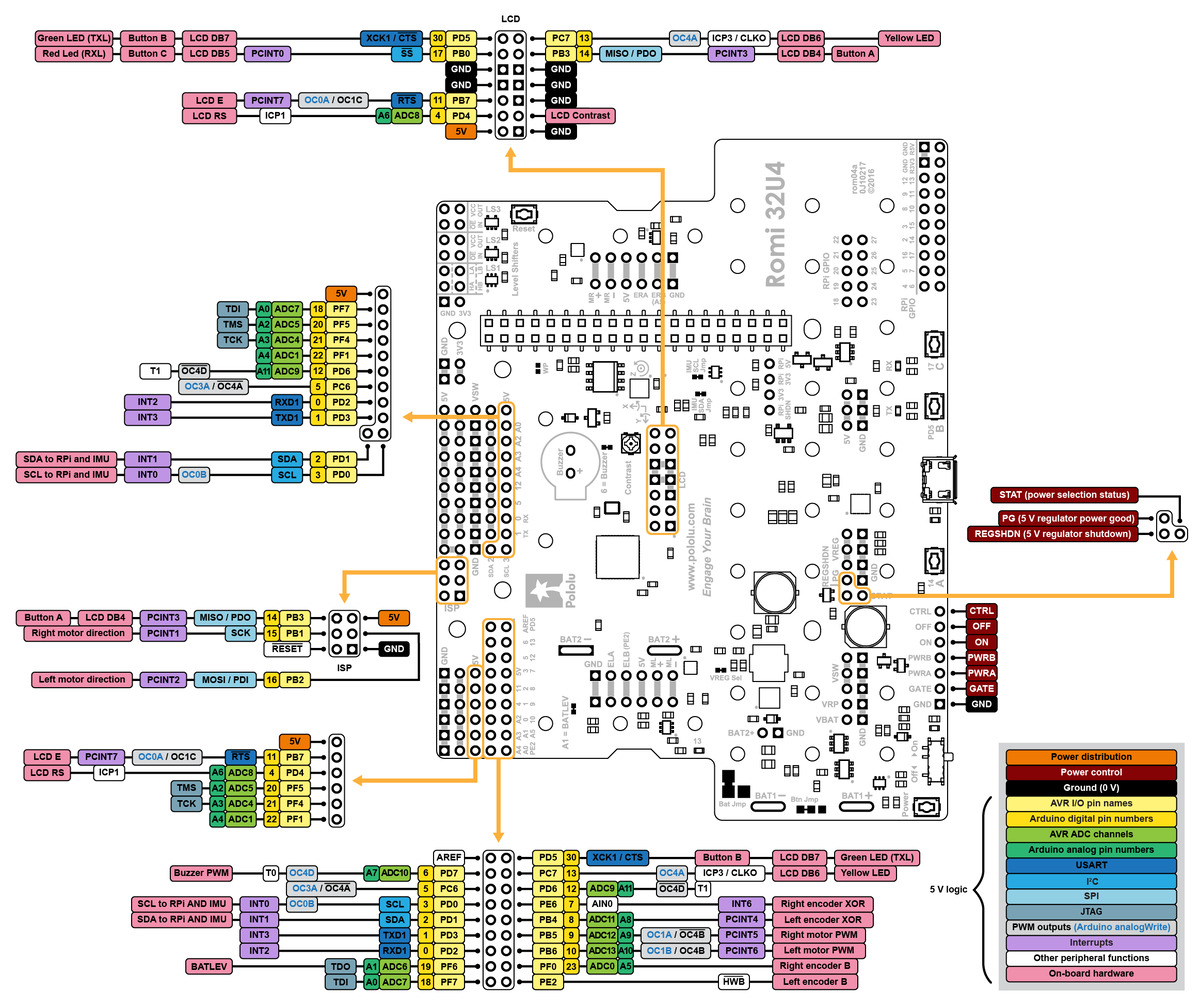 |
Pinout diagram of the Romi 32U4 Control Board (ATmega32U4 pinout, peripherals, and board power control). |
|---|
- Reverse-protected battery power switch circuit
- Powerful 5 V, 2 A switching regulator
- Dual 1.8 A DRV8838 motor drivers
- ATmega32U4 microcontroller with Arduino-compatible USB bootloader
- 16 free general-purpose I/O ports including 10 analog inputs
- LCD connector
- Buzzer
- Three user buttons
- Five indicator LEDs (2 for power, 3 user-controllable)
- Battery voltage monitoring
- Quadrature encoder inputs
- Four general-purpose level shifters
- 3-axis I²C accelerometer
- 3-axis I²C gyroscope
- Raspberry Pi connector with I²C interface and HAT EEPROM
Raspberry Pi interface
Microcontrollers like the ATmega32U4 are great for fast, timing-sensitive operations such as reading sensors or driving servos, but their computing power is very limited compared to devices like the Raspberry Pi. That is why we built a Raspberry Pi interface into this board: to give you the option to expand your robot beyond what is possible with a microcontroller. This could be useful for anything from advanced applications like computer vision or room mapping to simply letting your robot share status updates on Twitter. Here is a Romi assembled with a Raspberry Pi:
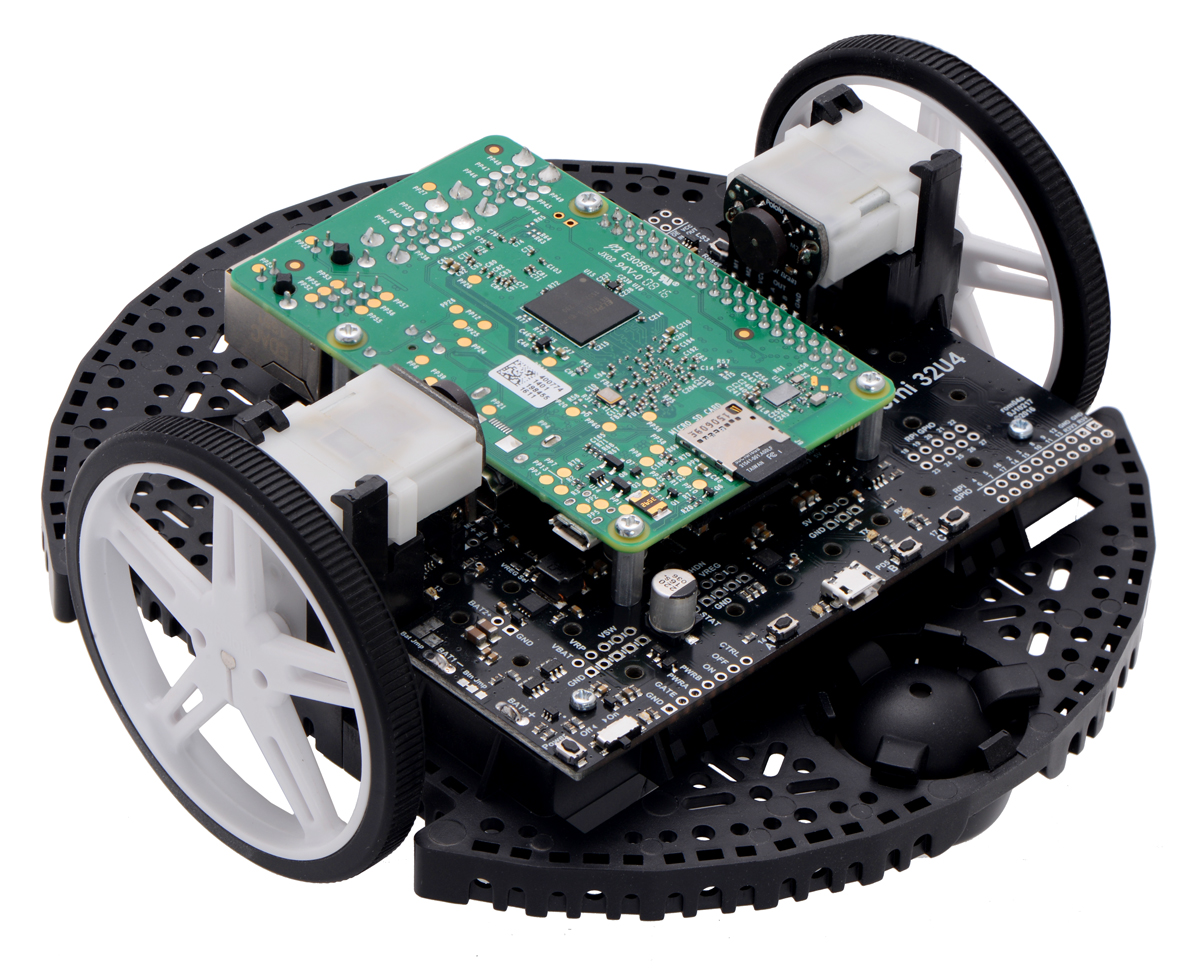 |
When connected, the control board supplies power to the Raspberry Pi and connects to it as an I²C slave device. We include the ID EEPROM required by the HAT specification, though we have not found it particularly useful, so we ship it blank and unlocked for you to experiment with.
Our Arduino library gives example code for I²C connectivity, and you can check out our Raspberry Pi tutorial for the A-Star 32U4 Robot Controller, which we will be updating for the Romi 32U4 Control board.
For more information about the Romi 32U4 Control Board or to order, please see its product page.
Related products


-
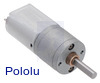
New 20D mm metal gearmotors
- 16 January 2017Our vast assortment of metal gearmotors has gotten even bigger! With over 100 micro metal gearmotor options and nearly 100 25D mm metal gearmotor...
-
Robotic snow plow
- 8 February 2017Robert Cowan, former host of the SparkFun Friday new product videos, has made a series of videos on his YouTube channel about building a robotic...
0 comments
Post a comment


Home | Forum | Blog | Support | Ordering Information | Lists | Distributors | BIG Order Form | About | Contact
© 2001–2026 Pololu Corporation

