Support » Pololu Zumo Shield for Arduino User’s Guide » 7. Example sketches »
7.a. RC Zumo
By connecting an RC receiver and running this example sketch, you can turn your Zumo into a radio-controlled vehicle. With the Zumo Shield Arduino library installed, the sketch file can be opened in Arduino by selecting File > Examples > ZumoShield > RCControl.
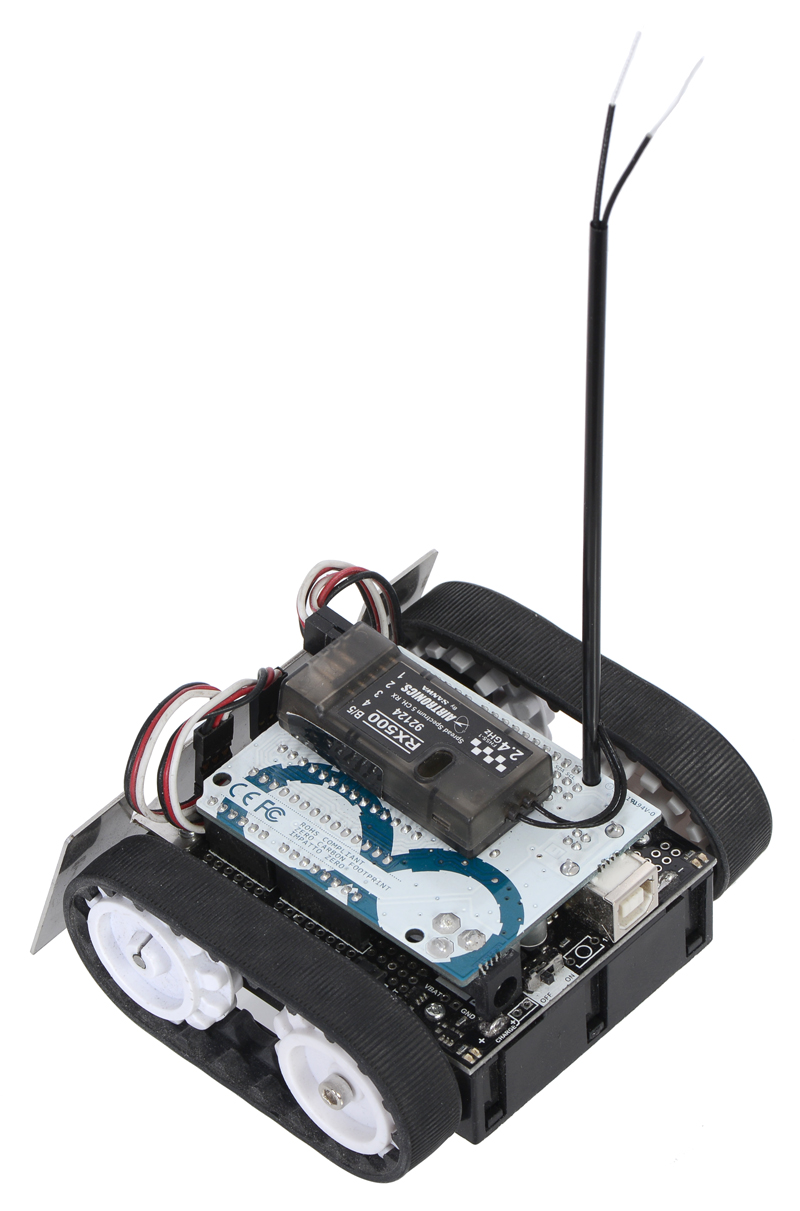 |
A Zumo robot with an RC receiver attached to make a radio-controlled vehicle. |
|---|
An easy way to connect the receiver to the Zumo Shield is to solder two 1×3 male header strips to the locations shown in the diagram below, then plug in a pair of standard servo cables between the receiver and the Zumo Shield. (If your receiver has a separate power source, you should only connect the signal and ground wires between it and the Zumo.)
 |
Diagram of an RC receiver connected to pins on a Zumo Shield. |
|---|
This program uses Arduino’s PulseIn library to read the signals from the receiver. By default, it assumes the throttle and steering channels are connected as the diagram shows on pins 4 and 5, respectively. The signals from the two channels are mixed to determine the left and right motor speeds, allowing for more intuitive control.


Home | Forum | Blog | Support | Ordering Information | Lists | Distributors | BIG Order Form | About | Contact
© 2001–2026 Pololu Corporation
