Support » Pololu 3pi+ 2040 User’s Guide » 5. Programming the 3pi+ with MicroPython »
5.1. Updating the MicroPython firmware
The 3pi+ 2040 Robot comes preloaded with our custom MicroPython firmware, which you can replace with your own programs or upgrade to a later version of MicroPython.
Checking the installed MicroPython version
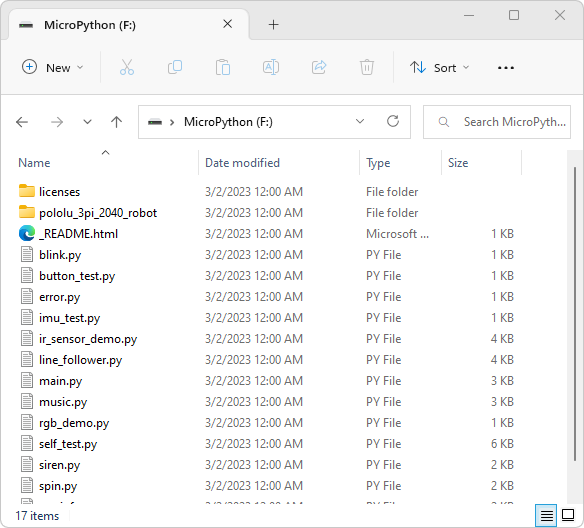
Connect your 3pi+ to a computer with a USB C cable. If MicroPython is installed on the 3pi+, it should show up as a drive called “MicroPython” that contains a list of Python files:
 |
The dates shown for most of the files and folders will probably correspond to your firmware version, but to check the exact installed version of MicroPython, you will need to connect to the board with a serial terminal program. Here are some general-purpose terminal programs that work with the 3pi+:
- Google Chrome Labs serial terminal – very simple to get started with, web-based, for Chrome, Chromium, or Edge browsers only.
- Tera Term – Windows only.
- PuTTY – cross platform, available for Debian/Ubuntu with apt-get.
- (The Thonny editor that we describe in Section 5.3 also includes a serial terminal, but it requires a few more steps to get started.)
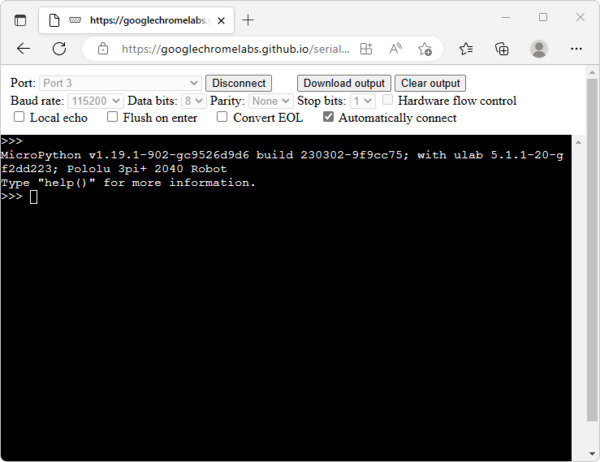
Connect the 3pi+ to your computer with a USB cable, run one of these serial terminal programs, and select the correct serial/COM port. Unless you have other serial devices plugged in, this will usually be the only serial port available, and since it’s a virtual serial port, the detailed settings like baud rate do not matter. Once you are connected, press Ctrl+C to exit the running program and Ctrl+B to display the current firmware version. For example, here is what it looks like in the Google Chrome Labs serial terminal:
 |
Connecting to the 3pi+ 2040 Robot with a serial terminal. |
|---|
In this example, the 3pi+ is running build 230302-9f9cc75, which is a custom edition of MicroPython version 1.19.1, built from commit 9f9cc75 of our MicroPython build scripts.
Firmware versions
The current release is:
- Build 240117-9512cf9 micropython-pololu-3pi-2040-robot-v1.22.1-240117.uf2 (2MB uf2)
Earlier releases are available on GitHub.
Upgrade instructions
Note: Loading a firmware file will delete all programs and data stored on your robot. Make sure you have anything you are working on backed up before you proceed.
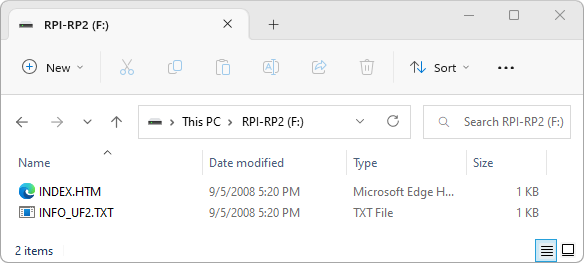
Download the latest firmware above and connect your computer to the 3pi+ with a USB C cable. To get the board into bootloader mode, hold down Button B while pressing Reset. (You could also hold down the button while plugging in the cable.) You should see two green lights (VBUS and 3V3) indicating power, but nothing else should happen on the 3pi+. A folder like this should show up on your computer:
 |
There are a couple of files in there you can look at, but this is not a real drive like the MicroPython drive. You can’t store arbitrary data in it. All you can do is drop in a UF2-formatted binary to load that onto the robot’s flash memory.
Drop in the appropriate firmware file and in a few seconds you will have MicroPython installed. The RP2 drive will disconnect and immediately reconnect again, showing our demo programs.


