Support » Custom Laser Cutting Guide » 6. UV printing »
6.1. How to design UV prints
This section should cover everything you might want to consider in your UV-printing designs. However, if you cannot set up your file, send us what you can (even if it is just attaching a picture file, like a JPG, PNG or TIF, and some notes to your quote request), and we might be able to create the file for you.
- Downloadable template files
- Important file setup notes
- Ink basics
- Printing resolution
- Bitmaps (common picture files)
- First-surface prints
- Second-surface prints
- Double-sided prints
- Additional ink tips capabilities
- Raising areas of the print
- Examples of UV-printed parts
Downloadable template files
You can download one of our templates below, which already have the different layers set up. All you will need to do is add your artwork to the appropriate layer, and save it!
 |
 |
 |
| CorelDRAW (340k cdr) | Adobe Illustrator (7MB ai) | Inkscape (457k svg) |
|---|
|
|
||||
|
|
Important file setup notes
 |
Example of laser-cutting and UV-printing objects organized on multiple layers in file. |
|---|
You can find general file set up instruction in Section 4; however, here are a couple of the important notes that are relevant for UV print designs:
- Define UV-printed artwork on separate layers from your cutting geometry and notes.
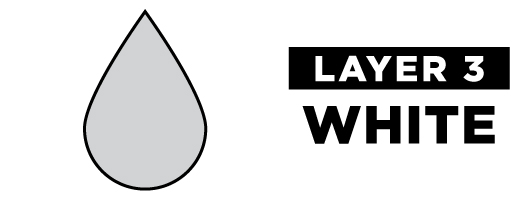
- Define a separate layer for each layer of ink you want to print.
Note: White, primer, and clear layers should be defined in non-white colors as our printer will ignore white objects and white areas.
- Arrange the printing layers in the order that you want us to print them in (bottom first, top last).
- You can define UV-printed artwork using vector or bitmap objects.
Note: If your UV-print design uses bitmaps, we recommend configuring them with 1200 DPI resolution. See the Bitmaps (common picture files)
section for a more detailed explanation.
Ink basics
- To get the most accurate results, we recommend designing your UV-printed artwork with CMYK defined colors instead of RGB colors.
- Using white ink under color ink will make colors opaque and vibrant.
- Color ink printed without white ink behind it will typically be more transparent and muted depending on the material.
Comparison of prints on different materials without and with a white ink layer.
| Material | CMYK | W + CMYK | |
|---|---|---|---|
| Clear acrylic |
|
||
| Black acrylic |
|
||
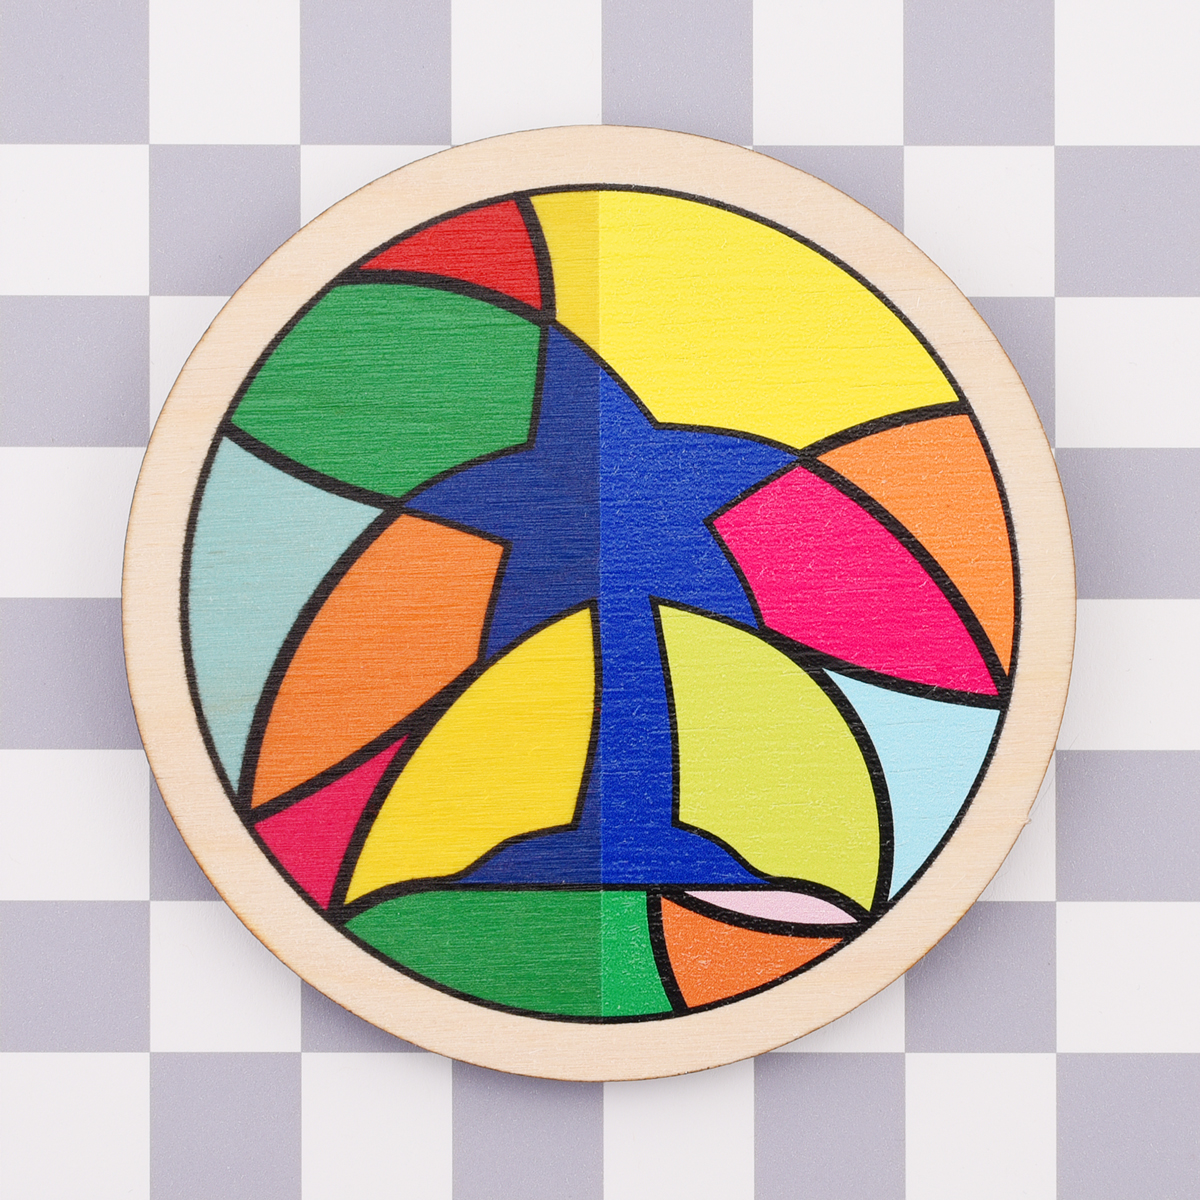
| Birch plywood |
|
||
| Aluminum |
|
||
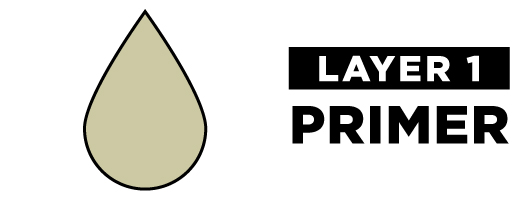
- Primer, when used, should always be the first (bottom) layer as its purpose is to improve adhesion strength between the print and the material.
- We recommend adding a primer layer that will go under all of the artwork for prints on smooth, non-porous materials (e.g. plastics, metals), especially for designs that have features less than 0.2″ (5 mm) wide, such as small text.
- Primer is usually unnecessary for prints on porous materials (e.g. wood).
- Our material profiles in Section 5 indicate whether we recommend primer for each material.
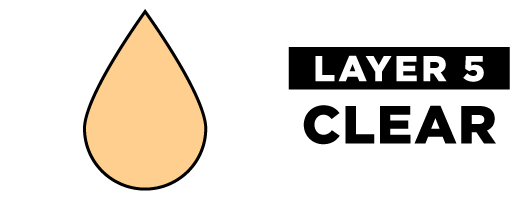
- Clear ink, when used, should always be the last (top) layer as its purpose is to protect the print from abrasion.
- We always recommend adding a clear layer that covers all of the artwork for protection, and we especially recommend it in applications where other objects might contact the print.
Printing resolution
- By default, we UV print orders with 600 DPI (dots per inch) resolution since we expect that quality will be excellent for most applications.
- On request, we can also print any of our inks in 1200 DPI resolution.
- Printing color and white layers in 1200 DPI resolution typically produces stronger, more vibrant colors and sharper edges.
- Printing color and white layers in 1200 DPI also reduces the likelihood of minor imperfections (banding, fuzzy edges, etc.).
- Printing with higher resolution uses more ink and takes significantly longer, so we charge more for it.
- Our recommendation:
- If your part is going in an art gallery, or if you want to be sure it is the very best quality possible, requesting 1200 DPI resolution is probably worth it.
- 600 DPI will probably be great for everything else.
Bitmaps (common picture files)
- The resolution of a printed bitmap depends on the size of the bitmap in your file and the physical area you want it to cover, and it is limited by the machine’s printing resolution mode.
``text(Bitmap print resolution )(text(DPI)) = (text(Bitmap size )(text(pixels))) / (text(Print dimensions )(text(inches))) ``
- We recommend configuring bitmaps so they can print with 1200 DPI resolution, otherwise the print quality might be limited by your image quality.
- If you know that you want to print to your parts in 600 DPI mode (which is our default), configuring your bitmaps with correspondingly lower resolution is also okay, but we recommend designing for 1200 DPI printing since that keeps both options available.
- Many programs provide a bitmap’s printing resolution if you look at the bitmap’s properties.
- Keeping the target resolution in mind and using accordingly high resolution bitmaps throughout your design process is the best way to ensure good results.
- If you cannot avoid using lower resolution bitmaps, one easy way you could change the resolution in many programs is by using a resampling tool, though make sure to check how that operation changes your artwork.
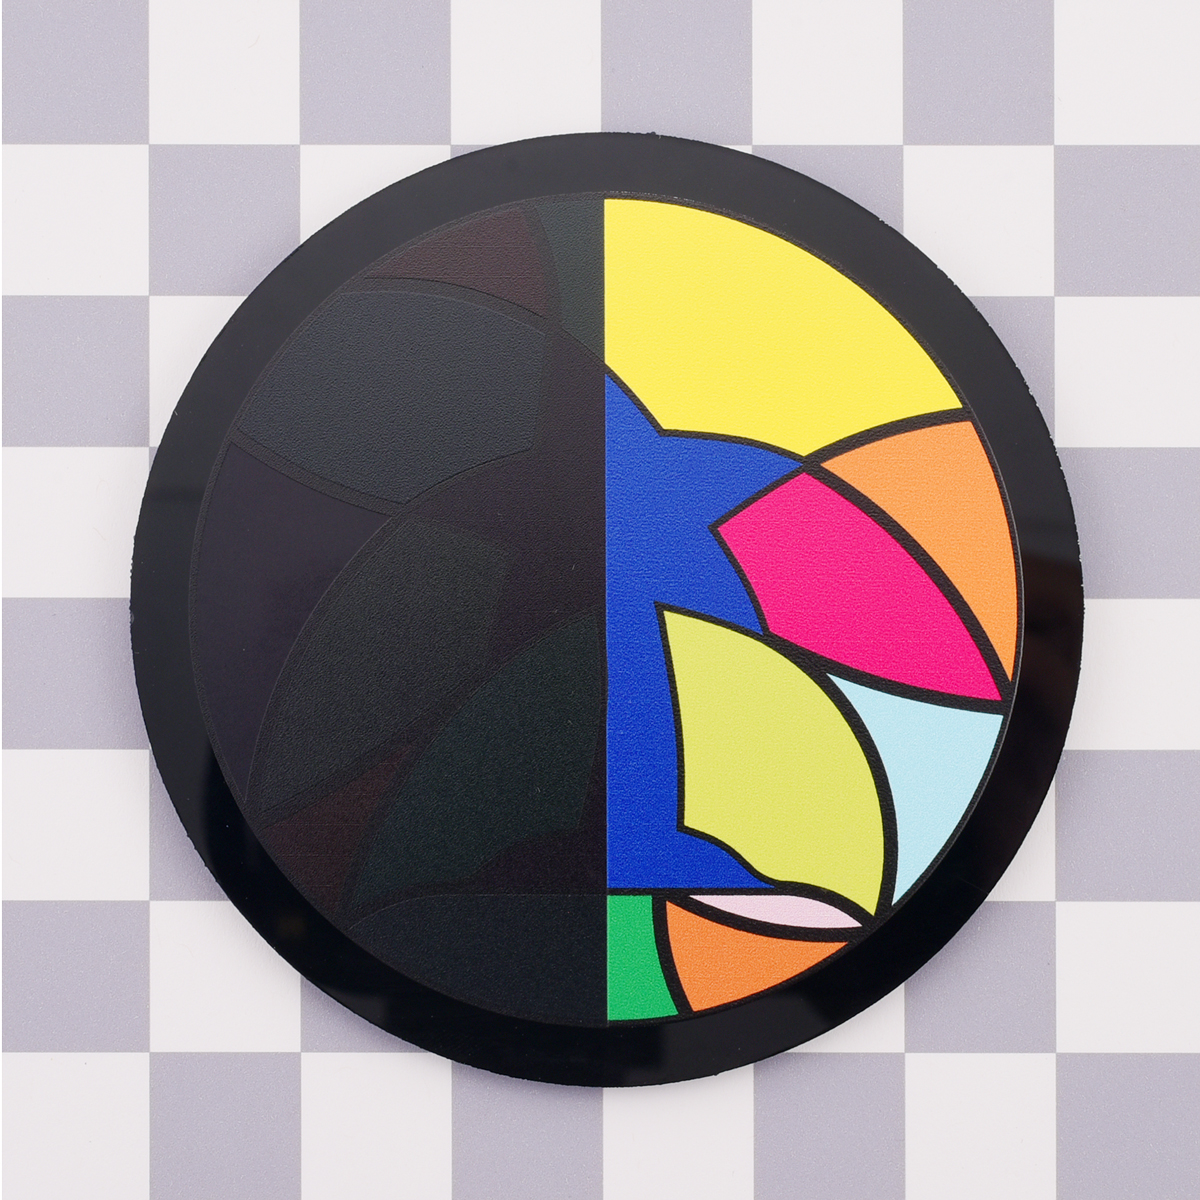
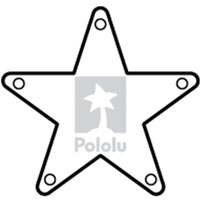
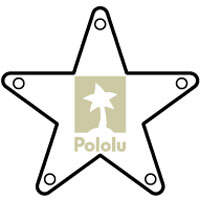
First-surface prints
- Typical single-sided prints viewed from side of the material they are printed on are called first-surface prints.
- First-surface prints will usually have four layers: primer, white, color, then clear.
Design for a first-surface print.
 |
 |
|
|---|---|---|
 |
 |
|
 |
 |
|
 |
 |
|
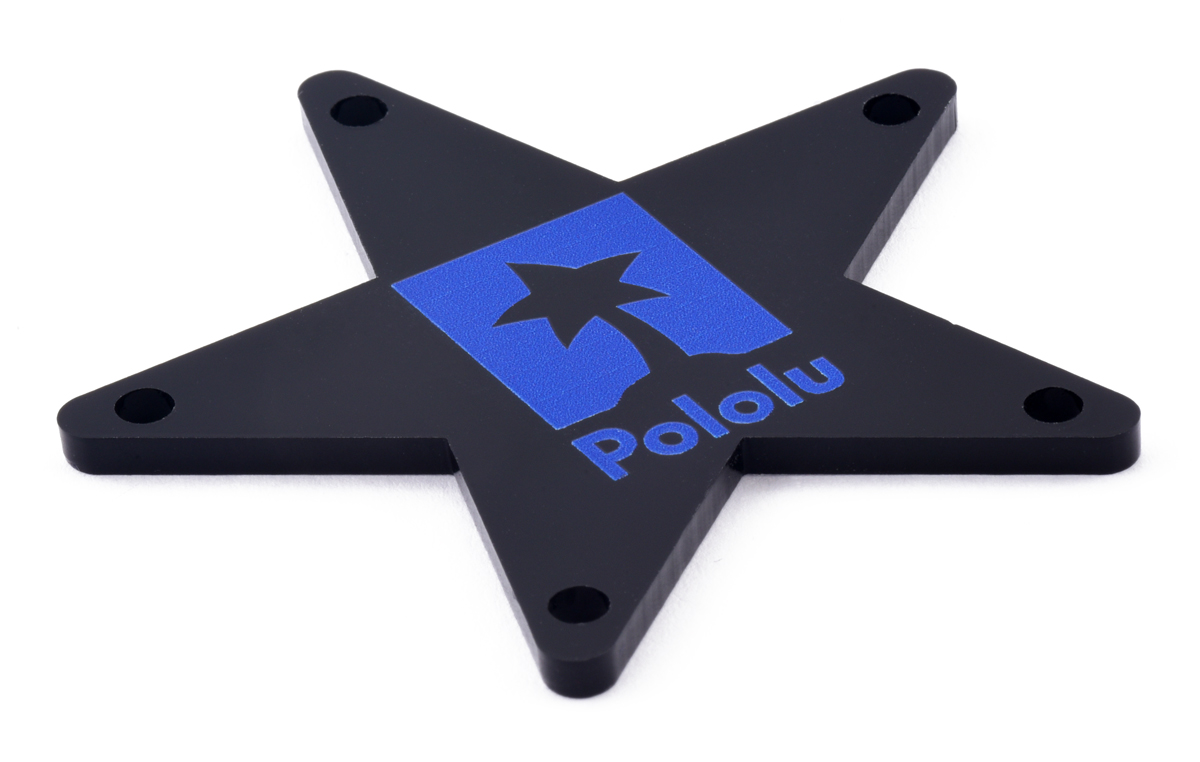 |
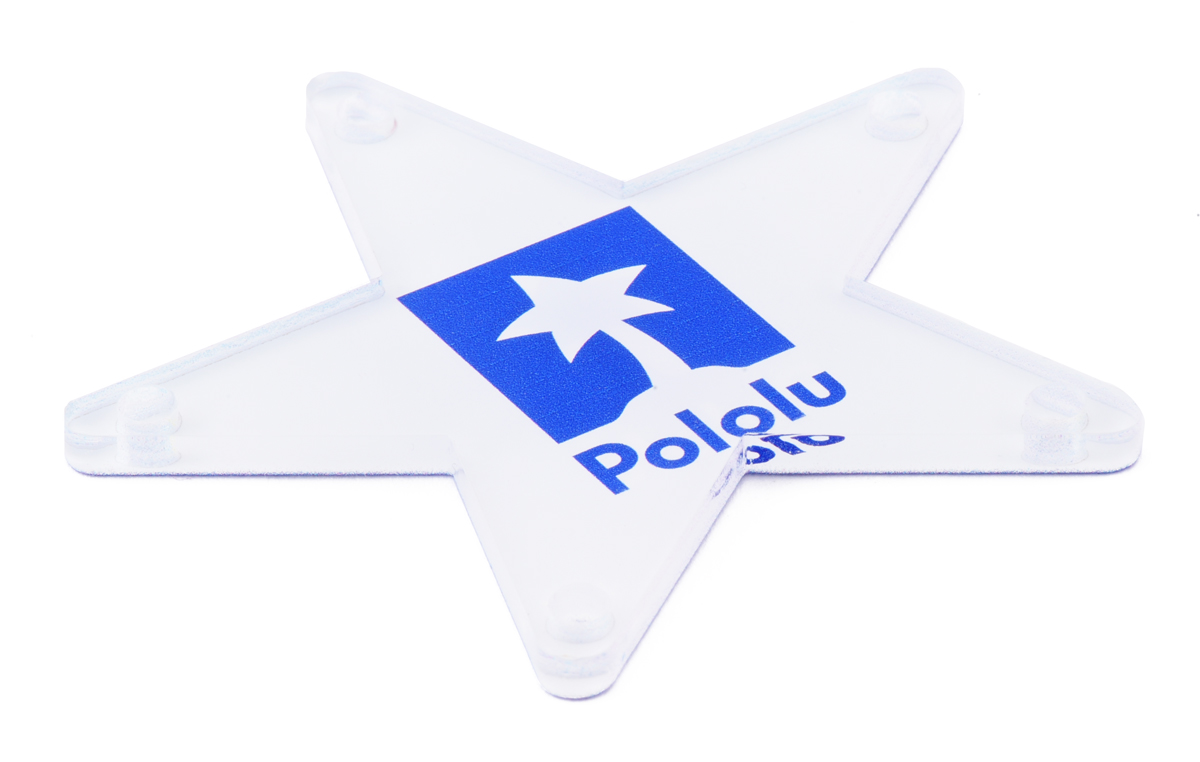
A first-surface UV-print on laser-cut black acrylic. |
|---|
Second-surface prints
- For transparent materials (e.g. clear acrylic) you can design prints that are visible through the material called second-surface prints.
- Second-surface prints will usually have four layers: primer, color, white, then clear.
- Artwork for a second-surface print should be horizontally mirrored!
- Primer is clear, so it is still okay to use between the material and color layers on second-surface prints. It will not change the aesthetics of the print.
Design for a second-surface print.
| |
 |
|
|---|---|---|
 |
 |
|
 |
 |
|
| |
 |
|
 |
A second-surface UV-print on laser-cut clear acrylic. |
|---|
Double-sided prints
- Making artwork visible from both sides of an opaque part requires two setups to do a first-surface print on each side.
- Please note: we do not guarantee any particular alignment tolerance for setups like this.
- With transparent materials, you can make artwork visible from both sides of the part by sandwiching a layer of white ink between two color layers.
- Essentially, you are making a first-surface print and a second-surface print on the same part.
- These prints will usually have five layers: primer, color, white, color, then clear.
- The artwork for the second-surface print (i.e. the first color layer) should be mirrored!
Design for a first-surface and second-surface print.
 |
|
|
|---|---|---|
 |
 |
|
| |
|
|
| |
|
|
| |
|
|
|
|
||
| First-surface side | Second-surface side |
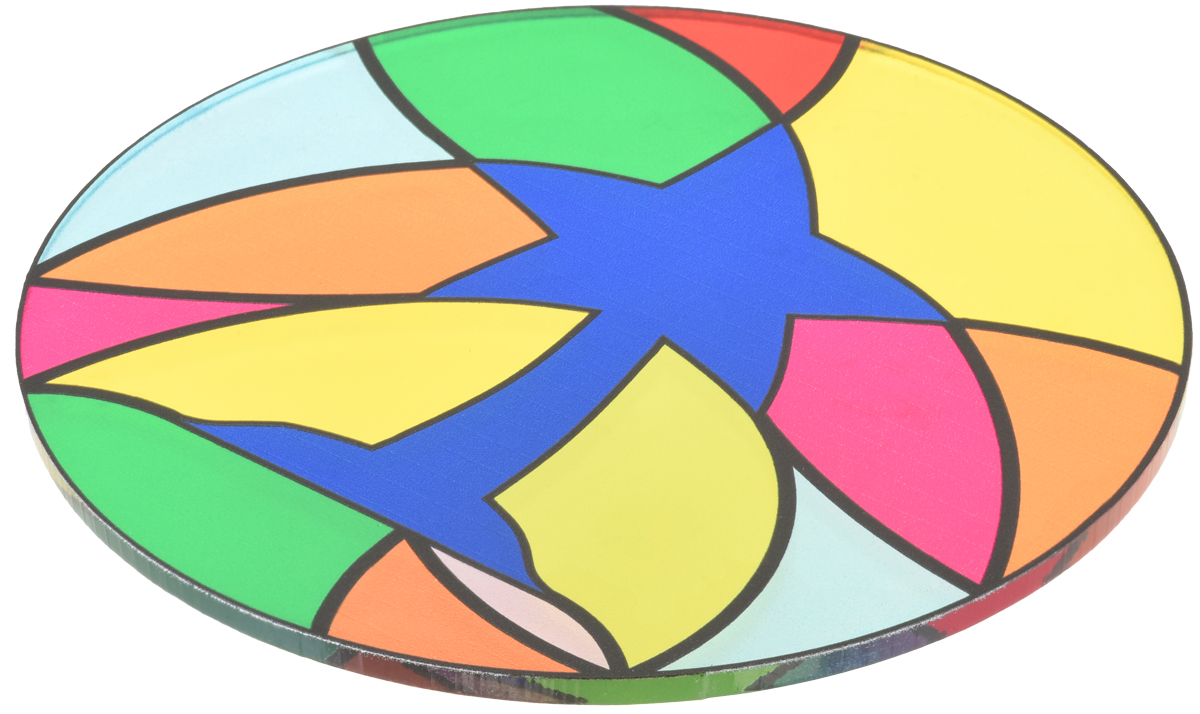
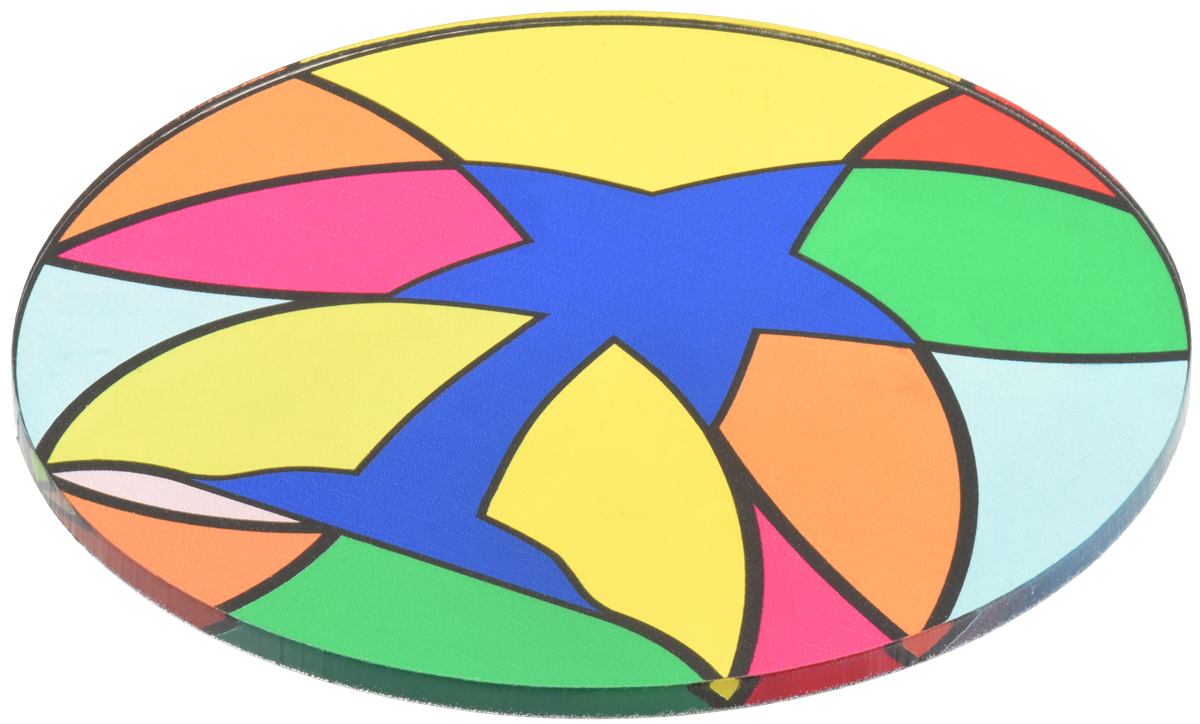
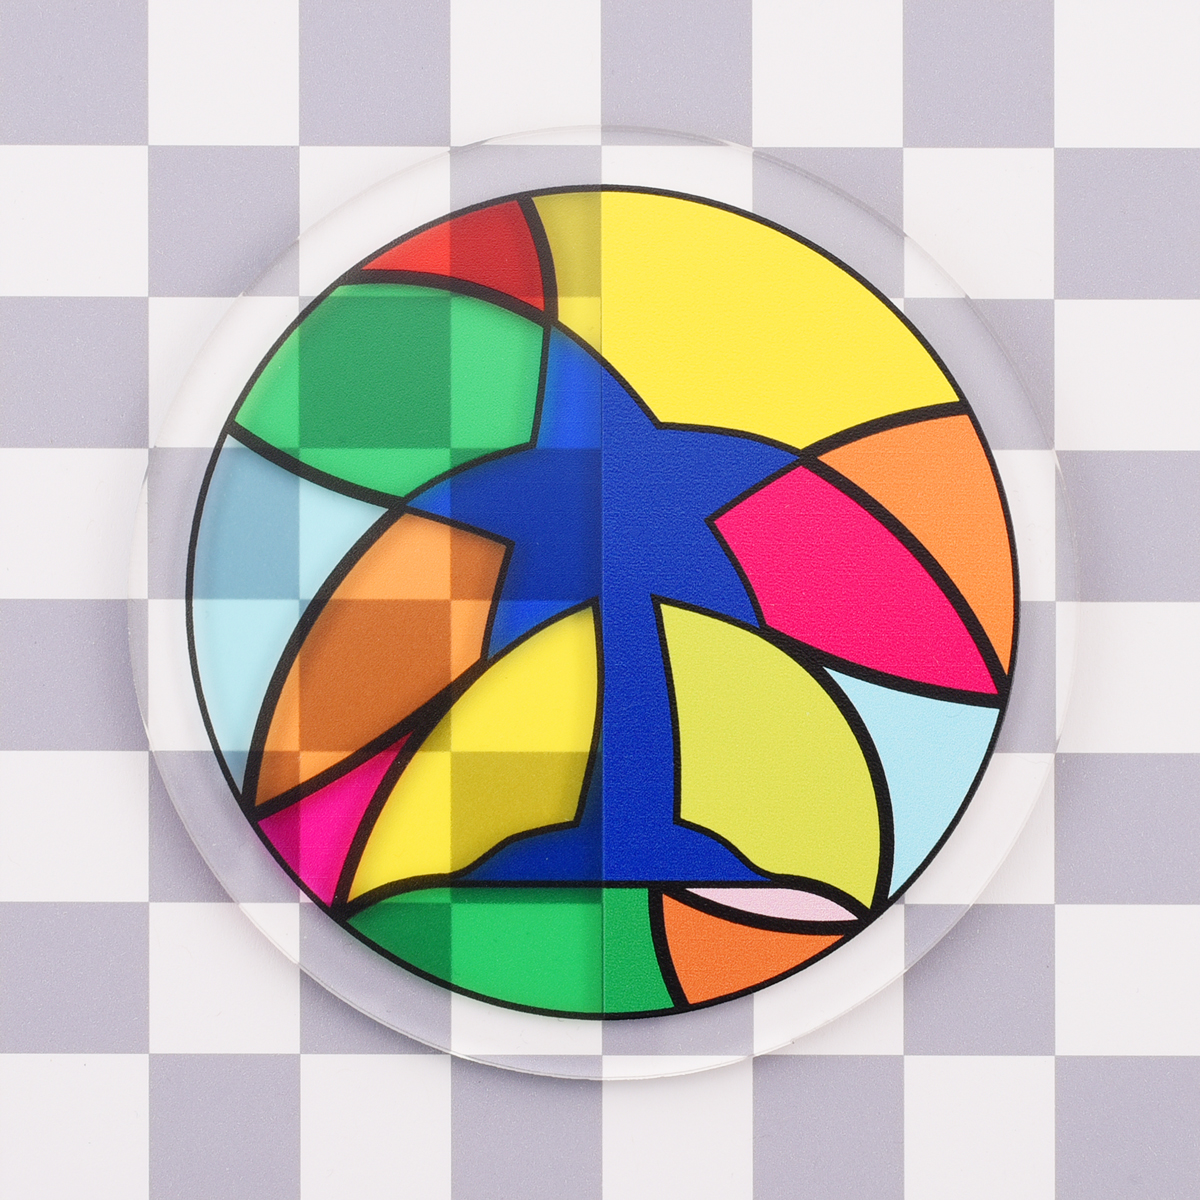
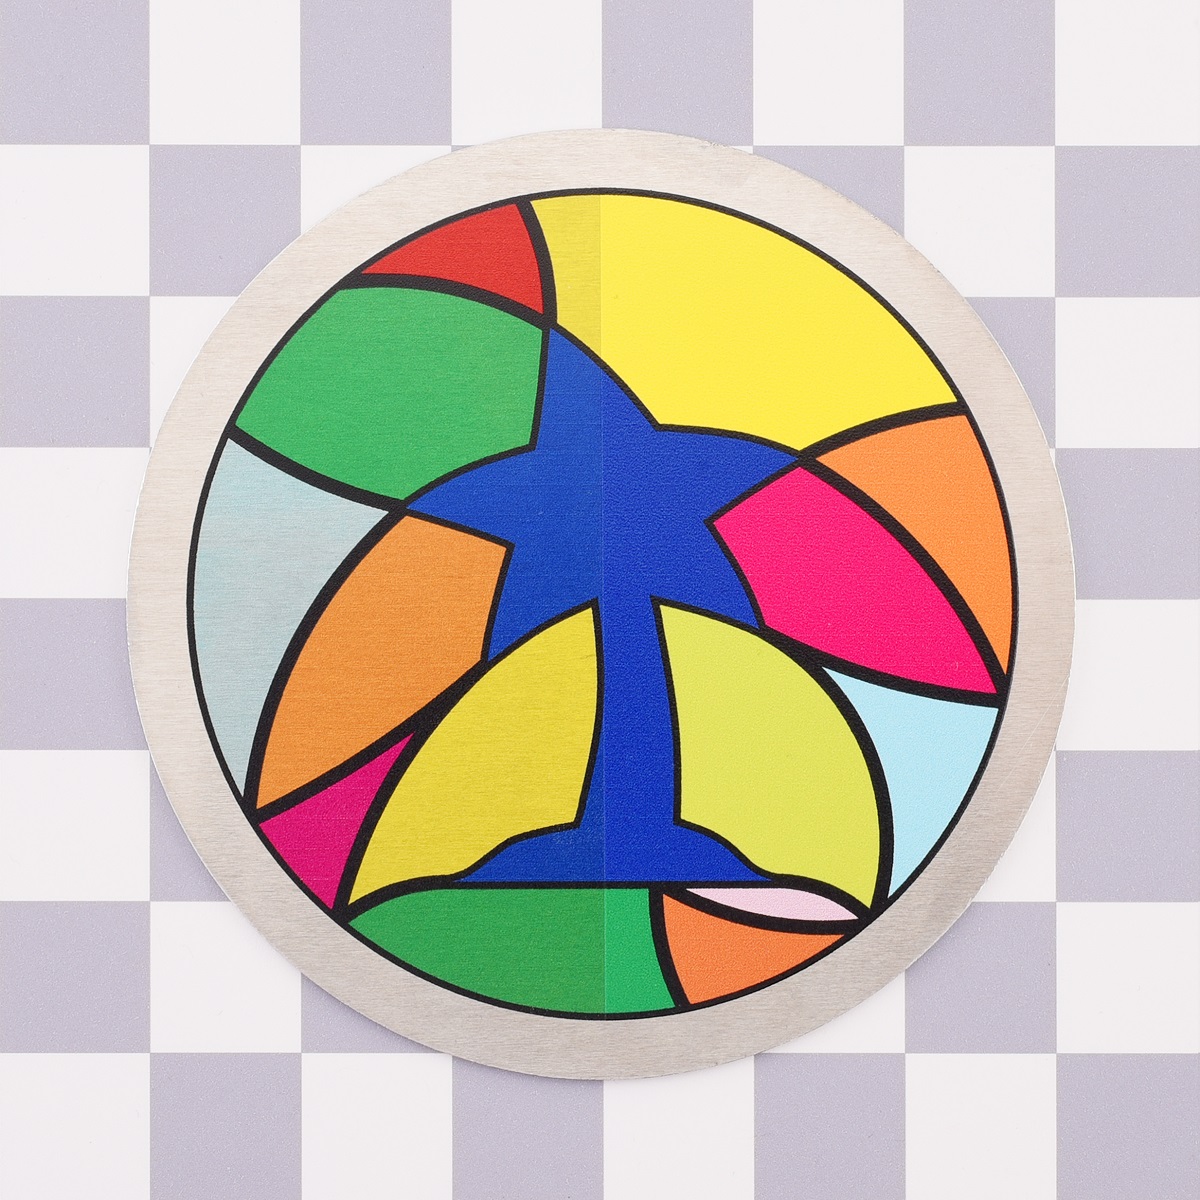
- With transparent materials, you can strategically not use white ink, or specify a lower percent density of white ink, in areas where you want the colors to be more transparent. This can make your part look like stained glass.
- The orientation of the artwork on all of the layers should match for prints like this so that the transparent areas line up correctly.
- Mirroring all of the layers makes the second-surface side the front.
- Leaving all of the layers unmirrored makes the first-surface side the front.
Designing a clear acrylic part that looks like stained glass.
| |
 |
|
|---|---|---|
| |
 |
|
| |
 |
|
| |
|
|
| |
 |
|
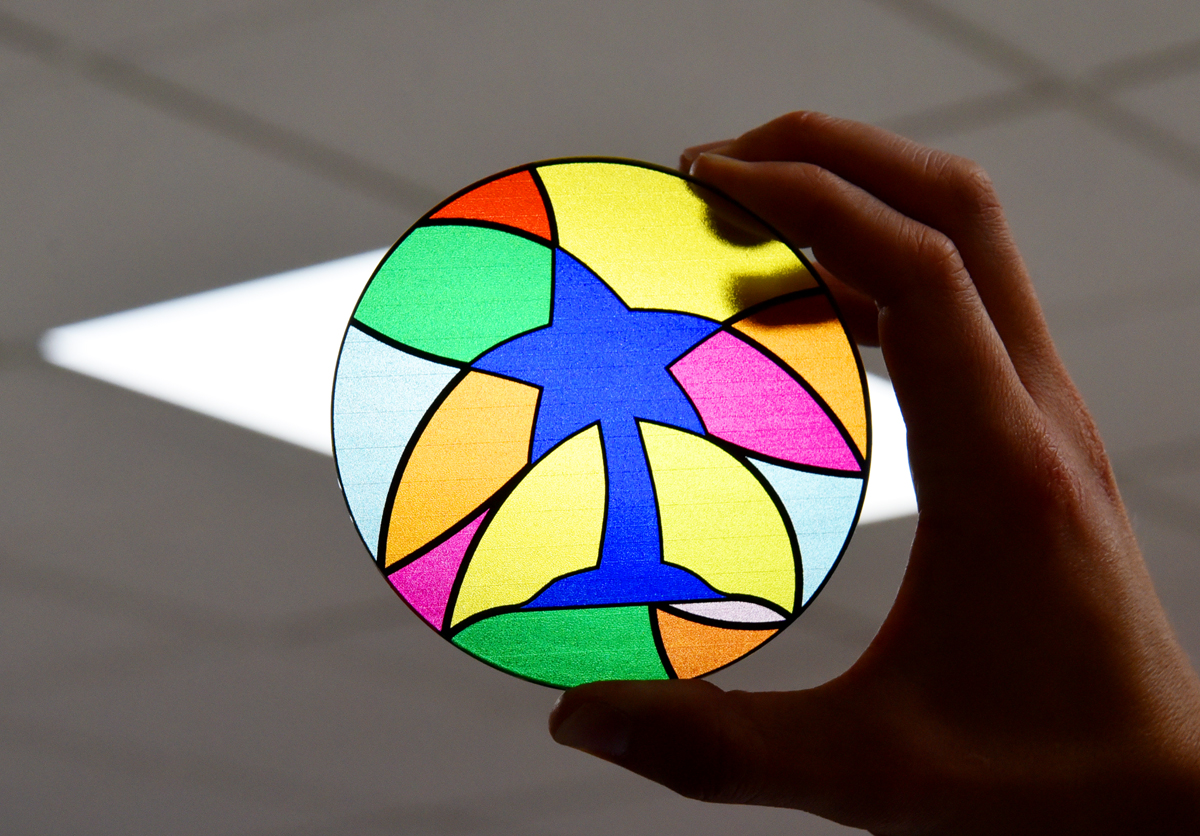 |
Laser-cut and UV-printed acrylic part with stained glass appearance. |
|---|
Additional ink tips and capabilities
CMYK color and white ink
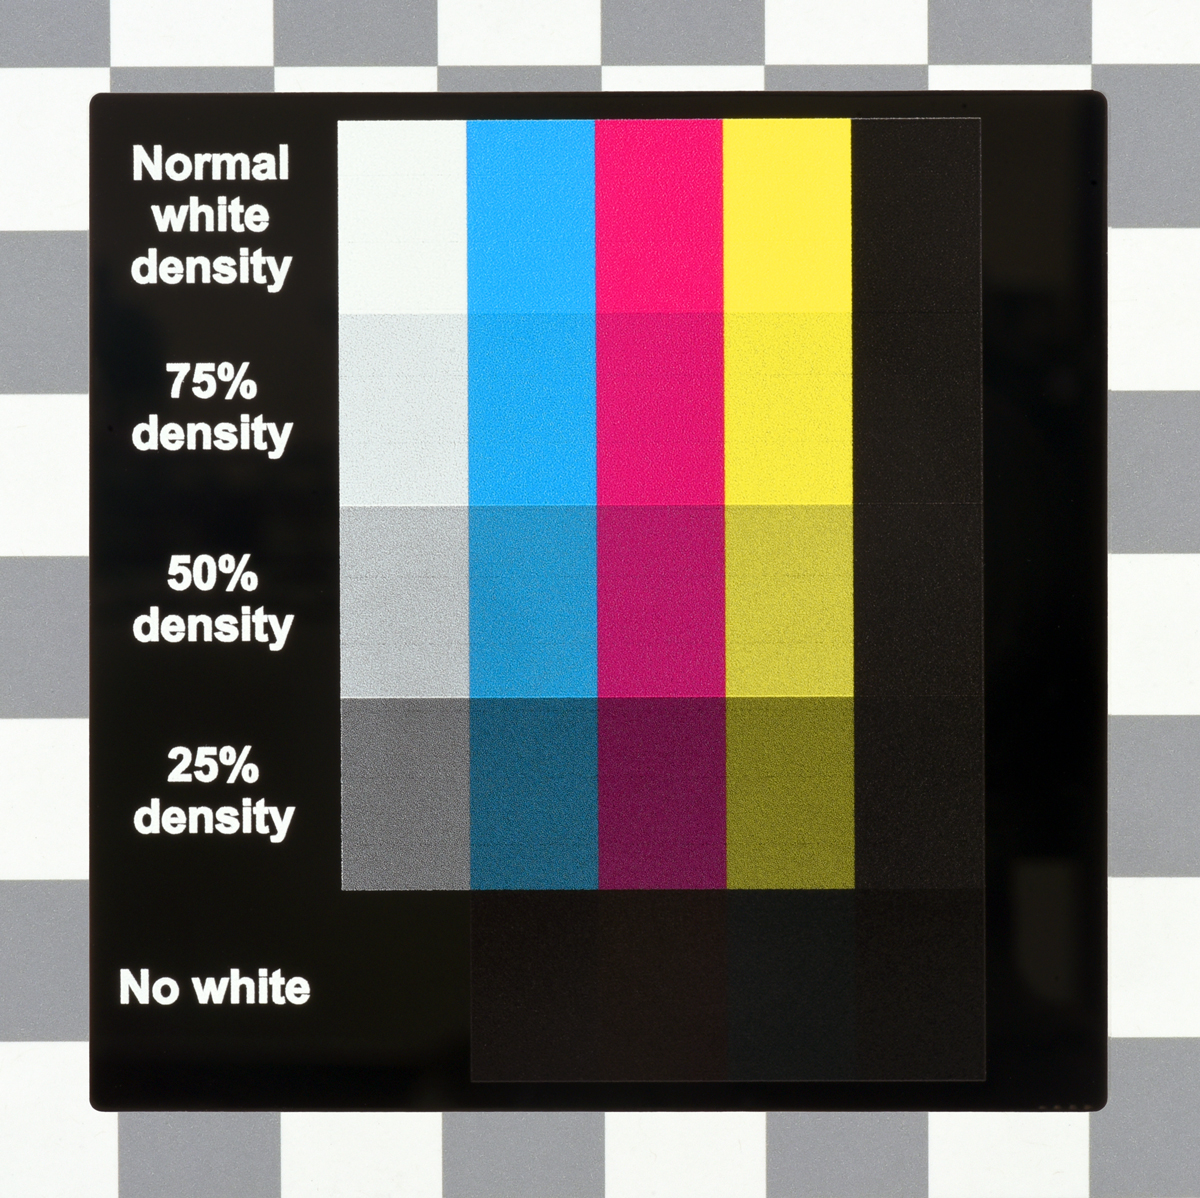
- We can vary the density that we print white ink. For example, we could print an area of white ink at 50% of normal density.
- On clear materials, you can use this to make colors appear foggy instead of completely opaque (if white were printed with normal density) or transparent (if you did not print white at all).
- Similarly, on opaque materials, you can use this to vary how muted/vibrant colors appears
- If you want to specify some areas as having different densities of white ink, please define those as different layers in your file and include descriptive notes.
|
|

Primer
- On request, we have the following options available to help ensure good ink adhesion for strenuous applications:
- We can expand/thicken the primer layer a few pixels around the white and color layers; the primer is clear, so small expansions (e.g. 1-3 pixels) are hard to notice with the naked eye on most materials.
- We can print primer in 1200 DPI resolution (we typically print primer in 600 DPI resolution).
Clear ink
- On request, we have the following options available to help protect the print in strenuous applications:
- We can expand/thicken the top clear layer a few pixels around the white and color layers; small expansions (e.g. 1-3 pixels) are hard to notice with the naked eye on most materials.
- We can print clear ink in 1200 DPI resolution (we typically print clear ink in 600 DPI resolution).
- We can print multiple protective layers of clear ink.
Raising areas of the print
- Several layers of ink can be stacked so that some areas of the print will be higher than others.
- Stacks like this are typically made by alternating layers of clear, color, and white ink.
- Each layer of ink adds around 0.0004-0.0012″ (0.01-0.03 mm) of height.
- Note: printing white and color onto a less flat surface (i.e. a surface with and without raised areas) might reduce the quality of the print. For the best results, design your artwork files so higher layers only contain artwork over the previous layer. It also helps if the layers get smaller towards the top, like levels of a pyramid.
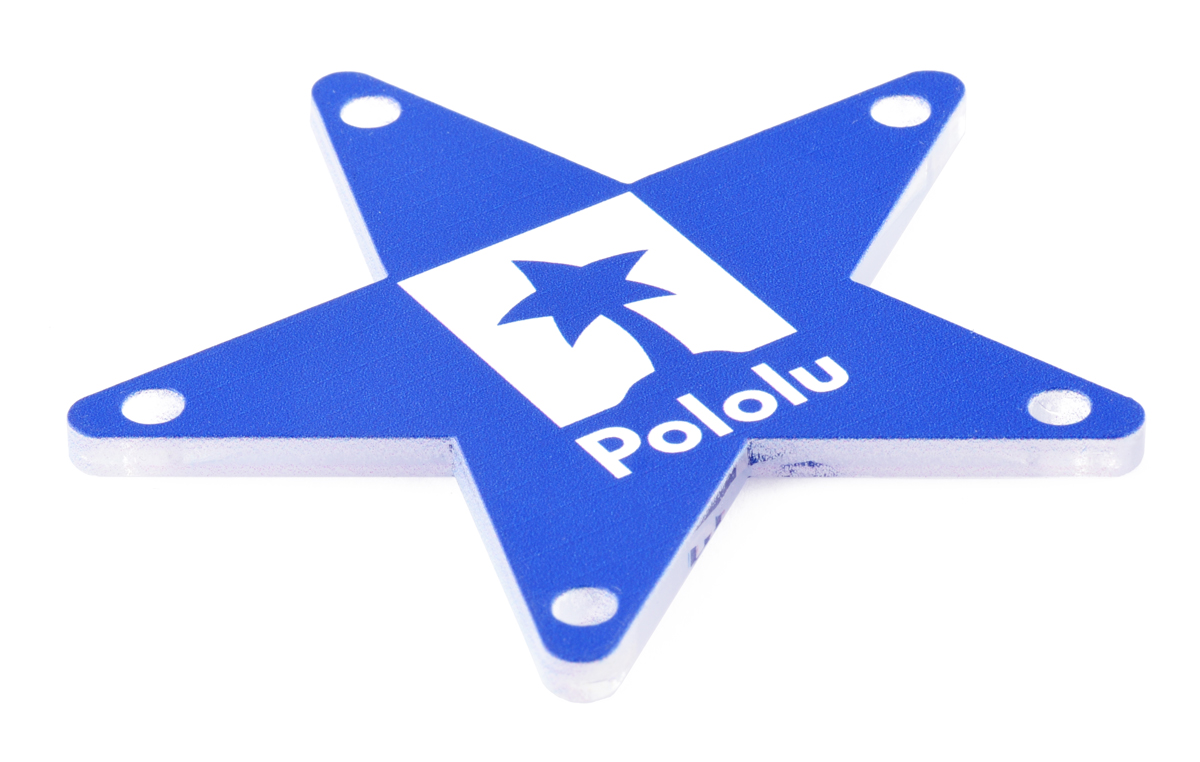
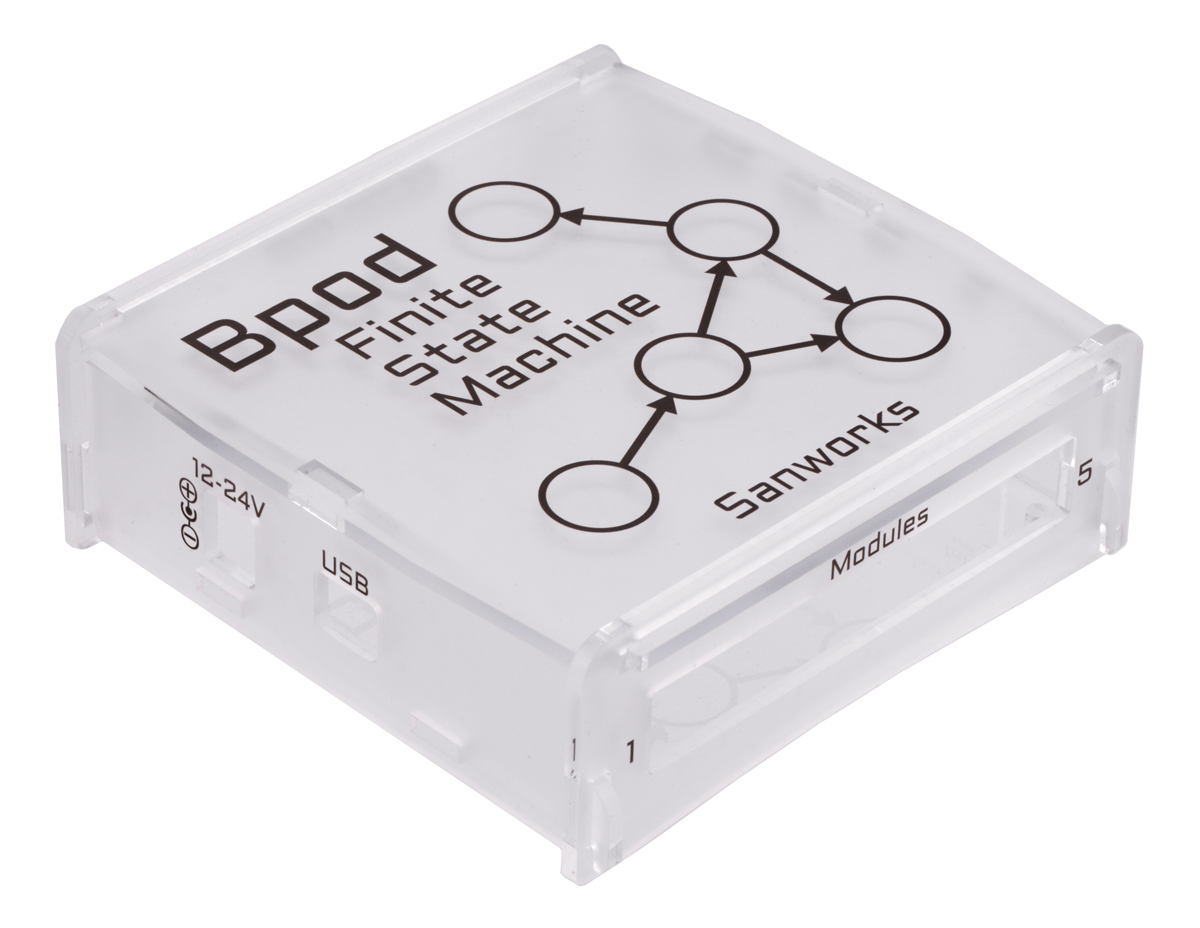
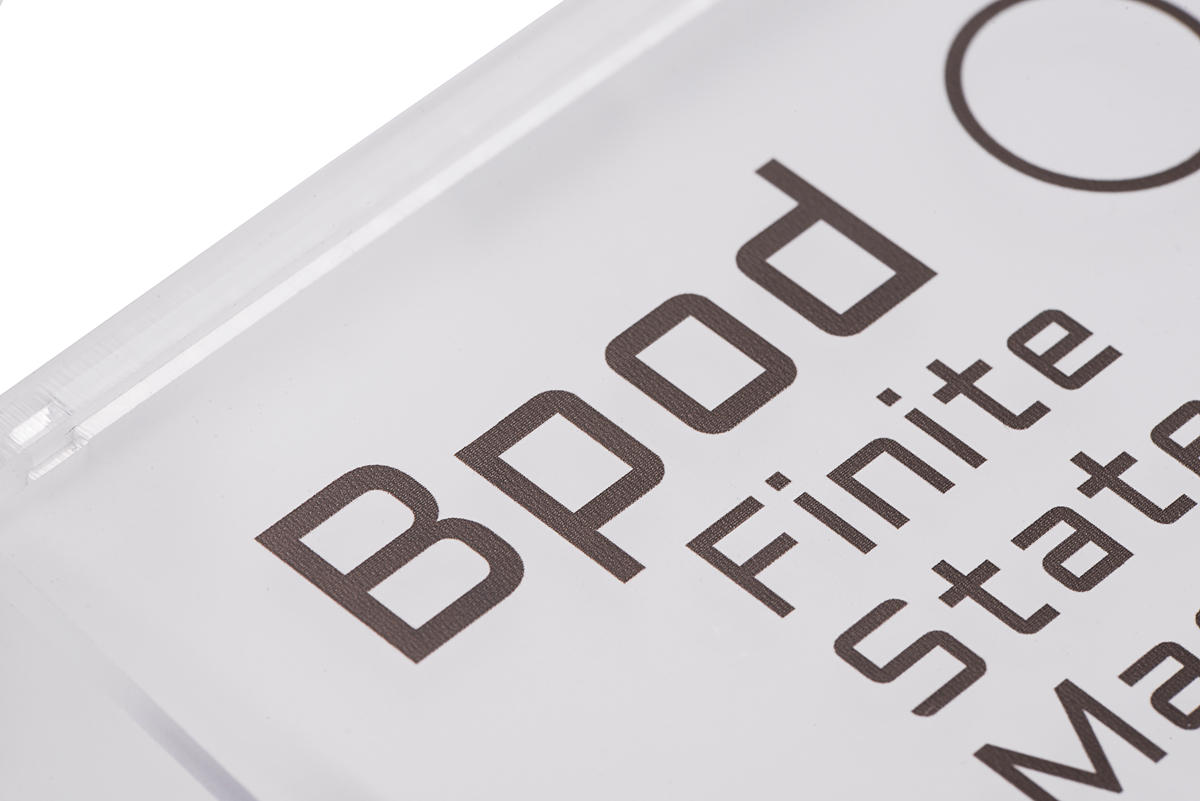
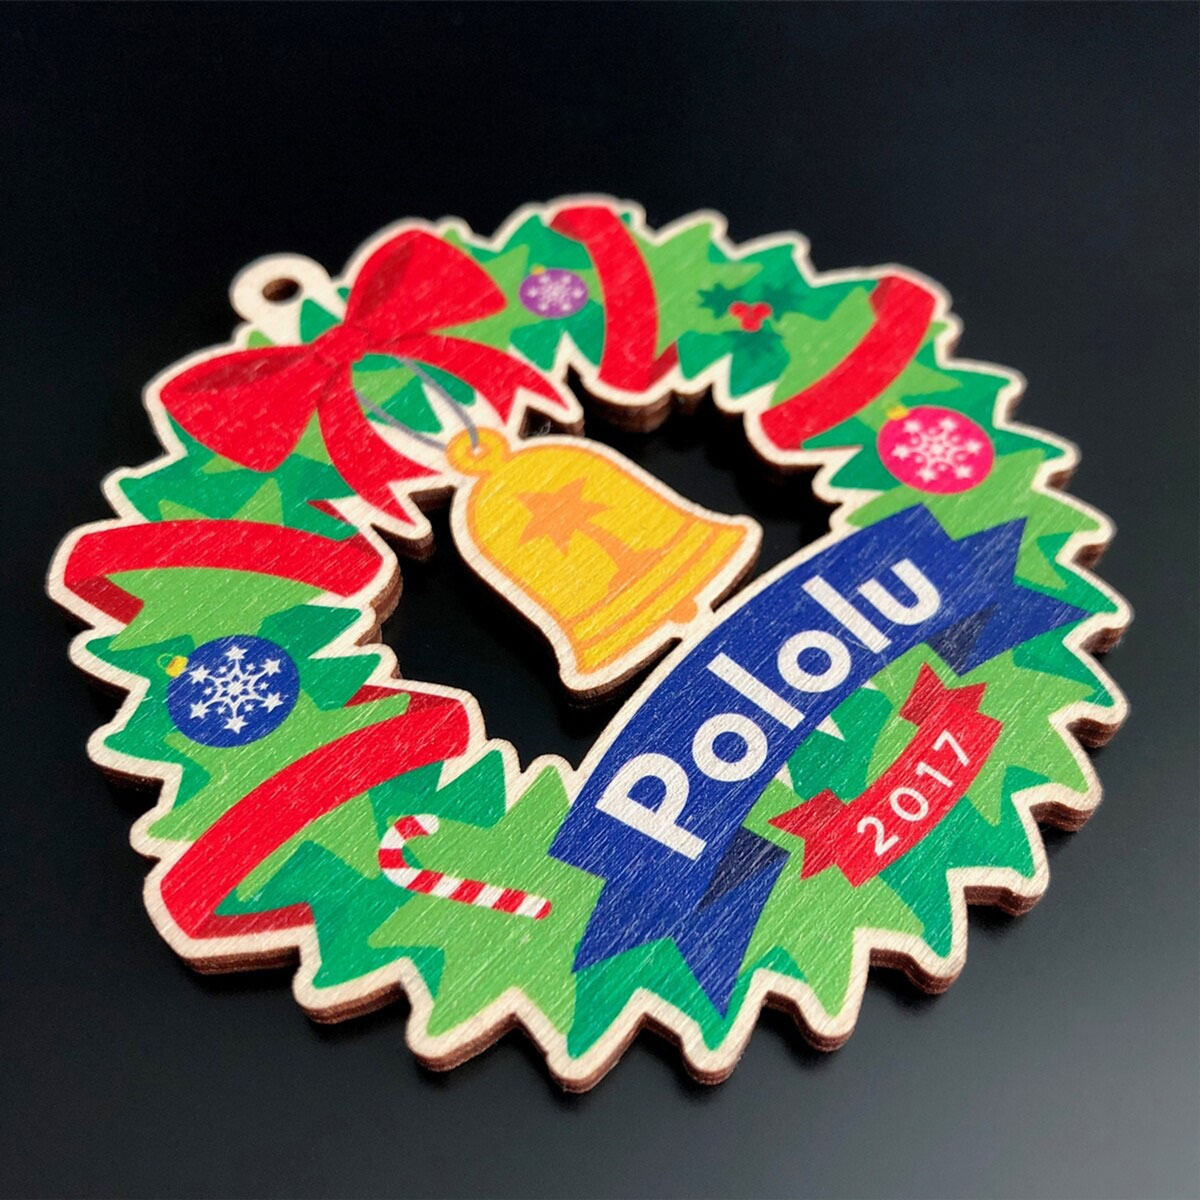
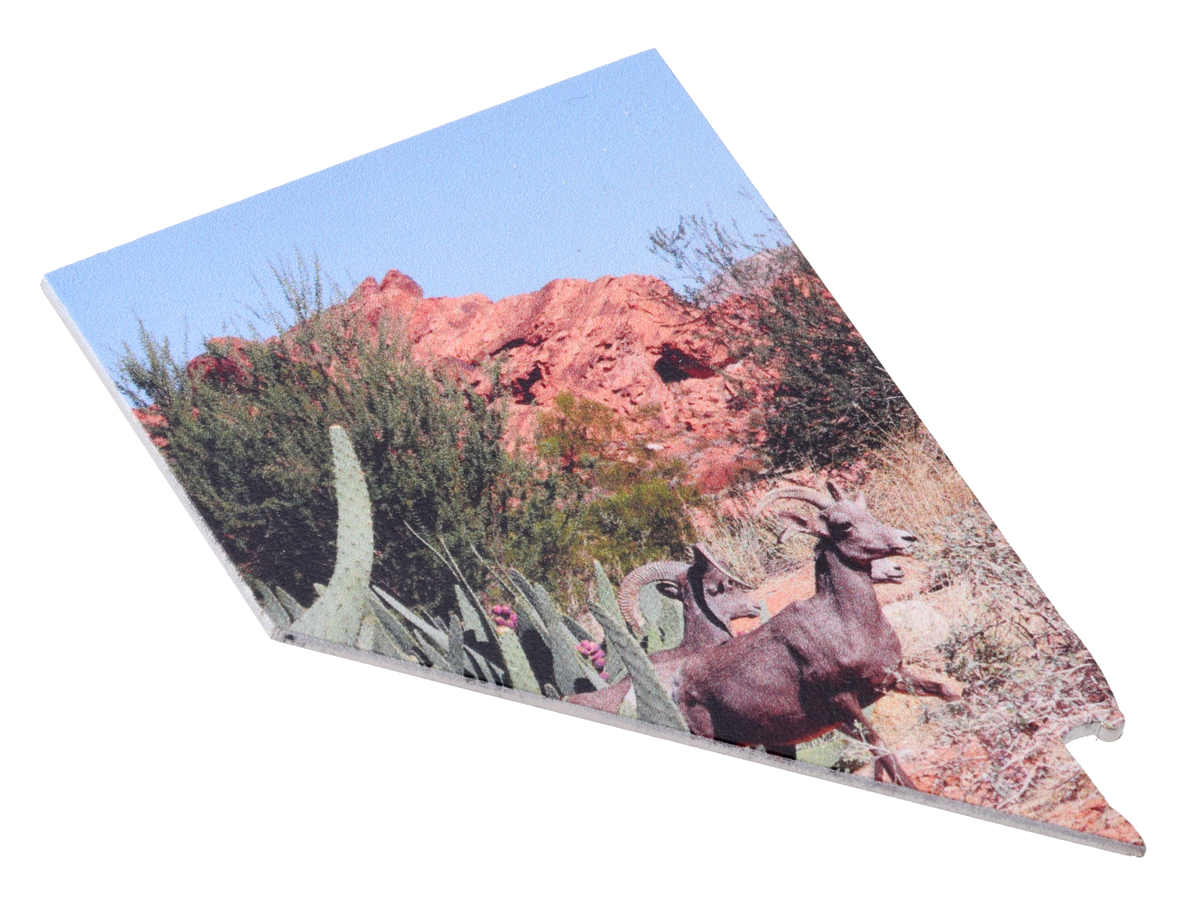
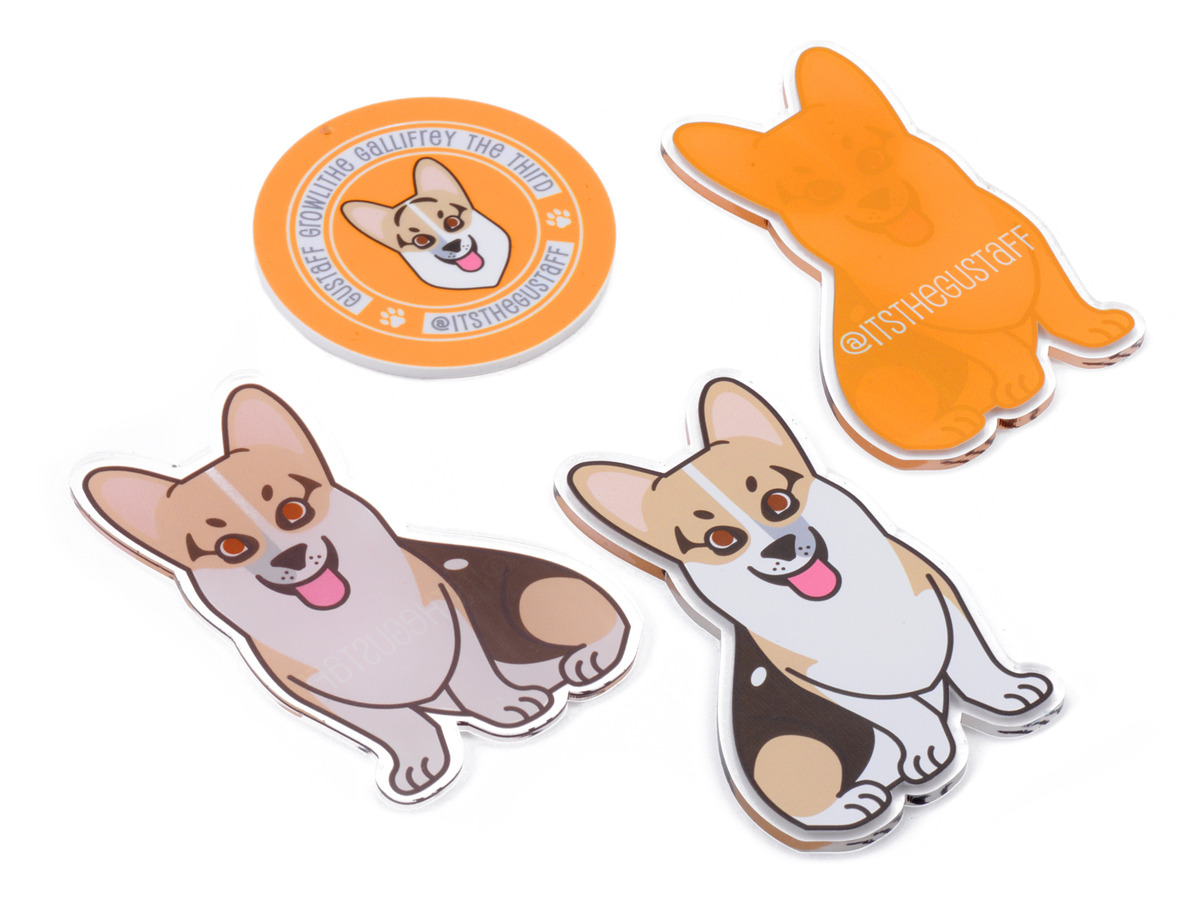
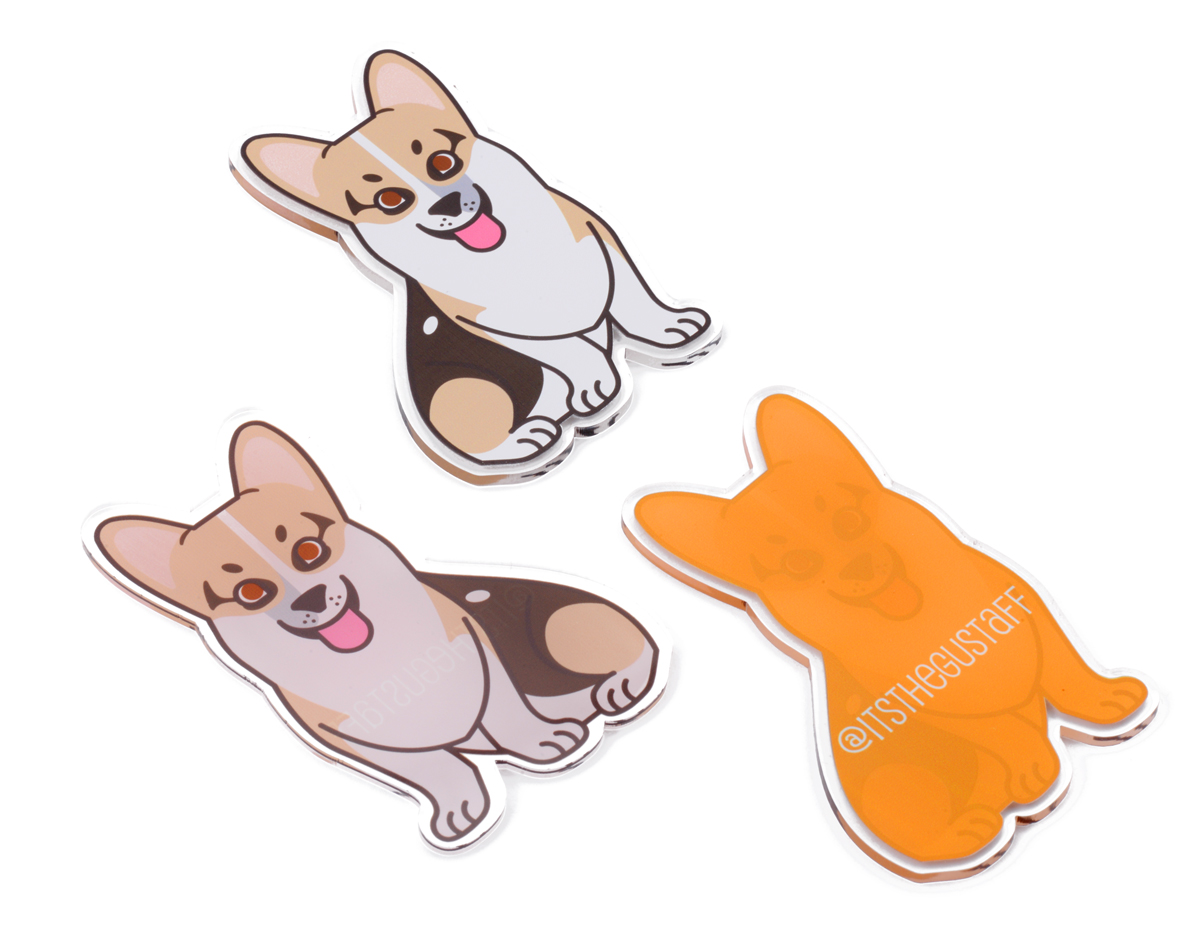
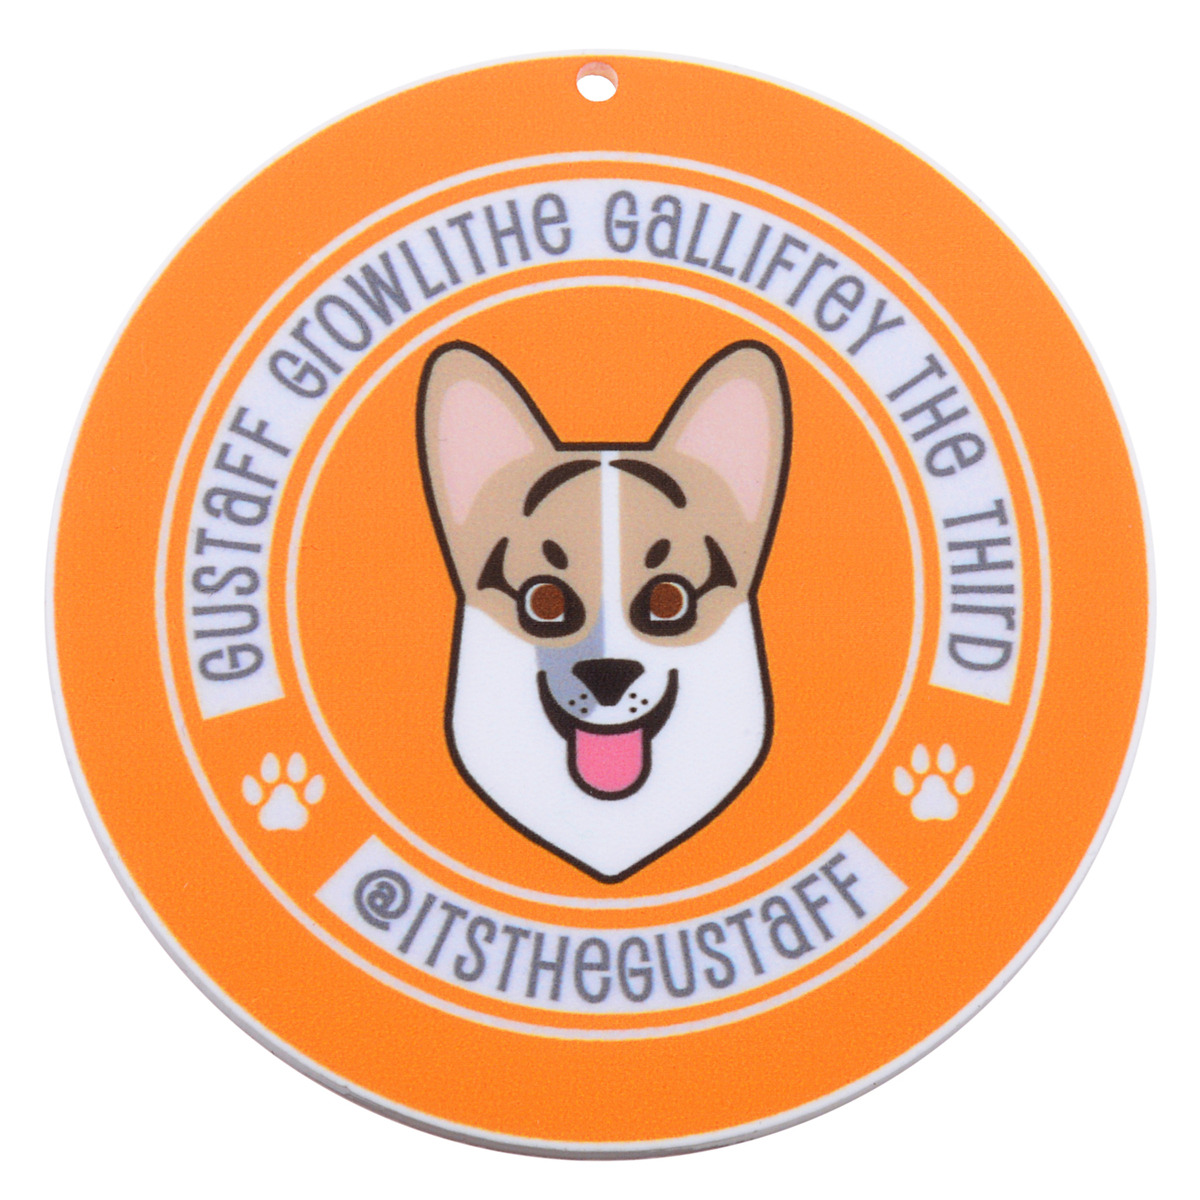
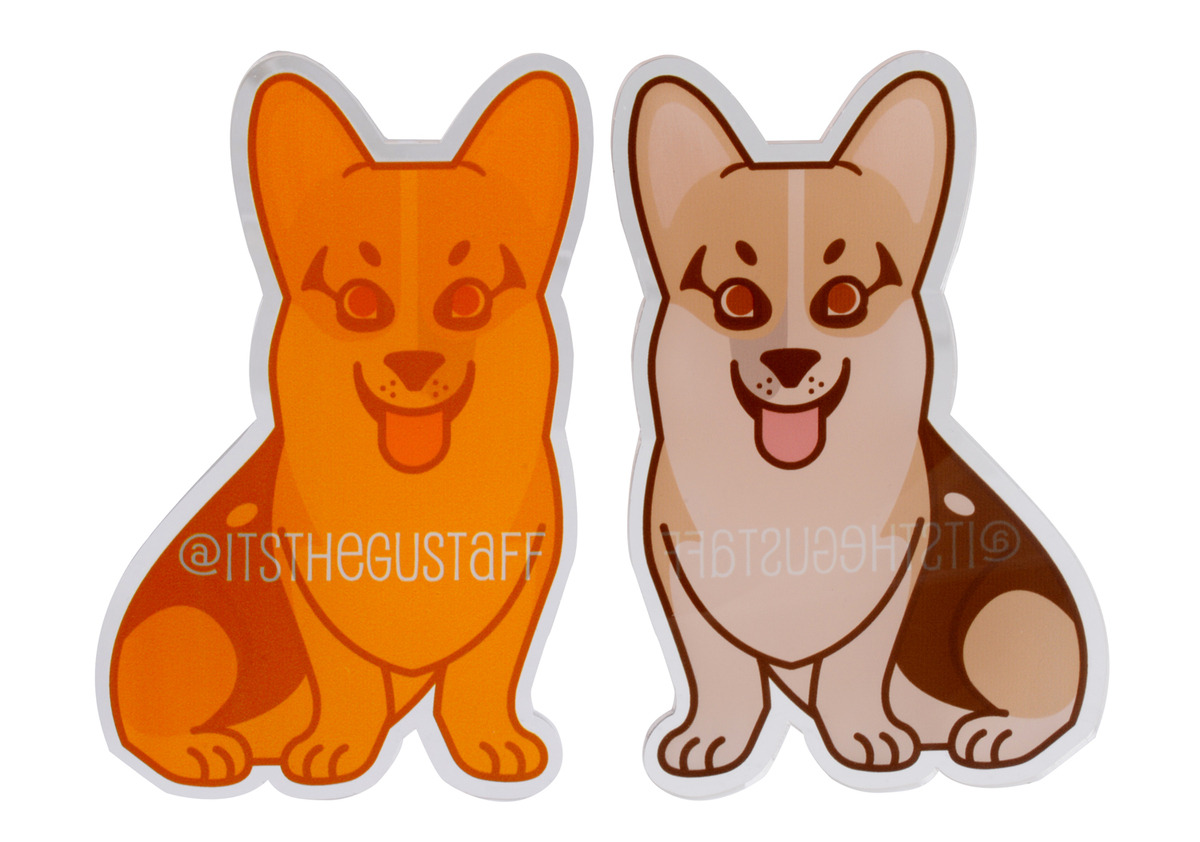
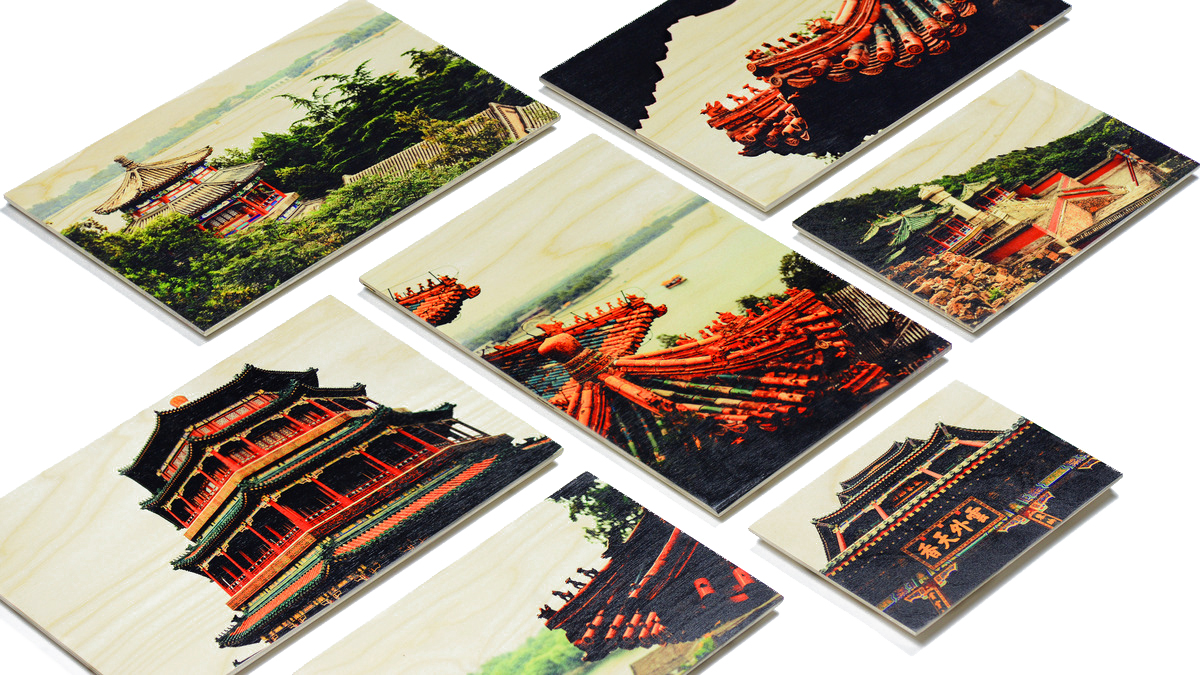
Examples of UV-printed parts
 |
 |
 |
 |
 |
 |
 |
 |
 |
 |
 |
 |
 |
Related products


Home | Forum | Blog | Support | Ordering Information | Lists | Distributors | BIG Order Form | About | Contact
© 2001–2026 Pololu Corporation
