Pololu Blog » Posts tagged “community projects” »
Posts tagged “community projects” (Page 17)
You are currently viewing a selection of posts from the Pololu Blog. You can also view all the posts.
Popular tags: community projects new products raspberry pi arduino more…
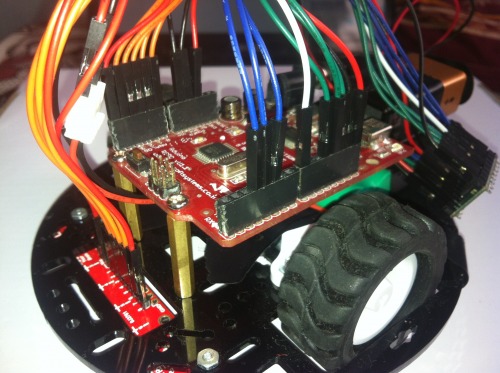
PID line follower with 5" robot chassis
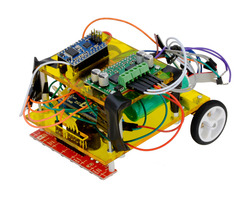
This PID line follower, originally featured in this Let’s Make Robots post by user Enigmerald, uses our 5" Robot Chassis along with 30:1 MP micro metal gearmotors, extended brackets, and our 42×19 mm wheels. Our QTR-8RC Reflectance Sensor Array is used to sense the line and our TB6612FNG carrier, along with an Arduino-compatible controller, is used to control the motors. A diagram of how everything is connected and the code for the robot are available in Enigmerald’s post. The post also has a link to a basic tutorial on PID tuning using the QTR array.
 |
Related products


L3-G0: the full-size, LEGO R2-D2
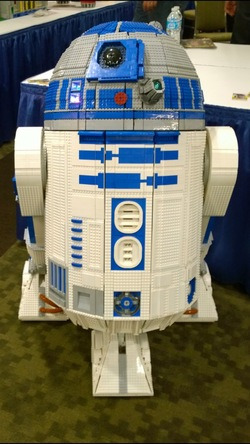
Shawn and Lara Steele, known on the Pololu forum as kresty, built a functional, full-size, LEGO R2-D2 named L3-G0. L3-G0’s design is based on plans from the R2-D2 Builder’s Club, and it is made from around 16,000 LEGO bricks. It weighs roughly 30 kg (65 lbs) and can travel at a speed of 8 km/h (5 mph). The astromech has a fully functional rotating dome with multiple blinking lights. The dome is rotated using our 80mm wheel fitted with a high-traction sticky tire and powered by one of our 37D gearmotors. L3-G0 is controlled using a 9-channel RC transmitter and features an Arduino along with dedicated motor controllers and sound boards. Electric scooter motors were used for the drive wheels. The astromech also uses Pololu motor controllers and voltage regulators, as well as a SparkFun MP3 Trigger for audio. Continued…
Jon's dead reckoning robot
Like other engineers here, I made a robot for the LVBots dead reckoning competition. Before I knew about this competition, I hadn’t made a successful dead reckoning robot. By the end of this competition, I still hadn’t made a successful dead reckoning robot. However, I did learn more about myself and a little more about line following. This post describes my robot, Usain Volt, and details some of what I was thinking when I designed it. Continued…
Paul's dead reckoning robot
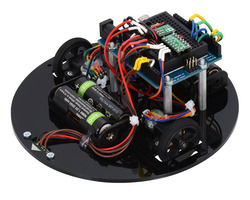
This post is about my first-place entry in the 2014 LVBots Dead Reckoning Competition, a 150 mm round robot named paul-dead-reckoning2.88ec5df. I designed this robot to be similar to the 3pi, but larger, to leave plenty of room for wiring and sensor mounting. The central controller is an Arduino Leonardo, and (unlike the 3pi), the motors are equipped with quadrature encoders. Continued…
Claire's dead reckoning robot
Like several of the other engineers here at Pololu, I made a robot to compete in the LVBots Dead Reckoning Competition that took place recently. This post describes my robot, Tryangle, and the decisions that went into making it. For more information about what dead reckoning is and how it is judged, see the LVBots dead reckoning rules. Continued…
R2-DR, Kevin's dead reckoning robot

When I first started planning a robot for the recent LVBots dead reckoning competition, it was more or less a conventional design—a flat chassis with motors and circuit boards attached to the top and bottom—and I lost interest in it quickly because it felt like I was just reinventing the 3pi. I looked for a way to make the shape of the robot unique, and I noticed that the three-legged shape of R2-D2, the famous astromech droid from Star Wars, might be a good fit for a typical undercarriage composed of a ball caster and two wheels. The result of continuing along this line of investigation is my dead reckoning robot, R2-DR (you can probably guess what DR stands for). Continued…
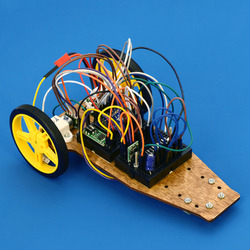
Brandon's dead reckoning robot

For the recent LVBots dead reckoning competition that was hosted here at Pololu, I decided to make a robot based on the Baby Orangutan robot controller. This post details my robot and some of the considerations made while I went through my design process. If you would like more details about the competition rules and how it was judged, see the LVBots dead reckoning rules (23k pdf).
I started by choosing my parts and making sure that my robot, which would later be named “Baby Blues”, would be able to function in the way I wanted. I decided on using the Baby Orangutan because of its integrated motor driver and compact size. Continued…
Power Level Indicator for Ghostbusters Proton Gun
Justin Chase Black (Throwing Chicken) is an artist and long-time laser cutting client who uses laser-cut parts in his prop and replica builds. Every time we ship a laser order to him, I eagerly await a new Facebook post showing off his latest project.
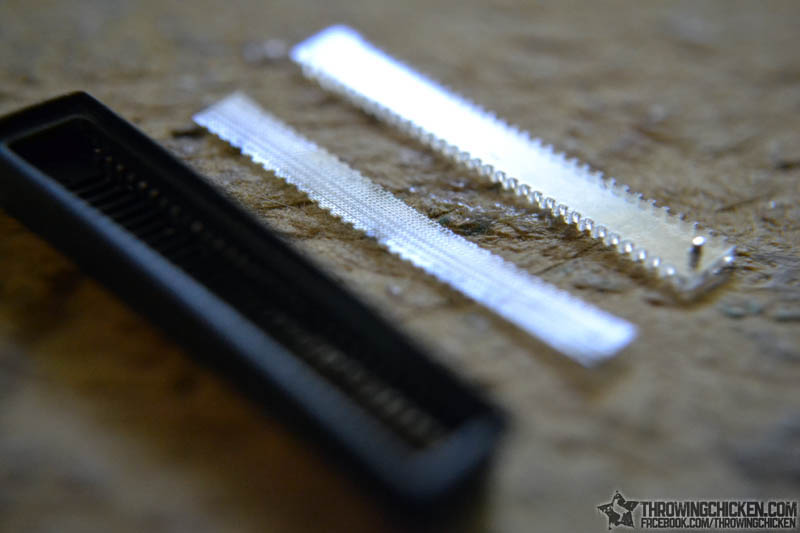
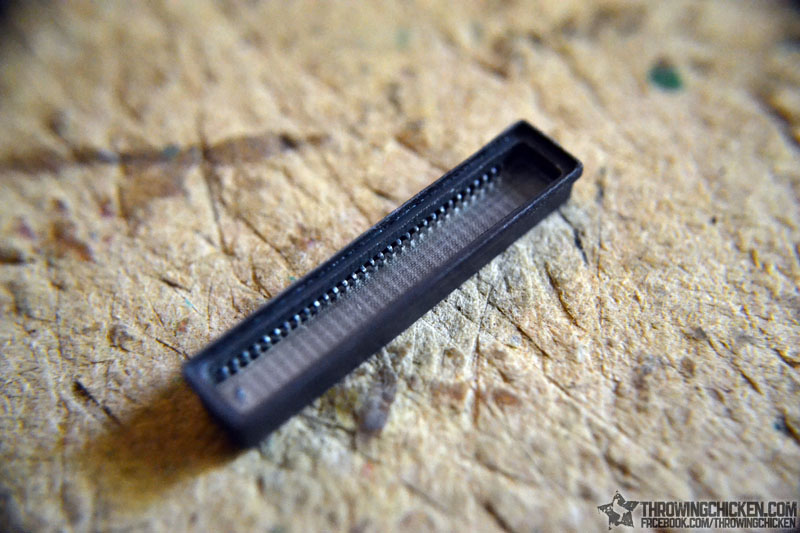
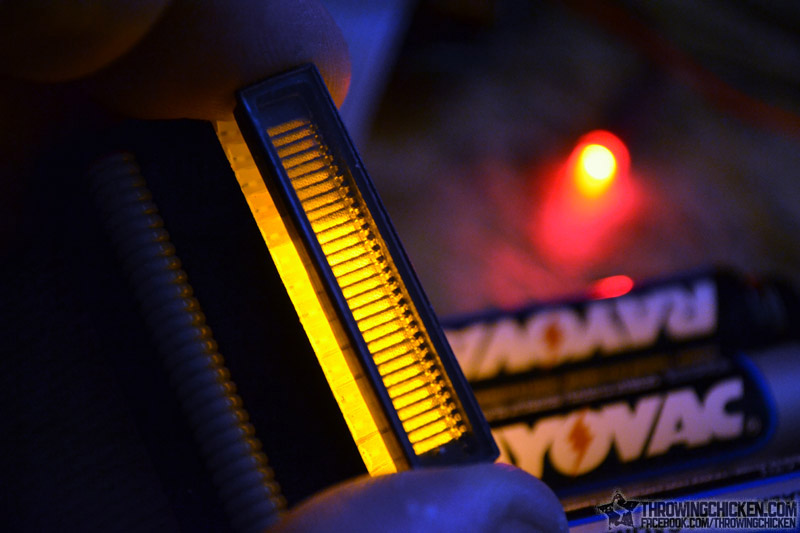
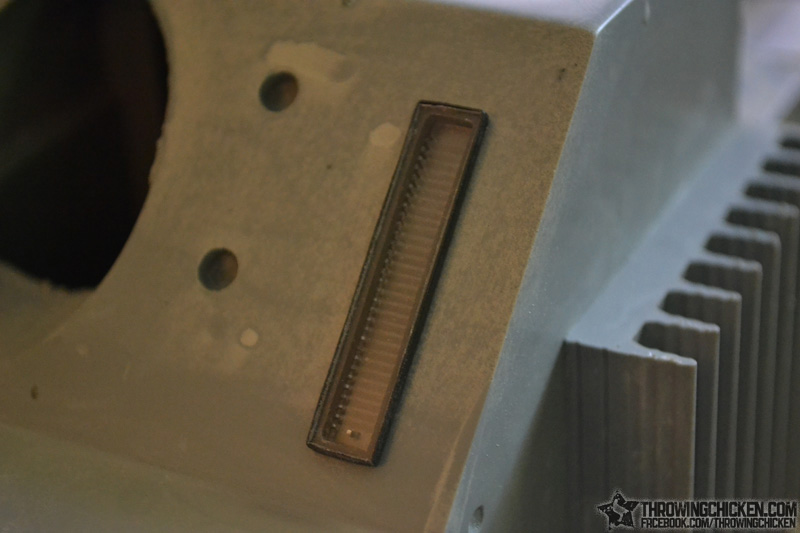
His work is extremely meticulous, skipping no detail in even the tiniest components. One of his more recent projects involves a tiny power level indicator on a “Proton Gun” replica from the movie Ghostbusters. Buying a power level indicator wasn’t an option; the ones he could find were made for aviation and cost over $1,000!
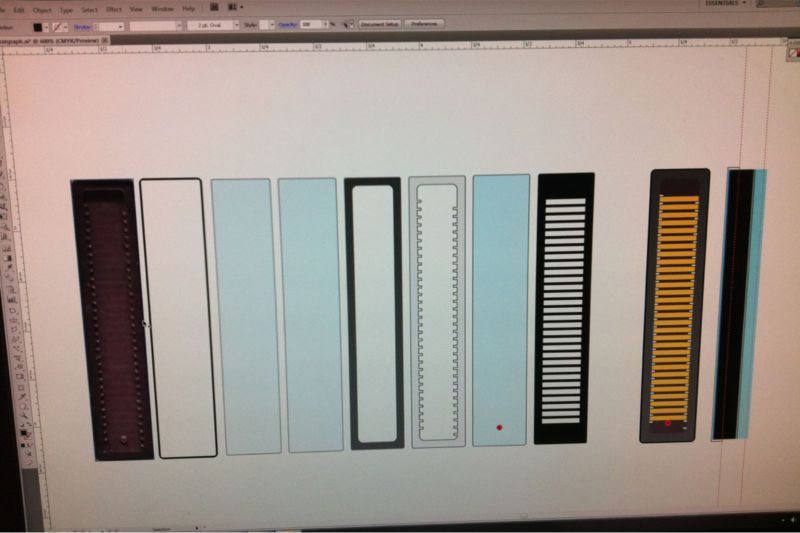
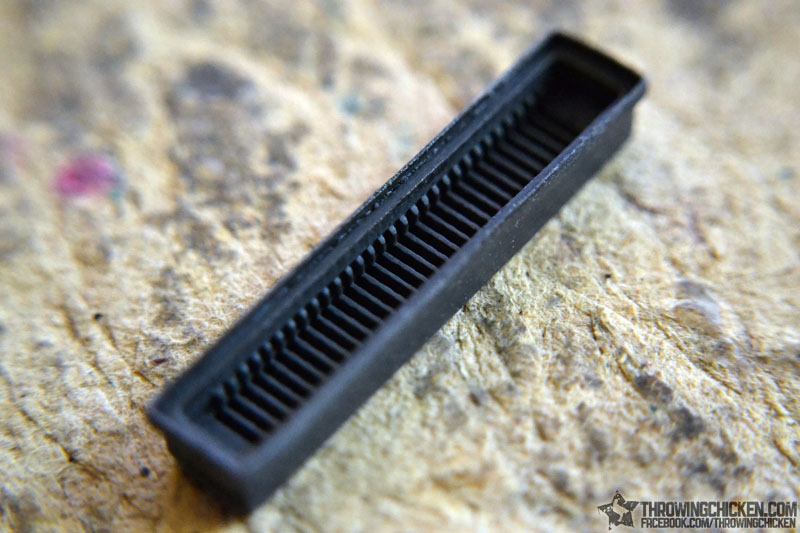
With a little trial and error, he was able to make them himself for a fraction of the cost by casting them out of resin, using our laser-cut parts to create the cast. A few of the design attempts did not come out well when cut from 1/8" acrylic since some of the features in the designs were much smaller than the thickness of the material (the design is only around 1/4" wide!). We cut various materials and thicknesses from 0.004" Mylar to 1/8" acrylic and a combination of thinner parts did the trick.
I’ll be sharing more awesome projects from Throwing Chicken in the future, but you can also check out his Artist page on Facebook for more updates. If you’d like to purchase a Ghostbusters Proton Gun Replica Kit, they’re sold on the Throwing Chicken Etsy shop.
If you have a cool project you’re working on and need some laser-cut parts: “Who ya gonna call?” (PO-LOLU!)
 |
Power level indicator replica for Ghostbusters Proton Gun. |
|---|
|
|
||||
|
|
||||
|
|
||||
|
|


Related products

Maestro-controlled Pan, Tilt, and Zoom (PTZ) dome camera
Pololu forum member Dev255 modified a PTZ dome camera system to be controlled by an old Xbox joystick using a 24-channel Maestro servo controller. The Maestro reads 5 potentiometers on the Xbox joystick, along with some buttons, and correlates the readings to a speed and direction value. This data is converted to the Pelco D protocol that is used by the camera and gets sent to the camera from the Maestro. The LEDs on the joystick are used to indicate the program status. He also uses the Maestro to control a 4×20 character LCD display shown in the video below.
For more information on this project, see Dev255’s original forum post.
Related products

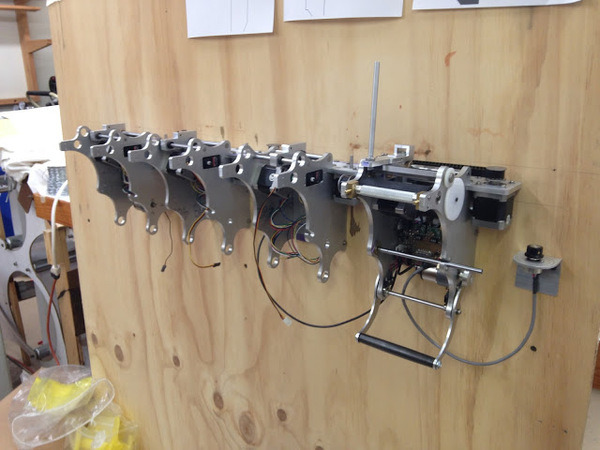
ToDo and Babel by Chris Eckert
Chris Eckert makes devices that explore the artistic potential of factory automation. One of his works, entitled ToDo, is an automated wall mounted device that seems to continuously write a never-ending list of things to do. Two stepper motors control the position of a pen over a roll a paper, and a servo controls the pen’s up/down movement. The device is controlled by an Arduino Uno and two of our A4988 stepper motor drivers. You can find more details about the construction in Chris’s blog posts about Todo and see more of Todo on its gallery page.
Chris is currently working on another project called Babel, which will feature about 20 devices similar to ToDo.
 |
You can learn more about Chris and his artwork on his personal website.
Related products


Home | Forum | Blog | Support | Ordering Information | Lists | Distributors | BIG Order Form | About | Contact
© 2001–2026 Pololu Corporation


