Support » Programming Orangutans and the 3pi Robot from the Arduino Environment »
5. Arduino Libraries for the Orangutan and 3pi Robot
- 5.a. OrangutanAnalog - Analog Input Library
- 5.b. OrangutanBuzzer - High-Level Buzzer Control Library
- 5.c. OrangutanLCD - LCD Control Library
- 5.d. OrangutanLEDs - LED Control Library
- 5.e. OrangutanMotors - Motor Control Library
- 5.f. OrangutanPushbuttons - Pushbutton Interface Library
- 5.g. Pololu3pi - Sensor Library for the 3pi Robot
Note: Because the Orangutans were not designed as official Arduino boards, and run at 20 MHz instead of 16 Mhz, not all existing Arduino library code will be directly compatible with them. Also, Orangutan-specific libraries might conflict with existing Arduino libraries if the two are competing for the same hardware peripherals (e.g. two libraries that try to use Timer1 in different ways will not be compatible).
Overview
This section provides a series of Orangutan-specific libraries that will allow you to easily interface with the Orangutan/3pi hardware from the Arduino environment. It is important to note that the Baby Orangutan B is a hardware subset of the larger Orangutan SV-xx8 and LV-168, and these Orangutans are (almost) a hardware subset of the 3pi robot. What this means is that any library code that works on the Baby Orangutan B will also work on the Orangutan and 3pi robot, and (almost) any library code that works on the Orangutan will also work on the 3pi. The following subsections contain detailed documentation of each Orangutan Arduino library. All of the libraries that apply to the Orangutan will work for the corresponding hardware on the 3pi robot.
The only library class for which it is meaningful to have multiple instances is PololuQTRSensors. All the other classes consist entirely of static methods, so it does not make sense to instantiate them multiple times. The only library classes that need to be explicitly initialized before they are used are PololuQTRSensors and Pololu3pi, since these objects are initialized with user-specified parameters. None of the remaining Orangutan library objects needs to be explicitly initialized in your setup() function as initialization is automatically performed when needed.
As of version 101215, the C versions of the library functions are also available for use in your Arduino programs. This means that there are three possible ways for you to call library methods:
unsigned int x;

// C++ function through instantiated object
OrangutanAnalog analog; // this line is usually placed above setup()
x = analog.readTrimpot();

// C++ function through class scope
x = OrangutanAnalog::readTrimpot();

// C function
x = read_trimpot();
Usage examples
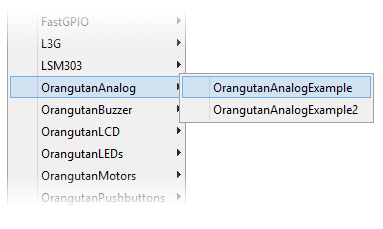
Most libraries come with at least one example sketch that demonstrates how the library can be used. To load an example sketch, open the Arduino IDE and go to File > Examples > Orangutan____.
 |
The Pololu3pi library comes with several detailed line-following and maze-solving example sketches that can be loaded using File > Examples > Pololu3pi.
If you cannot find these examples in the Examples menu, make sure that you have followed the installation instructions in Section 3 and try restarting the Arduino IDE.
Related products


Home | Forum | Blog | Support | Ordering Information | Lists | Distributors | BIG Order Form | About | Contact
© 2001–2026 Pololu Corporation
