Support » Pololu Simple Motor Controller G2 User’s Guide » 8. Example code »
8.4. Example serial code for Arduino
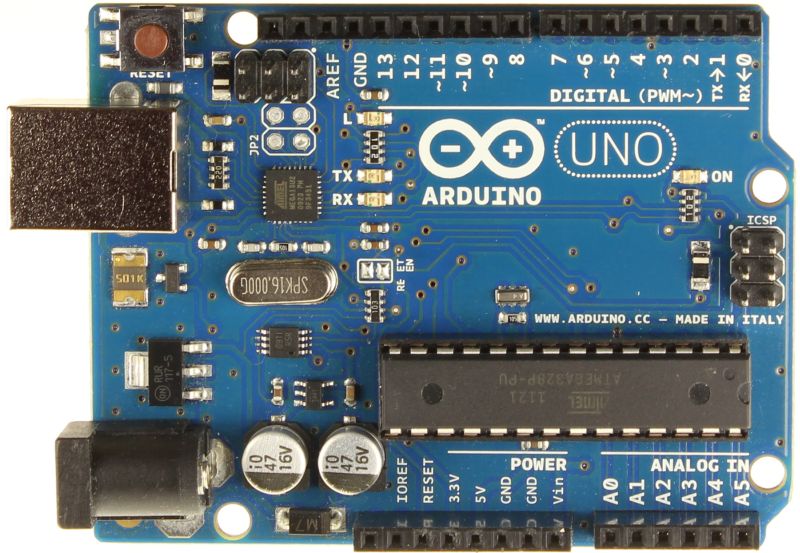 |
Arduino R3, top view. |
|---|
This section has two example programs for communicating with the Simple Motor Controller G2’s TTL serial interface from an Arduino, A-Star, or other Arduino-compatible controller.
The Arduino Uno uses its hardware serial (or “UART”) lines for programming and for debugging with the Arduino IDE’s serial monitor, so we do not recommend using these lines to communicate with peripheral serial devices like the Simple Motor Controller G2. Instead, we recommend using the SoftwareSerial library included with the Arduino IDE, which lets you use arbitrary I/O lines for transmitting and receiving serial bytes. The drawback is that software serial requires much more processing time than hardware serial.
In the following examples, we use the SoftwareSerial library to transmit bytes on digital pin 4 and receive bytes on digital pin 3.
These sample programs require the Simple Motor Controller G2 to have a fixed baud rate set to 19200 bps. It must also be in binary serial mode with the CRC disabled. Auto baud rate detection can be used, but it is not recommended because of inaccuracy in the SoftwareSerial library.
Simple example
This example assumes the following connections exist between the Arduino and the Simple Motor Controller G2:
- Arduino digital pin 4 to Simple Motor Controller RX
- Arduino GND to Simple Motor Controller GND
See Section 4.3 for more information on connecting a serial device to the Simple Motor Controller.
This program demonstrates how to initiate serial communication with the Simple Motor Controller G2 and how to send commands to set the motor speed. For information about the serial commands used by this sample code, refer to Section 6.2.1. Note that the Simple Motor Controller G2 must be powered when this Arduino sketch starts running.
#include <SoftwareSerial.h>
#define rxPin 3  // pin 3 connects to smcSerial TX  (not used in this example)
#define txPin 4  // pin 4 connects to smcSerial RX
SoftwareSerial smcSerial = SoftwareSerial(rxPin, txPin);

// required to allow motors to move
// must be called when controller restarts and after any error
void exitSafeStart()
{
  smcSerial.write(0x83);
}

// speed should be a number from -3200 to 3200
void setMotorSpeed(int speed)
{
  if (speed < 0)
  {
    smcSerial.write(0x86);  // motor reverse command
    speed = -speed;  // make speed positive
  }
  else
  {
    smcSerial.write(0x85);  // motor forward command
  }
  smcSerial.write(speed & 0x1F);
  smcSerial.write(speed >> 5 & 0x7F);
}

void setup()
{
  // Initialize software serial object with baud rate of 19.2 kbps.
  smcSerial.begin(19200);

  // The Simple Motor Controller must be running for at least 1 ms
  // before we try to send serial data, so we delay here for 5 ms.
  delay(5);

  // If the Simple Motor Controller has automatic baud detection
  // enabled, we first need to send it the byte 0xAA (170 in decimal)
  // so that it can learn the baud rate.
  smcSerial.write(0xAA);

  // Next we need to send the Exit Safe Start command, which
  // clears the safe-start violation and lets the motor run.
  exitSafeStart();
}

void loop()
{
  setMotorSpeed(3200);  // full-speed forward
  delay(1000);
  setMotorSpeed(-3200);  // full-speed reverse
  delay(1000);
}
Advanced Example
This example assumes the following connections exist between the Arduino and the Simple Motor Controller G2:
- Arduino digital pin 3 to Simple Motor Controller TX
- Arduino digital pin 4 to Simple Motor Controller RX
- Arduino digital pin 5 to Simple Motor Controller RST
- Arduino digital pin 6 to Simple Motor Controller ERR
- Arduino GND to Simple Motor Controller GND
This program demonstrates how to initiate serial communication with the Simple Motor Controller G2 and how to send commands to set the motor speed, read variables, and change the temporary motor limits. For information about the serial commands used by this sample code, refer to Section 6.2.1. It will be more interesting if you have input power and a motor connected to your Simple Motor Controller G2 (see Section 4.1), but you can see some interesting things even without a motor connected by using the Status tab of the Simple Motor Control Center G2 application to monitor the effect this sketch has on the controller’s variables (see Section 3.2).
#include <SoftwareSerial.h>
#define rxPin 3    // pin 3 connects to SMC TX
#define txPin 4    // pin 4 connects to SMC RX
#define resetPin 5 // pin 5 connects to SMC nRST
#define errPin 6   // pin 6 connects to SMC ERR
SoftwareSerial smcSerial = SoftwareSerial(rxPin, txPin);

// some variable IDs
#define ERROR_STATUS 0
#define LIMIT_STATUS 3
#define TARGET_SPEED 20
#define INPUT_VOLTAGE 23
#define TEMPERATURE 24

// some motor limit IDs
#define FORWARD_ACCELERATION 5
#define REVERSE_ACCELERATION 9
#define DECELERATION 2

// read a serial byte (returns -1 if nothing received after the timeout expires)
int readByte()
{
  char c;
  if(smcSerial.readBytes(&c, 1) == 0){ return -1; }
  return (byte)c;
}

// required to allow motors to move
// must be called when controller restarts and after any error
void exitSafeStart()
{
  smcSerial.write(0x83);
}

// speed should be a number from -3200 to 3200
void setMotorSpeed(int speed)
{
  if (speed < 0)
  {
    smcSerial.write(0x86);  // motor reverse command
    speed = -speed;  // make speed positive
  }
  else
  {
    smcSerial.write(0x85);  // motor forward command
  }
  smcSerial.write(speed & 0x1F);
  smcSerial.write(speed >> 5 & 0x7F);
}

unsigned char setMotorLimit(unsigned char  limitID, unsigned int limitValue)
{
  smcSerial.write(0xA2);
  smcSerial.write(limitID);
  smcSerial.write(limitValue & 0x7F);
  smcSerial.write(limitValue >> 7);
  return readByte();
}

// returns the specified variable as an unsigned integer.
// if the requested variable is signed, the value returned by this function
// should be typecast as an int.
unsigned int getVariable(unsigned char variableID)
{
  smcSerial.write(0xA1);
  smcSerial.write(variableID);
  return readByte() + 256 * readByte();
}

void setup()
{
  Serial.begin(115200);    // for debugging (optional)
  smcSerial.begin(19200);

  // briefly reset SMC when Arduino starts up (optional)
  pinMode(resetPin, OUTPUT);
  digitalWrite(resetPin, LOW);  // reset SMC
  delay(1);  // wait 1 ms
  pinMode(resetPin, INPUT);  // let SMC run again

  // must wait at least 1 ms after reset before transmitting
  delay(5);

  // this lets us read the state of the SMC ERR pin (optional)
  pinMode(errPin, INPUT);

  smcSerial.write(0xAA);  // send baud-indicator byte
  setMotorLimit(FORWARD_ACCELERATION, 4);
  setMotorLimit(REVERSE_ACCELERATION, 10);
  setMotorLimit(DECELERATION, 20);
  // clear the safe-start violation and let the motor run
  exitSafeStart();
}

void loop()
{
  setMotorSpeed(3200);  // full-speed forward
  // signed variables must be cast to ints:
  Serial.println((int)getVariable(TARGET_SPEED));
  delay(1000);
  setMotorSpeed(-3200);  // full-speed reverse
  Serial.println((int)getVariable(TARGET_SPEED));
  delay(1000);

  // write input voltage (in millivolts) to the serial monitor
  Serial.print("VIN = ");
  Serial.print(getVariable(INPUT_VOLTAGE));
  Serial.println(" mV");

  // if an error is stopping the motor, write the error status variable
  // and try to re-enable the motor
  if (digitalRead(errPin) == HIGH)
  {
    Serial.print("Error Status: 0x");
    Serial.println(getVariable(ERROR_STATUS), HEX);
    // once all other errors have been fixed,
    // this lets the motors run again
    exitSafeStart();
  }
}
Related products


Home | Forum | Blog | Support | Ordering Information | Wish Lists | Distributors | BIG Order Form | About | Contact
© 2001–2024 Pololu Corporation
