Support » Pololu USB AVR Programmer User’s Guide » 3.b. Programming AVRs using Atmel Studio »
3.b.1. Adding Devices to Atmel Studio 6
 |
By default, Atmel Studio 6 only supports programming a small selection of different AVRs with STK500-compatible programmers such as the Pololu USB AVR Programmer. If you would like to program a device that is not supported by default using Atmel Studio 6, you will need to add an XML file to one of Atmel Studio’s directories. If you are using Atmel Studio 7 or later, these steps should not be necessary.
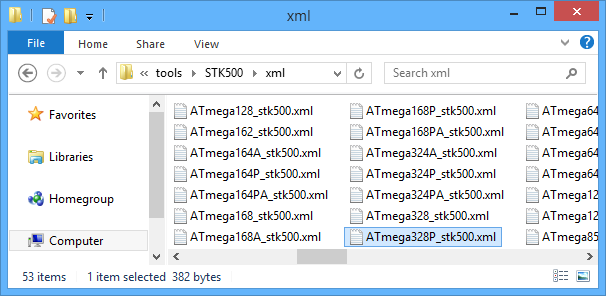
- Navigate to the directory where you installed Atmel Studio and find the
tools\STK500\xmlsubdirectory. By default, on a 64-bit computer this will beC:\Program Files (x86)\Atmel\Atmel Studio 6.2\tools\STK500\xml. - Right click on
ATmega168_stk500.xmland select Edit to open it in Notepad. - Replace all occurrences of “ATmega168” in the file with the name of the device you want to program. The device name you type should exactly match the name of one of the XML files in Atmel Studio’s
devicessubdirectory, for example “ATmega328P”. - In the File menu, select Save As… and save it as
DEVICENAME_stk500.xmlwhereDEVICENAMEis the same device name that you entered into the file, for exampleATmega328P_stk500.xml. - Restart Atmel Studio. A new entry for your device should now be visible in the Device drop down box of the Device Programming dialog. This should allow you to program HEX files onto that device from Atmel Studio using the Pololu USB AVR Programmer.
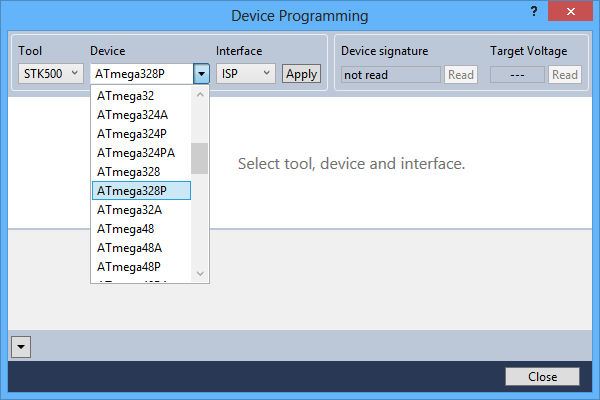 |
The ATmega328P has been successfully added to the device selection box of Atmel Studio 6. |
|---|


Home | Forum | Blog | Support | Ordering Information | Lists | Distributors | BIG Order Form | About | Contact
© 2001–2026 Pololu Corporation
