Pololu Blog » User Profile: Grant » Posts by Grant »
Posts by Grant (Page 2)
You are currently viewing a selection of posts from the Pololu Blog. You can also view all the posts.
Popular tags: community projects new products raspberry pi arduino more…
Bohlebots wins West German Robocup soccer 1vs1
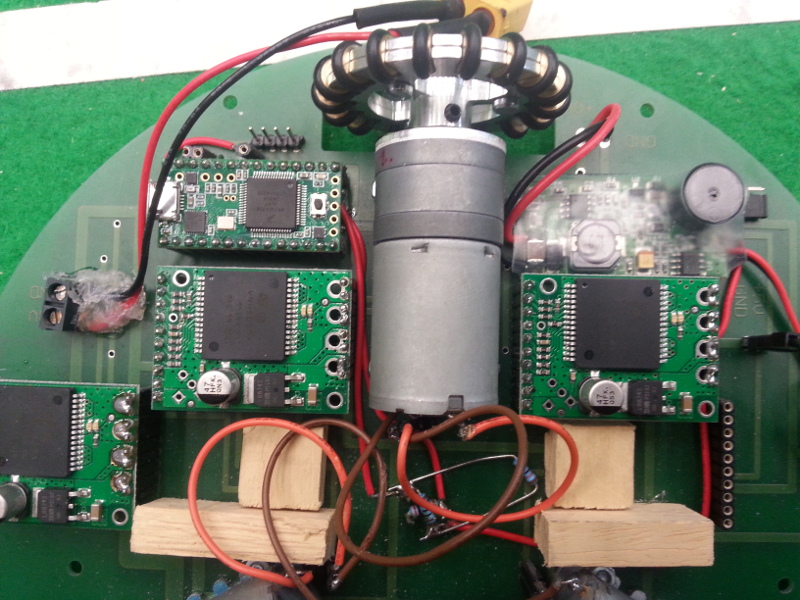
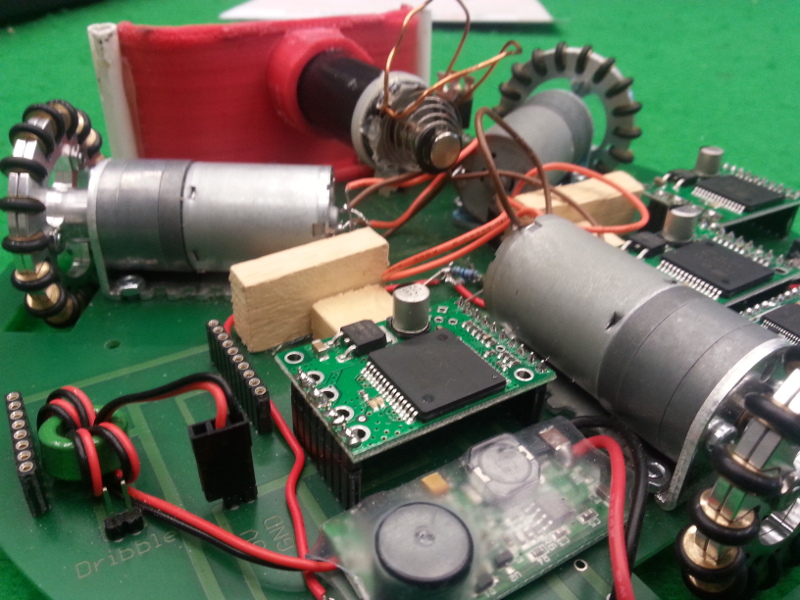
Bohlebots, a team of students in Germany, won the West Germany Robocup soccer 1vs1 open league for a second time. They sent us an email that shows how their robot uses three omni wheels spaced evenly about its round chassis, which allows their robot to move in any direction. The omni wheels are actuated by some of our 9.7:1 25D HP metal gearmotors, which are each controlled using one of our VNH5019 motor driver carriers.
|
|
Check out this highlight video of their robot in the competition:
Good job, everybody, and good luck!
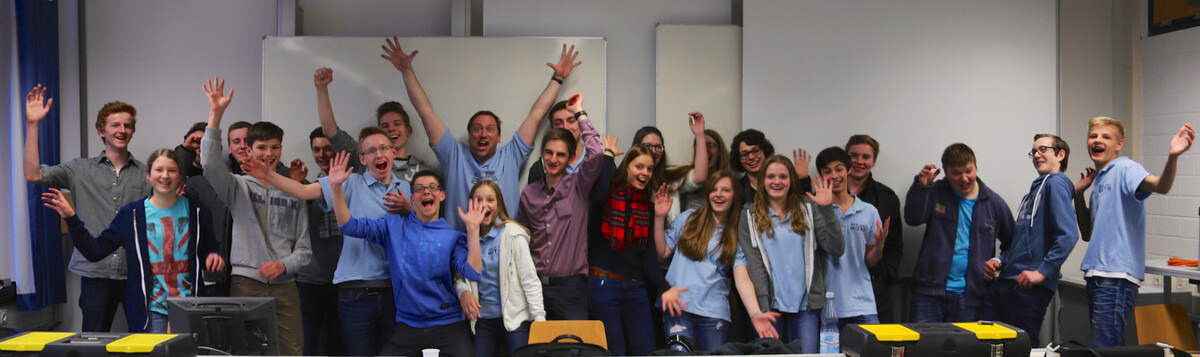 |
The Bohlebots team. |
|---|
Related products


Charlie, the cricket
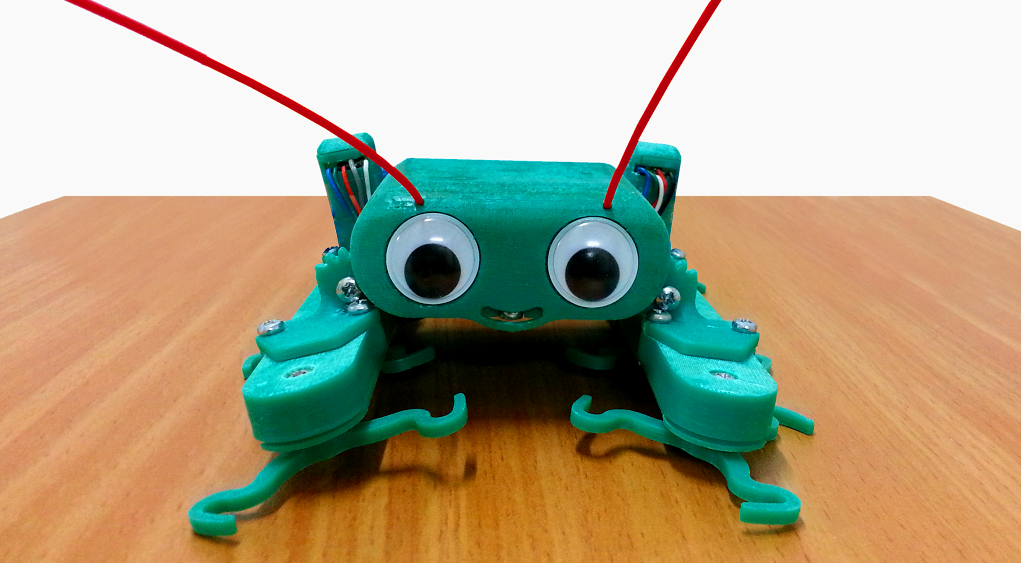 |
Jonathan Spitz made a fun robot he calls Charlie, the cricket. In his LinkedIn post, Jonathan explains that Charlie uses four motors. Two of the motors are used for walking and the other two are used for sprawling. The four motors are controlled by two Baby Orangutans, which also handle the closed-loop feedback from encoders to free up processing on the Arduino Micro.
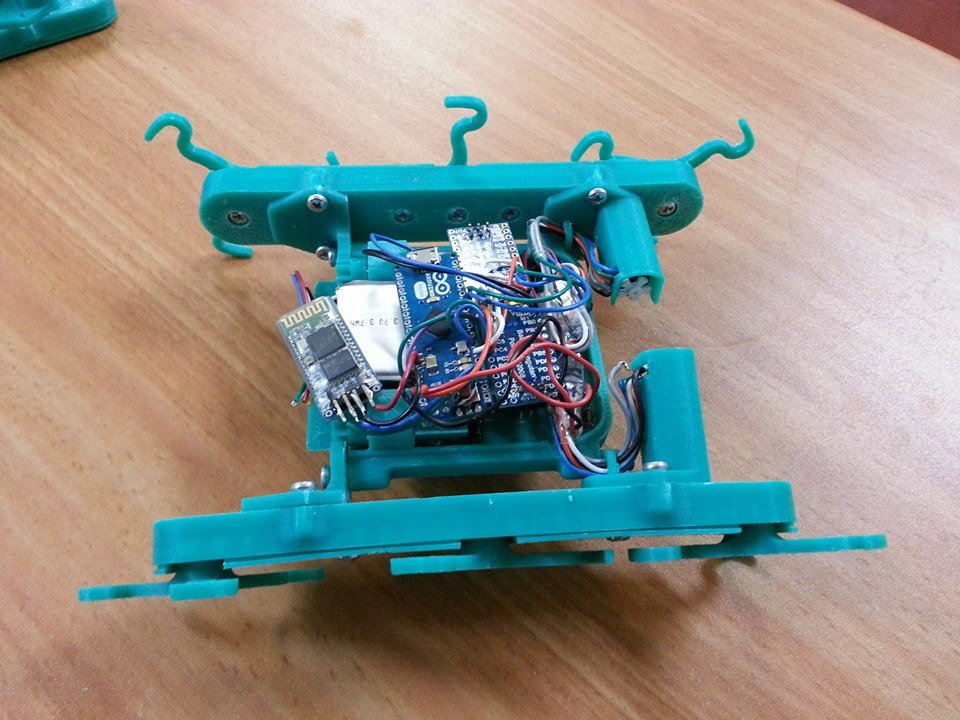 |
The insides of Jonathan Spitz’s Charlie, the cricket. |
|---|
Charlie’s novel propulsion system of spinning legs that can be tilted was inspired by one of Jonathan’s colleagues. They allow Charlie to traverse difficult terrain as shown in this video:
Charlie is a follow-up design on an earlier robot Jonathan made named Billy, the blue beetle, which was larger and lacked the ability to sprawl. Charlie also was designed to have the ability to drive on its back, which is something Billy could not do. You can read about Jonathan Spitz’s experiences with Billy in his LinkedIn post.
Related products

Custom car ventilation system with Pololu servo controller
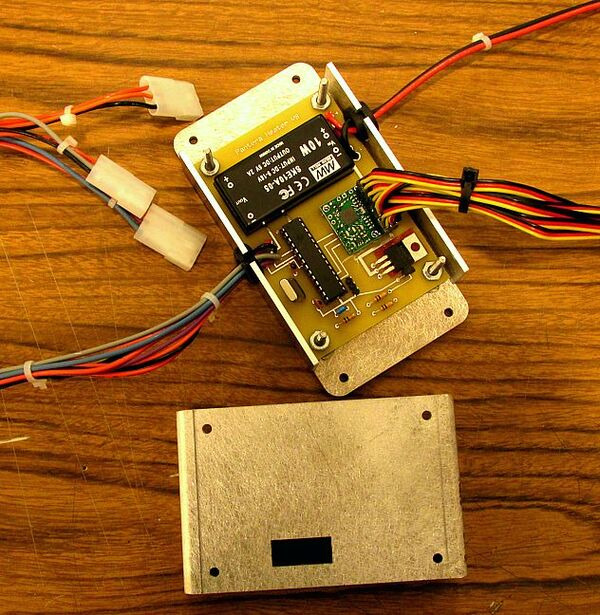 |
One of our customers, Gary, made a heater box and ventilation system for a custom car and posted about it on our forum. His system uses several servos controlled by one of our Micro Serial Servo Controllers. The servos actuate the different valves in his air system to allow him to control the air source as well as things like the defog/defrost system.
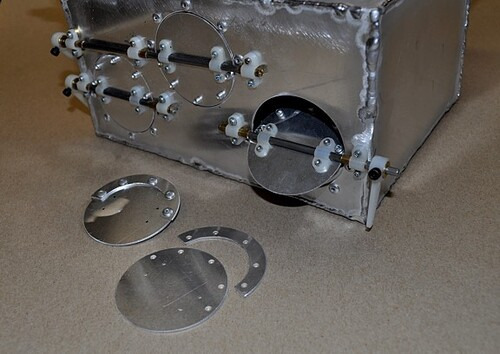 |
Some of the actuated valves on a custom heater box made for a custom car by Gary. |
|---|
Gary chose to use our board because it allowed him to stop sending signals to the servos when they are not moving. For others considering using our Micro Serial Servo Controller in their next project, we recommend using our Maestro servo controllers instead. They have the ability to stop sending signals to the servos like the Micro Serial Servo Controller and are newer and better in almost every way.
You can find more pictures and read more about Gary’s heater box and ventilation system in his post on our forum.
Related products

Robotic arm using Mini Maestro at the Nashville Mini Maker Faire
Inspired by this robotic arm tutorial, Andrew Hoover recently posted on our forum about a robotic arm he made for the Nashville Mini Maker Faire. The arm is constructed from laser-cut acrylic and actuated by hobby RC servos. The servos are controlled by a 12-Channel Mini Maestro, which reads the signals from joysticks and converts them to target positions using a Maestro script. You can see the arm in action in this video:
For more information on the project, you can check out Andy’s blog post for his robotic arm project, which includes a parts list, instructions, and code.
Related products


Candy bowl surprise

Anyone who has gone trick-or-treating has seen the house that puts a bowl of candy on the front porch and knows that there are those greedy trick-or-treaters who take more candy than they are supposed to. Well, if you are that person who puts the bowl of candy out on your front porch, you can make trick-or-treaters think twice before they take more than one piece of candy. In this project, I actuate a severed arm to slap down at the candy bowl whenever someone goes to reach into it. Continued…
Inflatable ghost
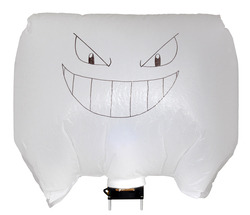
After doing the creepy mask, I wanted to do something a bit more festive. This Halloween prop was inspired by those inflated decorations people put on their lawns. In this case, I wanted something a bit smaller since I wanted it to fit indoors. I also wanted to use one of our addressable 8mm RGB LEDs, so I could make it light up all sorts of colors instead of just a single color like I had often seen. I decided to make an inflatable ghost because I wasn’t sure I would be able to control the shape that well and figured a ghost would give me more leeway in shape. Continued…
Creepy eyes Halloween prop
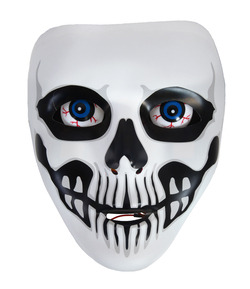
In the lead up to Halloween, I thought it would be fun to make some Halloween-themed props; in particular, I was interested in making something creepy. What first came to my mind was one of those creepy portraits with moving eyes. To change it up a little, I decided to use a mask instead of a picture (which I thought would make it easier to hide the electronics). Down at a local store called Halloween City I picked up a cheap mask and some plastic eyeballs (though a more crafty person might just make their own mask and eyeballs). I made sure the mask was a bit stiff because I needed it to hold shape without actually having someone’s face in it. For the electronics in the project, I grabbed two sub-micro servos, a Micro Maestro, and a 4.8V battery pack. If you don’t have jumper wires it might also be helpful to get a pack of those, but this build only uses one to jump battery power to the Maestro’s logic power. Continued…
New products: Pololu Carriers with Sharp GP2Y0A60SZLF Analog Distance Sensor 10-150cm
 |
 |
3D rendering of the Pololu carrier with Sharp GP2Y0A60SZLF distance sensor. |
|---|
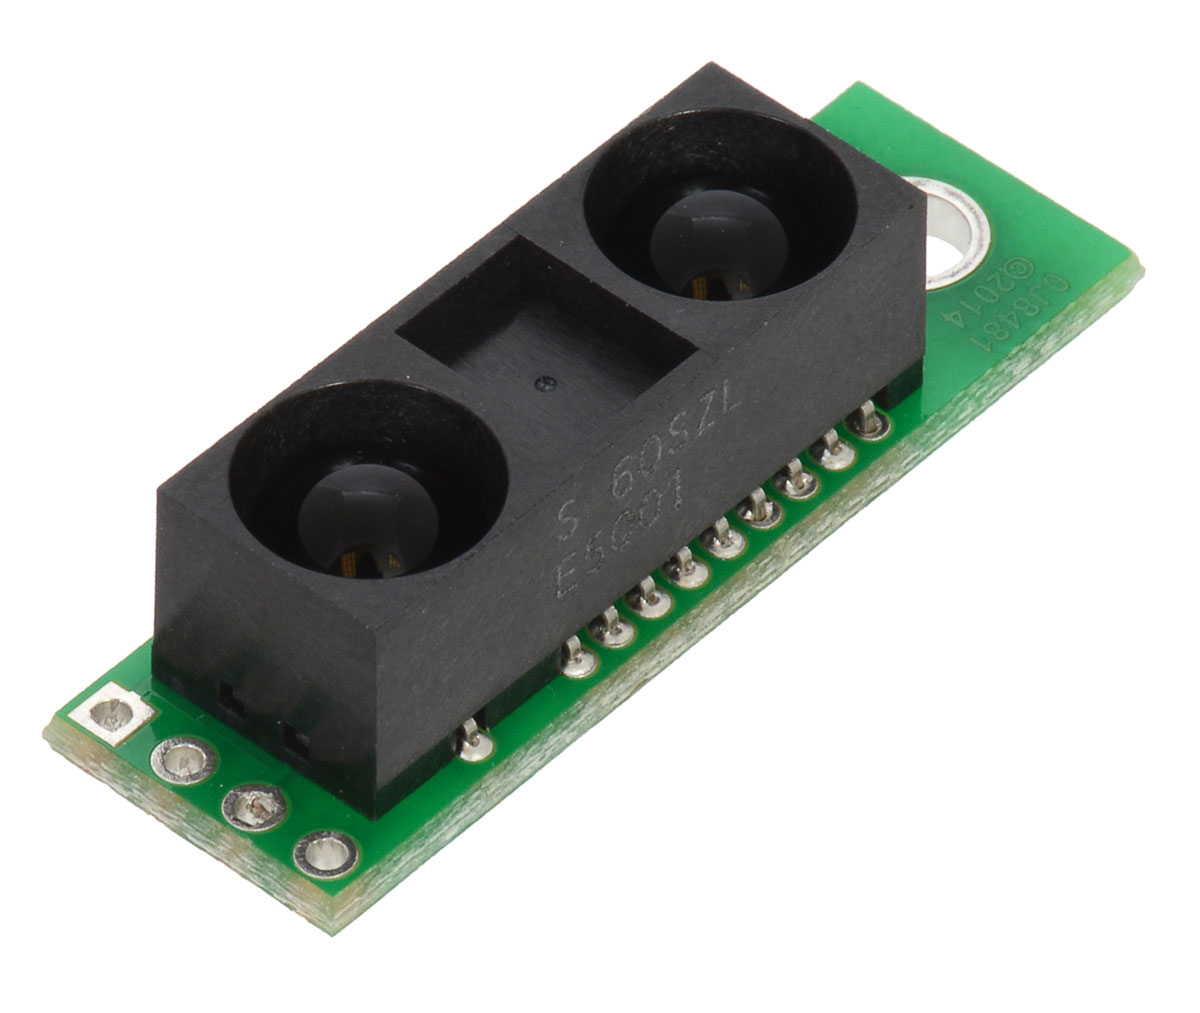
We have released some simple boards over the past few weeks that were developed by our mechanical engineers (see earlier posts for Jon’s board and Brandon’s board). The board I got to design is a carrier board for the Sharp GP2Y0A60SZ 10-150cm analog distance sensor, which is a part we have been trying to get for almost five years.
While the board itself is simple, the GP2Y0A60SZ is exciting for us because it pretty much outperforms all of the other analog Sharp distance sensors. In particular, compared to the more expensive Sharp GP2Y0A02YK0F, which can also detect objects out to a maximum distance of 150 cm, the GP2Y0A60SZ offers half the minimum sensing distance (10 cm) and more than twice the update rate (60 Hz) in a much smaller package:
 |
Sharp GP2Y0A02YK0F Sensor 20-150cm (left) next to Pololu Carrier with Sharp GP2Y0A60SZLF Sensor 10-150cm (right). |
|---|
One application of these sensors that I am looking forward to is mini-sumo. The features on the sensor make them a great addition to a mini-sumo robot like the one I built for the LVBots mini-sumo competition last year. With these on my robot (the one with the Magikarp on it), I might be able to knock out a few more competitors the next time we have a competition.
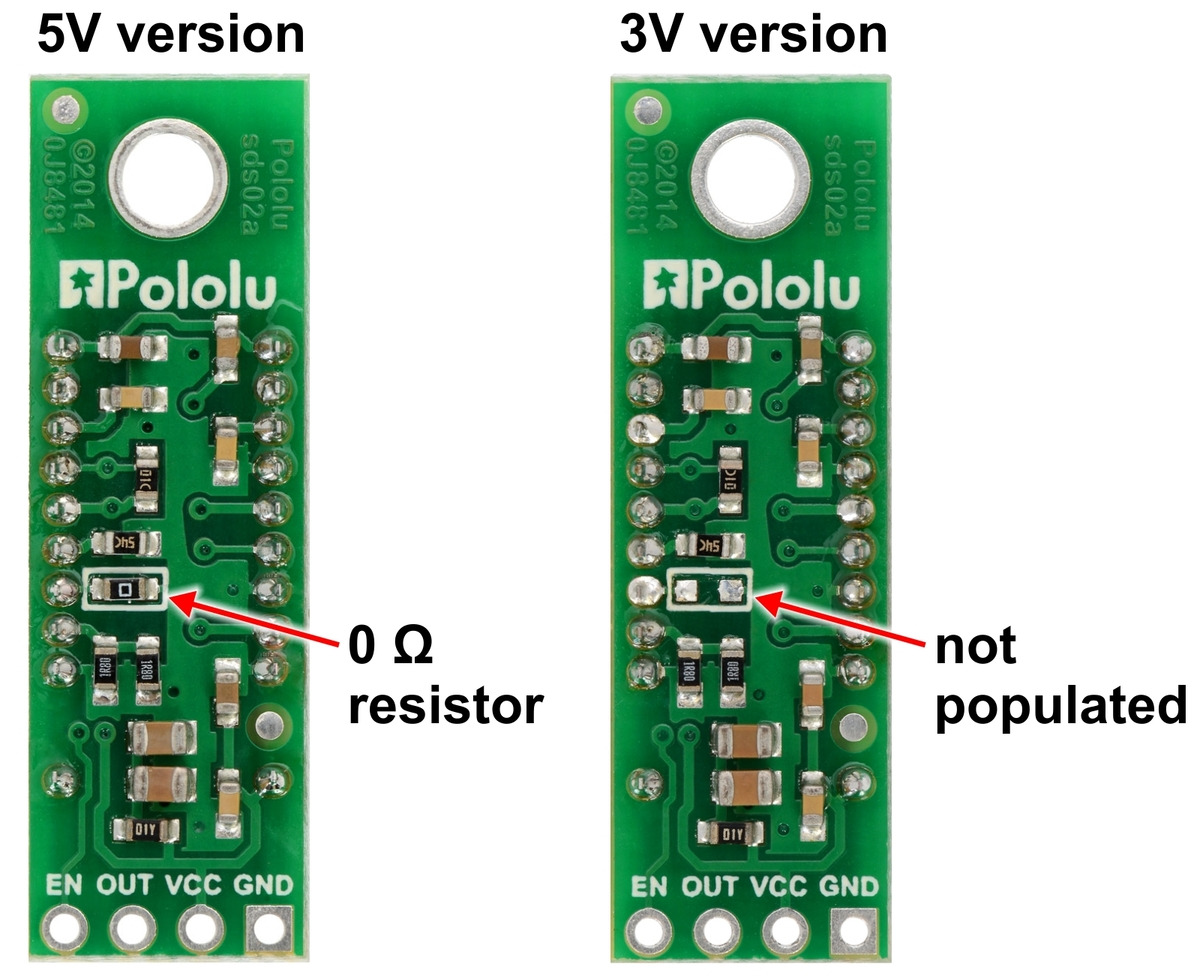
5V and 3V versions available
Our sensor carrier is available in two versions: a 5V version for operation from 2.7 V to 5.5 V and a 3V version for operation from 2.7 V to 3.6 V:
 |
For more information, see the product pages or check out our entire category of optical range finders.
Related products


Roboceratops - Robot Dinosaur
Robert Stephenson (blobbington) posted about his robot dinosaur, Roboceratops, on the Trossen Robotics forums. Roboceratops is a small robotic dinosaur built to resemble a member of the Ceratopsian group. It uses a total of 14 servos for movement that are commanded through two of our Mini Maestro 12-Channel Servo Controllers, which are controlled by serial commands from his custom hand held controller. The controller is directly wired to Roboceratops and uses an Arduino Mega 2560, an LCD screen and two 3-axis joysticks. Robert wants to improve his design by making it wirelessly controlled and battery powered, and he plans to eventually make Roboceratops autonomous.
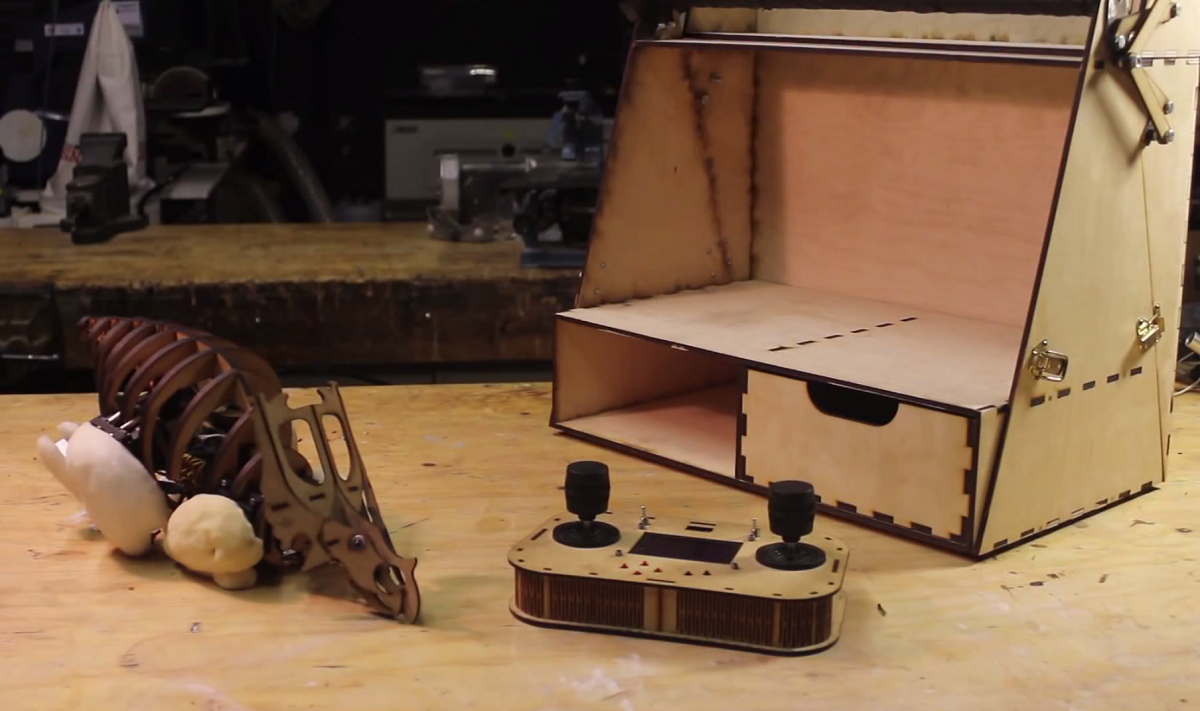 |
Roboceratops is mainly constructed out of laser cut MDF, but the legs are made from aluminum square bar. Upholstery foam was added to the legs to make them look more like real legs. The case of the controller and the neat carrying case at the end of the video also appear to be laser cut.
Related products

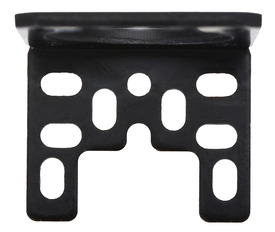
New product: Aluminum mounting bracket for NEMA 17 stepper motors
|
|
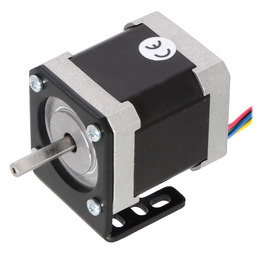

Our new stepper motor bracket is designed to work with typical NEMA 17-size stepper motors like our 42×48mm and 42×38mm units (including our 42×38mm stepper motor with 28cm lead screw). It is made from 3mm-thick black anodized aluminum, which makes it both light and strong, and slot cutouts allow for plenty of mounting flexibility.
|
|
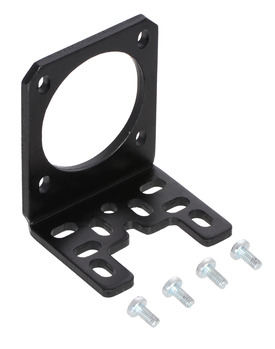
For more information, see the product page.
Related products


Home | Forum | Blog | Support | Ordering Information | Wish Lists | Distributors | BIG Order Form | About | Contact
© 2001–2024 Pololu Corporation


